Quantcast
Channel: Minecraft 1.6.2 Mods – 9Minecraft | Minecraft Mod
Viewing all 2832 articles
Browse latest View live

Aether 2 Mod 1.12.2/1.11.2 (Highlands, Genesis of the Void)

$
0
0

Aether 2 Mod 1.12.2/1.11.2 (Aether II) is a very extensive mod for Minecraft adding in an opposite realm to the Nether. The Aether 2 is the sequel to the Aether 1. Much has changed since the days of the Aether 1, but it still remains a collaboration between people from various different disciplines with a shared goal of creating a new and unique dimension.

Aether 2 Mod 2018 Logo

This mod is the sequel to the highly popular dimension mod “The Aether”, set in a hostile paradise miles up in the clouds, the Aether is an entirely different world from what regular players are used to, filled with fantastic creatures and mysterious structures, the Aether is a world brimming with life and history. You’ll have to relearn key ideas as the Aether challenges you with twisted materials, terrifying monsters and deep lore if you want to survive and prosper in this strange new land. As the mod comes closer to a final release, Dungeons, Biomes, NPC settlements will pepper the landscape, offering new and exciting challenges and experiences unique to this mysterious world.

Musician: Emile van Krieken

Features:

The Aether introduces several huge mechanical features to enhance the experience both in the Aether and everywhere else in Minecraft.

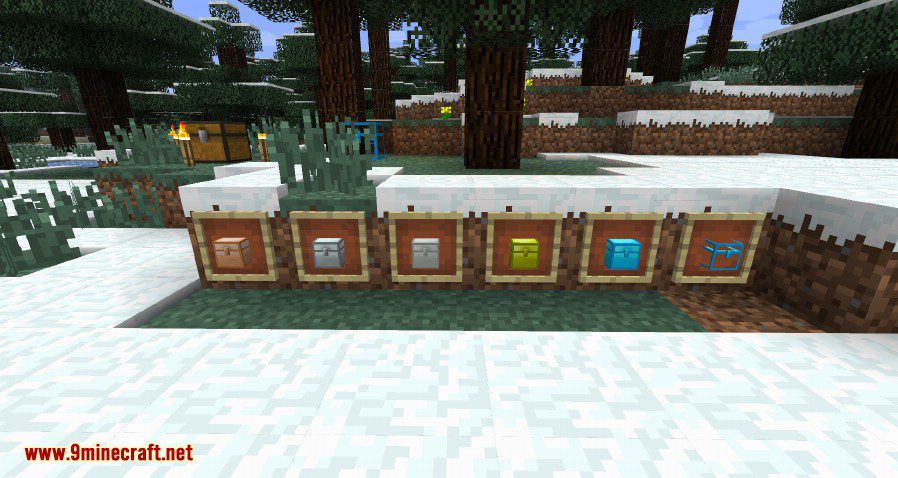
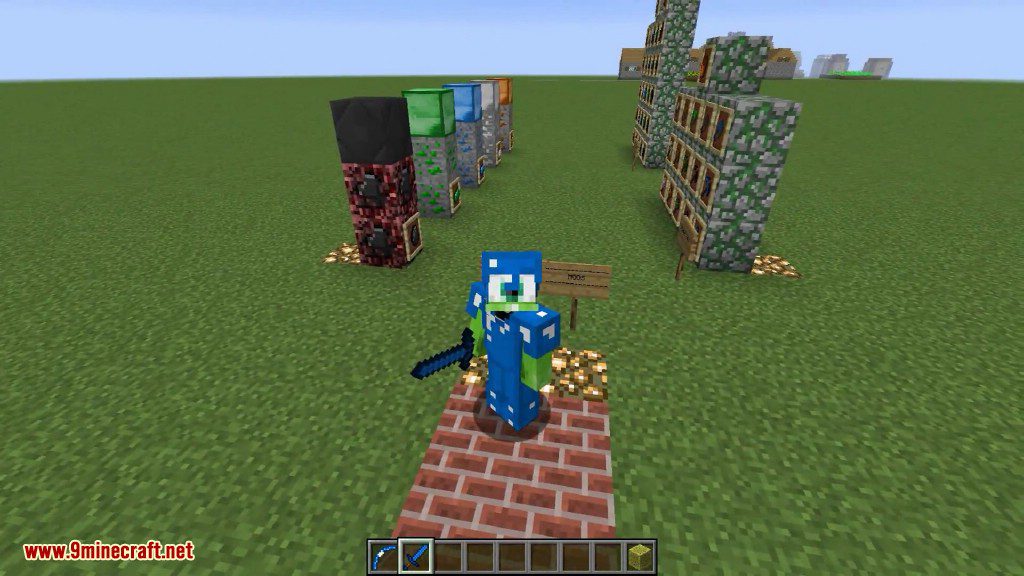
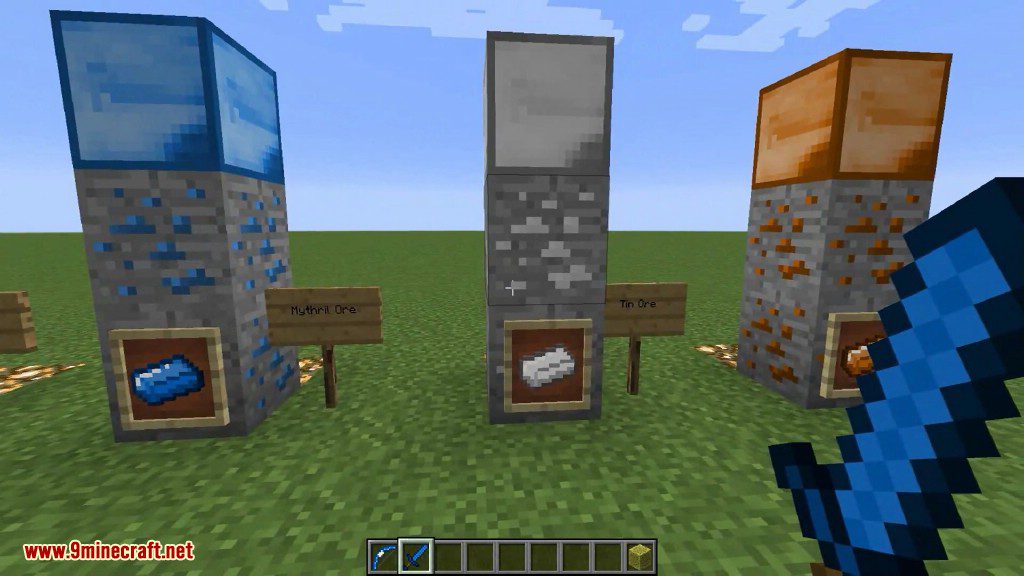
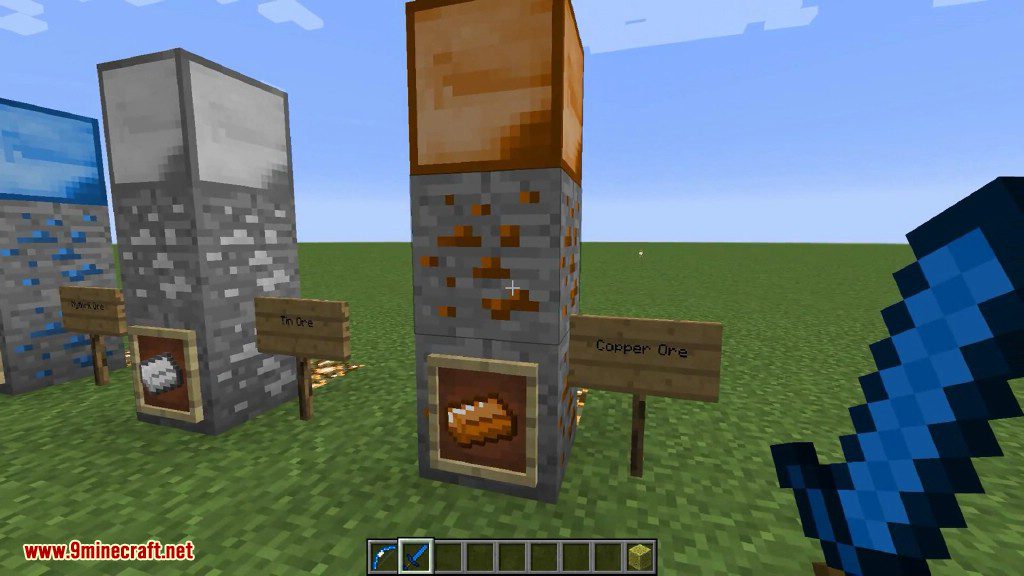
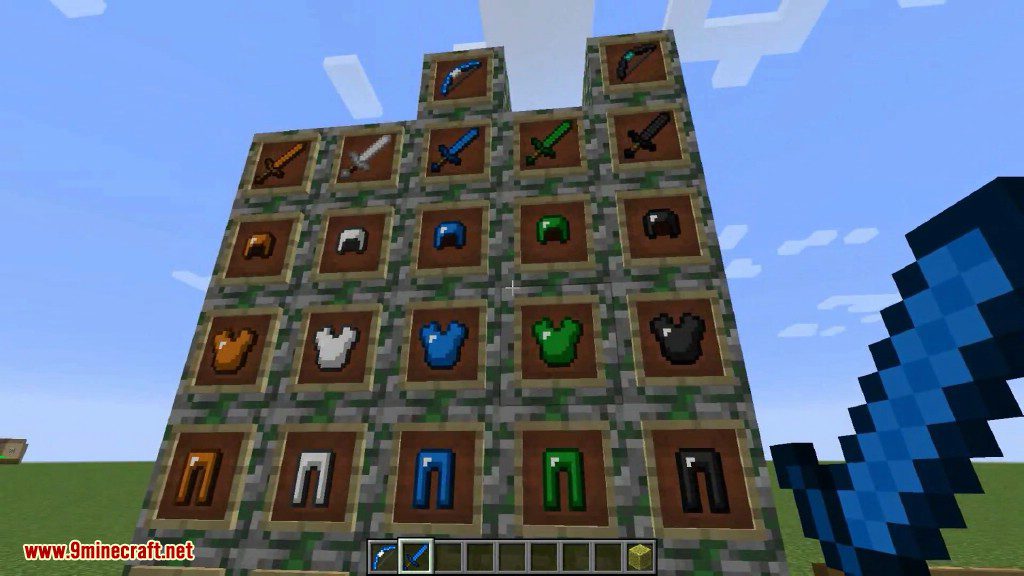
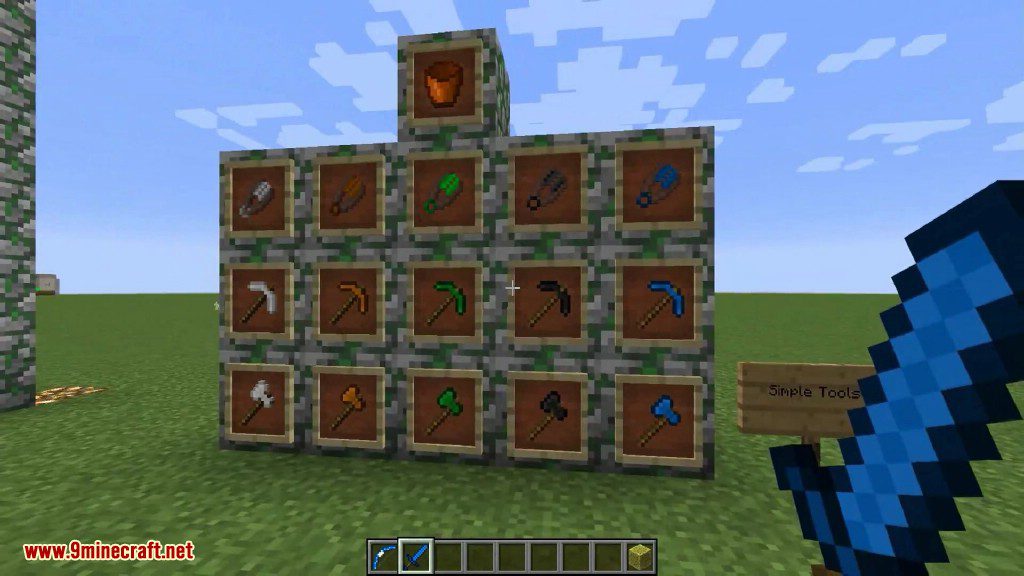
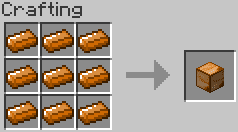
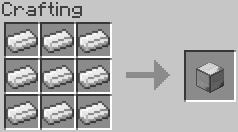
New Ores, Items, and Armor

  • While exploring the Aether you’ll come across a variety of new ores, such as Ambrosium and Gravitite. Search and discover each new ore and unlock its secrets!
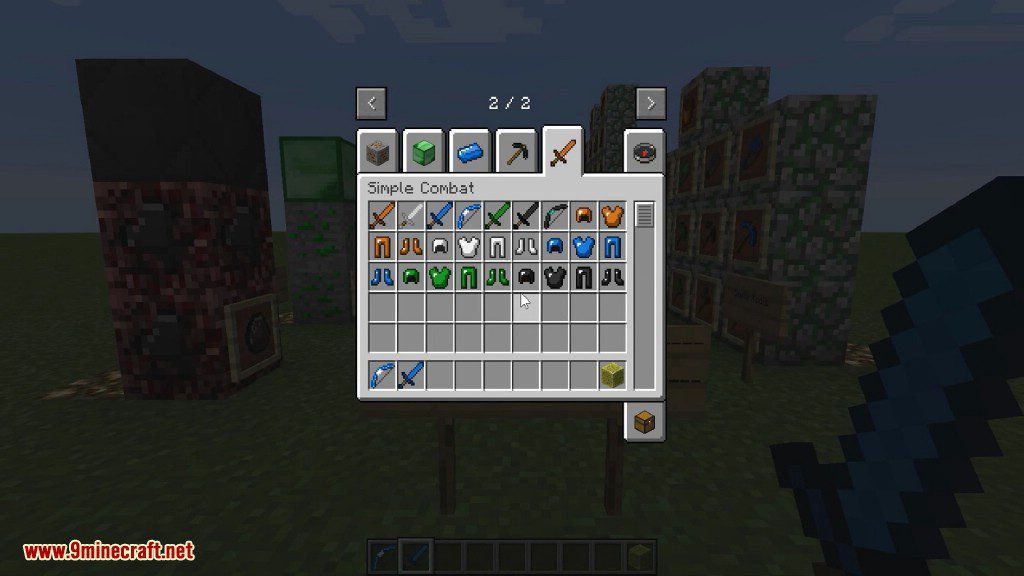
  • The Aether 2 is also accompanied by several new sets of armor each accompanied by its own special ability. A full set of Neptune armor, for example will allow you to walk across the depths of the ocean with ease, and a full set of Valkyrie armor will allow you to fly! Getting your hands on these mythic sets won’t be easy, though. Fight and defeat dungeons, and if all else false, try your luck at using some Continuum!
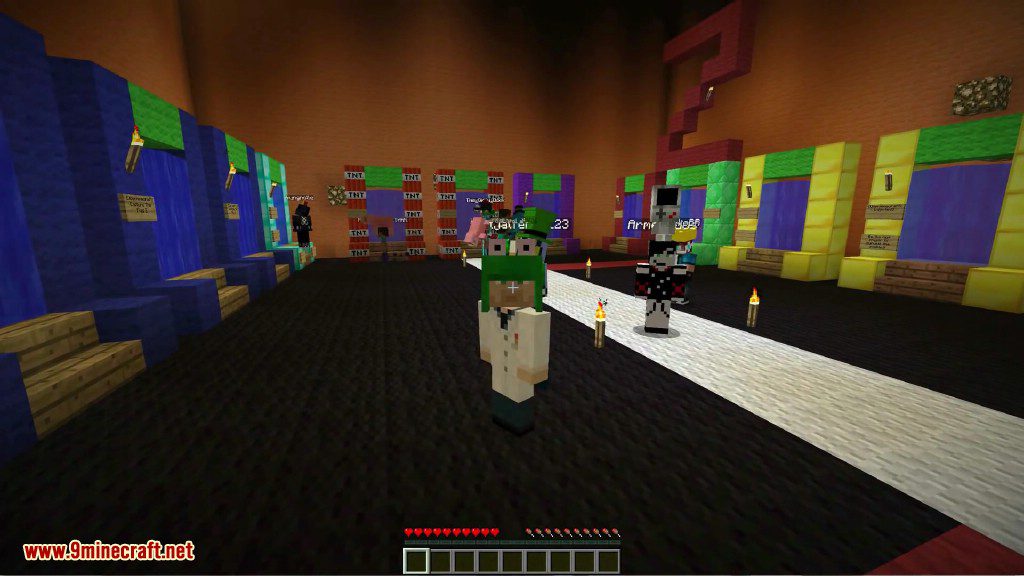
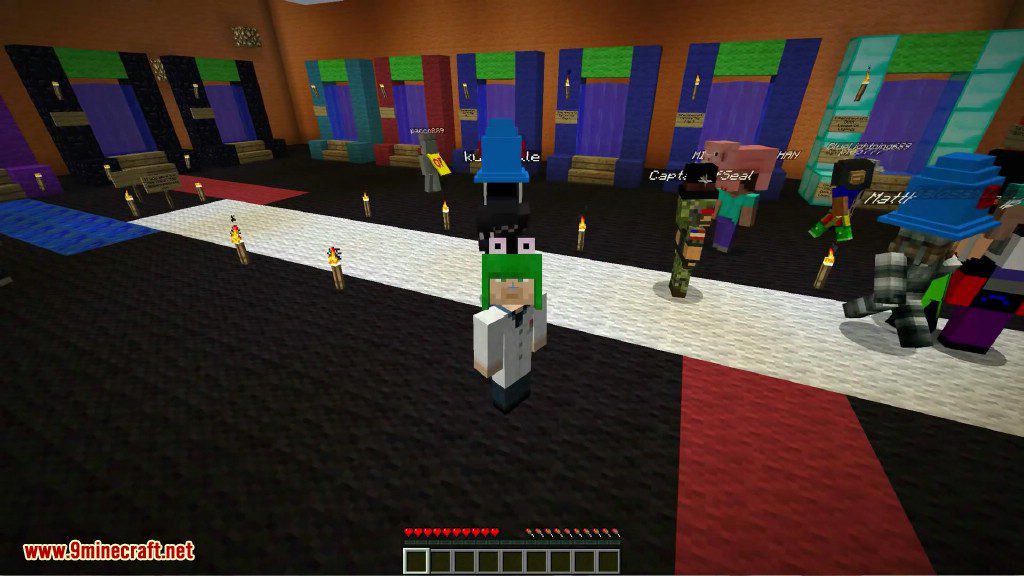
Party System

  • First of all is the party system. Previously in Minecraft, the only real way to form a group with others without having to worry about things such as friendly fire were from overlaying plugins such as factions or towny over a Minecraft server. Now with the party system, you can form a party with your friends, complete with an overlay UI which lets you see who’s in your party, their health, their hunger, their armour and the amount of coins they have, without the need for plugins! Players can name their own party, and the maximum party size is 10 players.

Dungeons

  • One of the features we have worked on for this release is the dungeon system. This system isolates dungeons from the main world and functions with the party system. Dungeon blocks regenerate instantly if broken, meaning no one can get inside even with creative mode. Instead of players rushing into a dungeon and demolishing whatever’s there and looting, the dungeon system requires players to form a party first. When the party is ready, you simply right-click on the dungeon door and everyone confirms if they’re ready. Since a party can only have up to 10 players, dungeons will present a decent challenge to players. Only one party can be present in a dungeon at any given time.
  • Dungeons have three modes. The first mode is “available” meaning the dungeon is free for any party to enter. The second mode is “occupied”, meaning a party is already inside the dungeon. The third mode is “conquered”, which occurs after a player in your party has exhausted that dungeon. A dungeon becomes exhausted for a player either after the player finishes it or leaves when inside the dungeon three times. This prevents players from running the same dungeon for easy loot.
  • Dungeons also regenerate their loot, mini-bosses and bosses after a party leaves it, meaning that content is available for other parties. This ensures everyone gets a chance at dungeons, rather than whoever gets there first.
  • The first dungeon that this mod had added is the Sliders’ Labyrinth. This dungeon expands an entire island, meaning you’ll have no shortage of loot to grab, enemies to fight or chambers to explore!
  • The dungeon has three mini bosses which must be defeated before you can gain access to the final boss, the Slider. There’s a couple of new twists with this boss, so be careful!
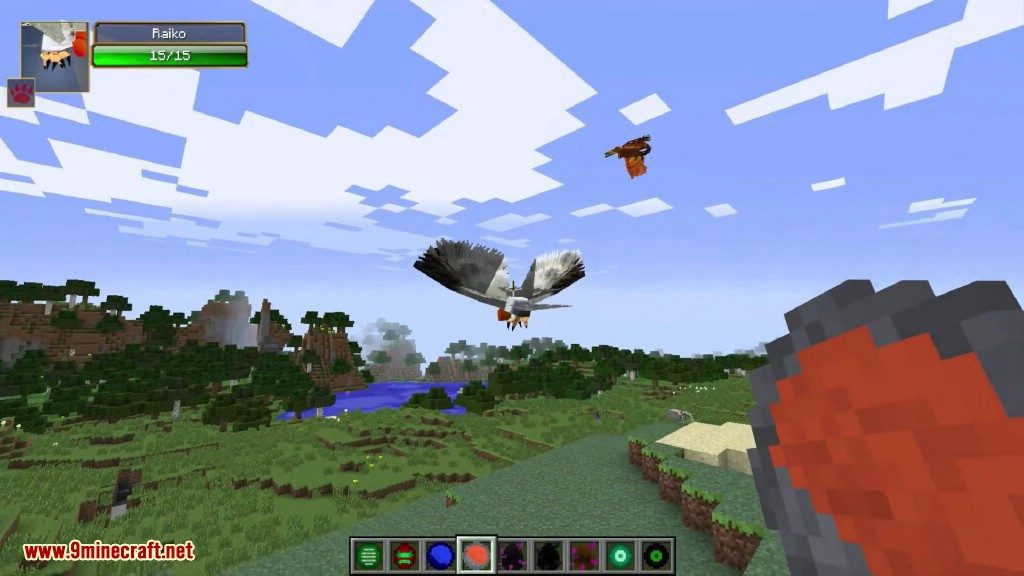
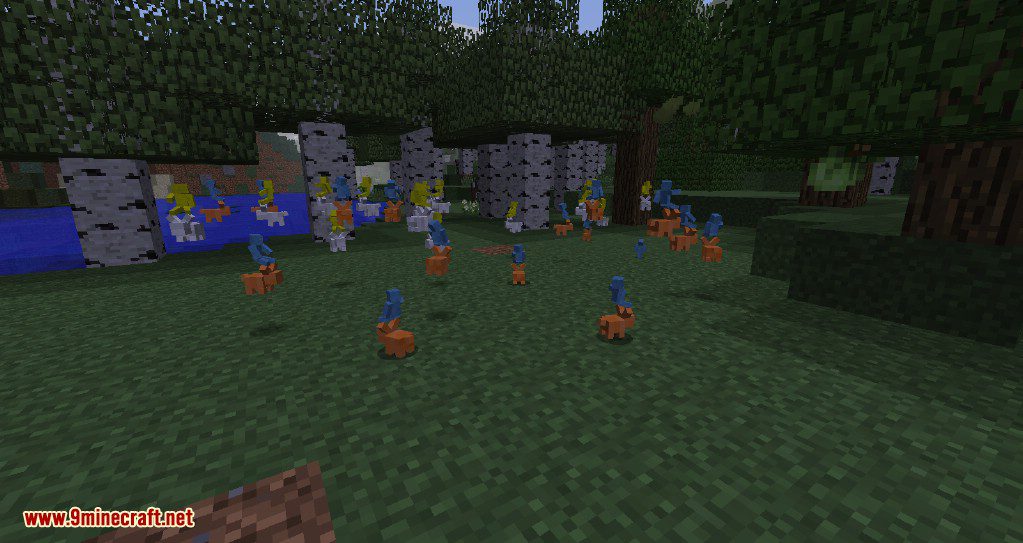
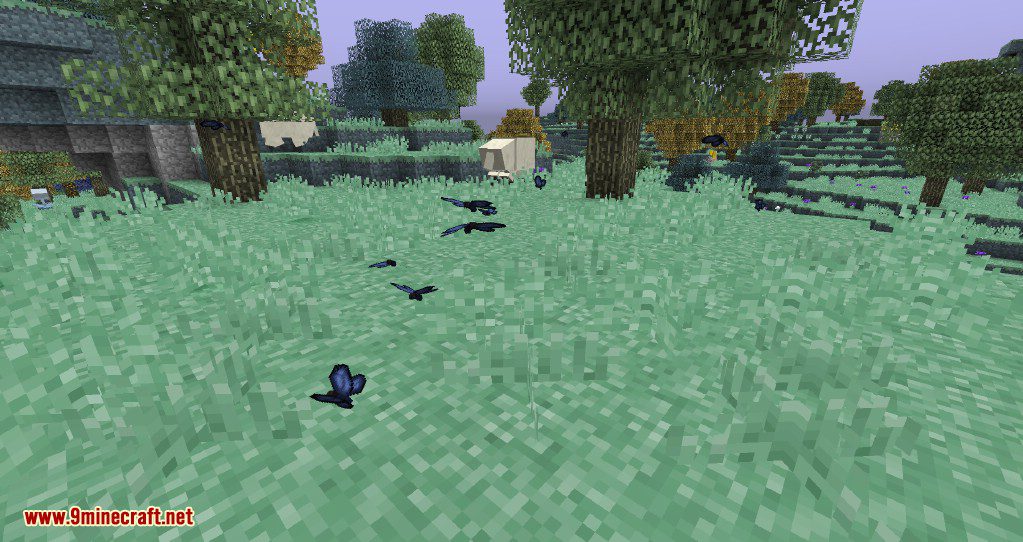
Moas

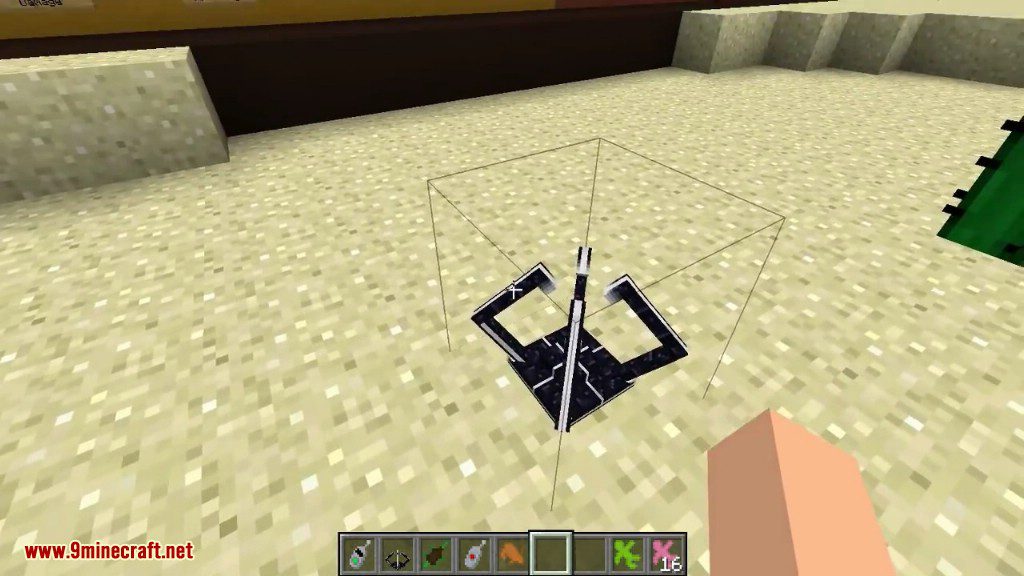
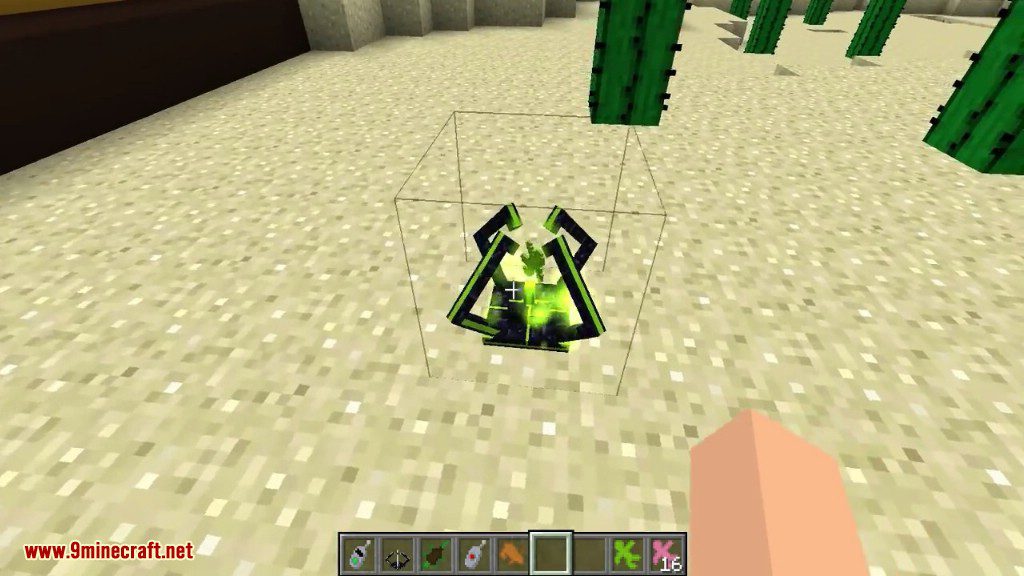
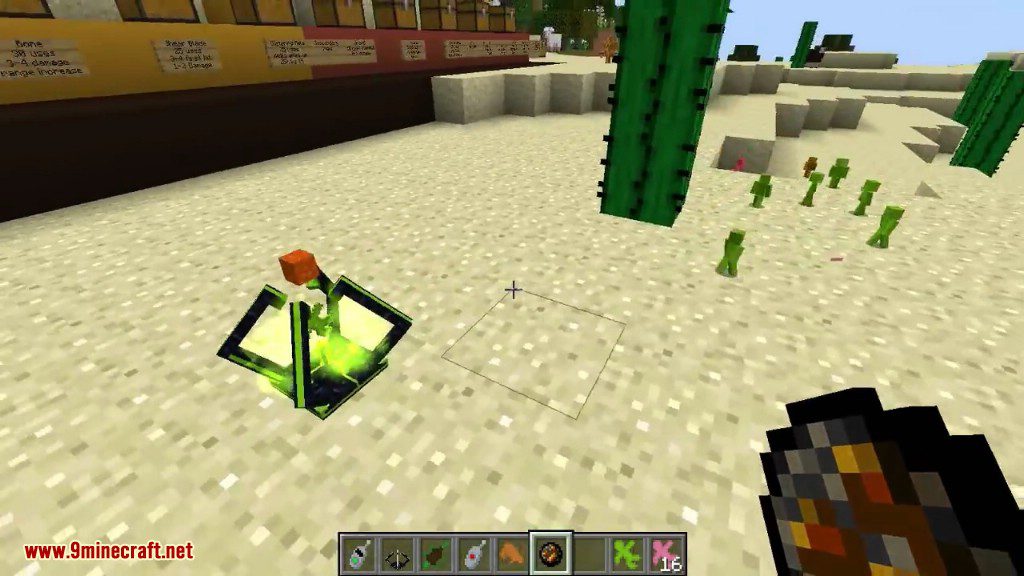
  • Moas, peaceful and majestic giant birds, populate the Aether in three different colours: Blue, White and Black. Wild Moas cannot be tamed, but they do occasionally drop eggs of their respective colour. These eggs can be incubated with the Incubator block (using Ambrosium Torches). Once incubated, they can be fed with the Aechor Petals of Aechor Plants. They require 8 petals in total to grow, but are not always hungry and will occasionally refuse your offer (which can be done by right clicking them with the Aechor Petal). When grown, you have now completely tamed the Moa, and a saddle can be placed on their backs to ride. Blue Moas can perform 3 mid-air jumps, White Moas can perform 4 mid-air jumps, and Black Moas can perform 8 mid-air jumps.
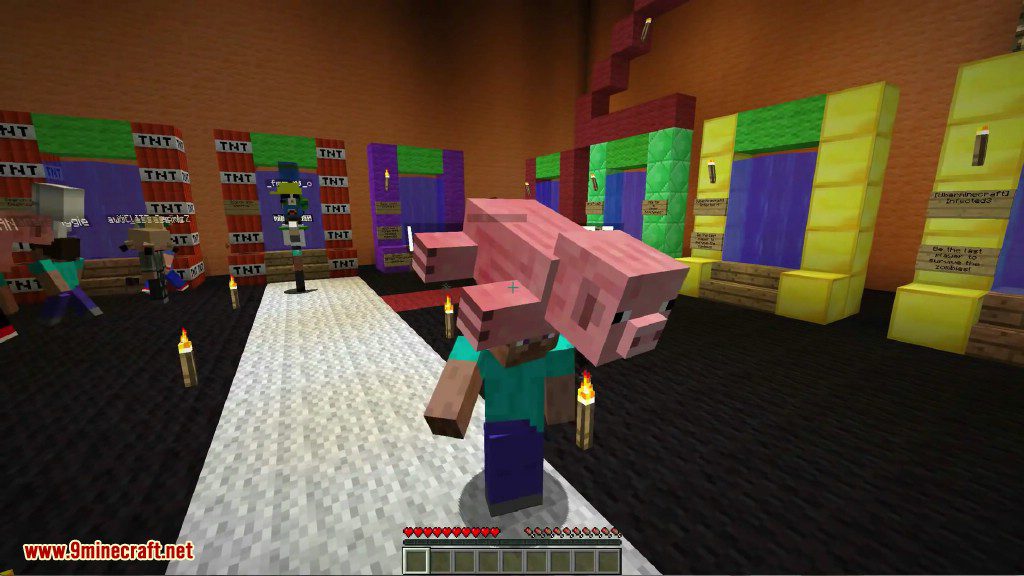
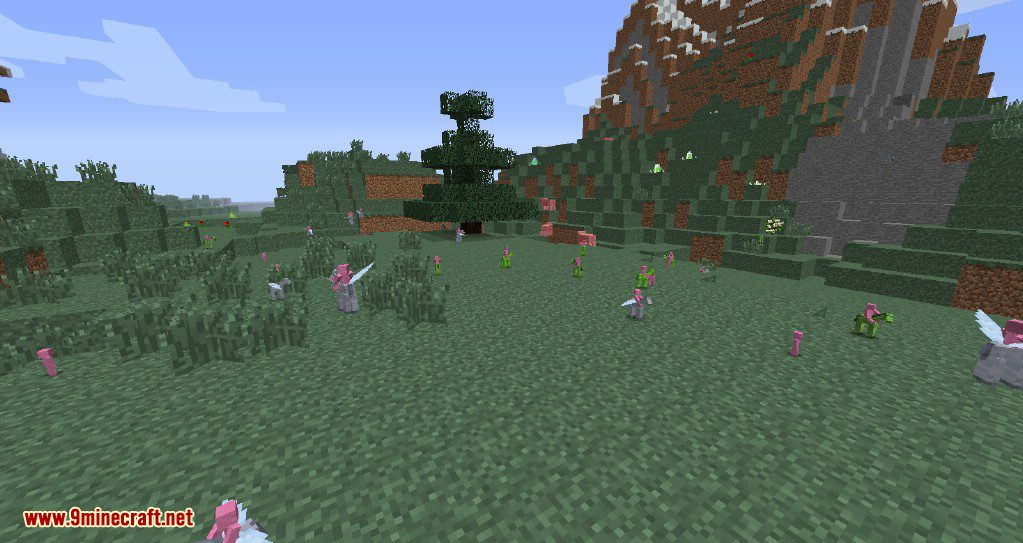
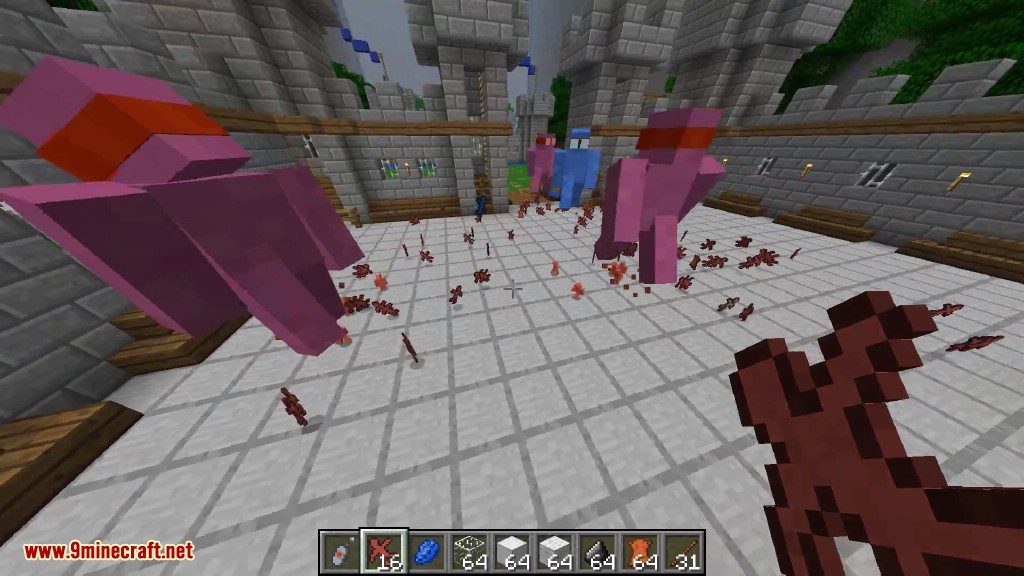
Flying Pigs

  • Flying Pigs can also be found wandering around the Aether, and occasionally flying freely through the air. These creatures can be saddled with a Saddle, and flown around without having to deal with a taming process. This allows players to quickly hop into the action. However, Flying Pigs can only jump once, and do not have the privilege of mid-air jumps like the powerful flying Moas.

Aerwhales

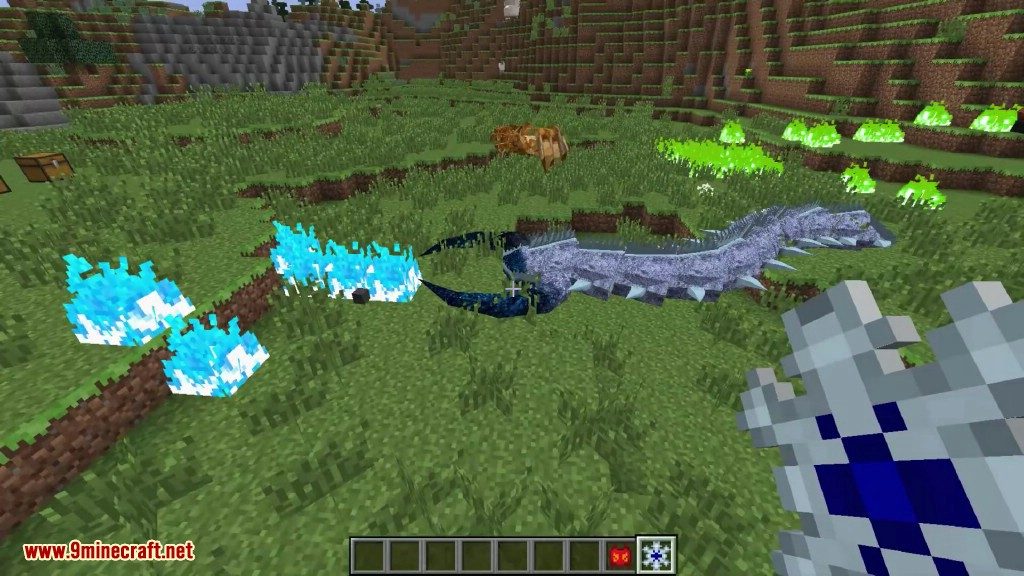
  • Aerwhales, the gentle giants of the Aether, can be found floating in the horizon, munching on Golden Oaks and strips of Blue Aerclouds as the sun climbs higher in the sky. When the sun falls.
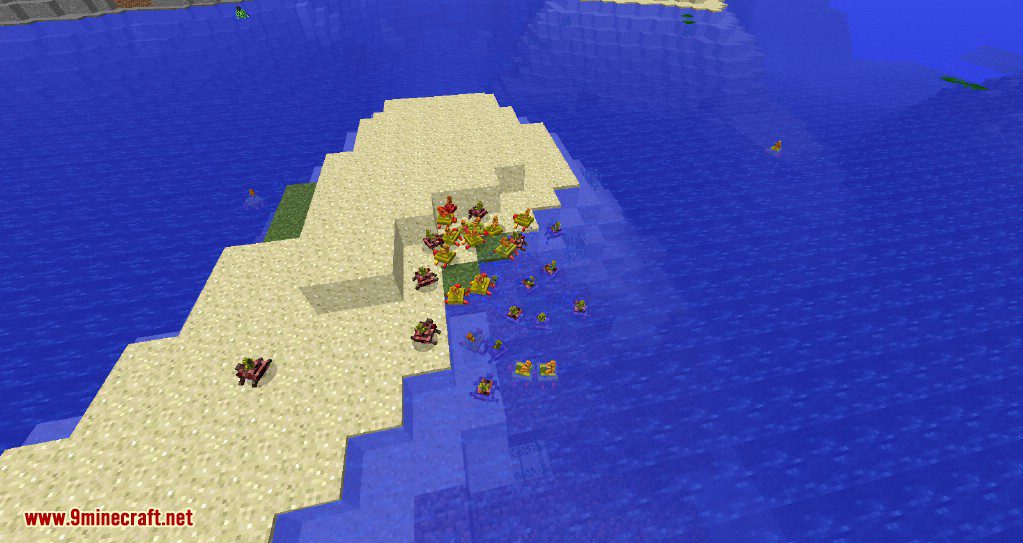
Cockatrices

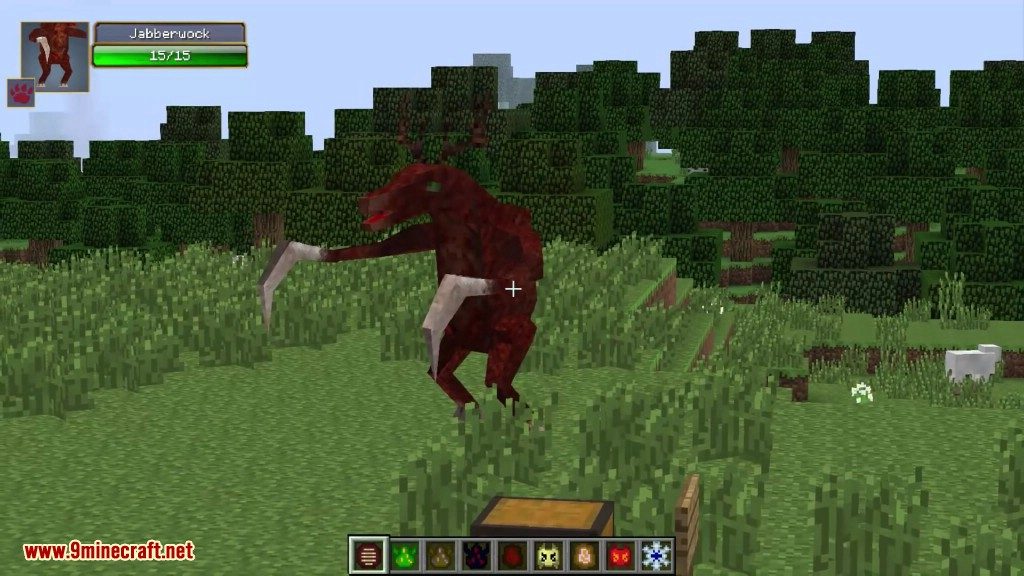
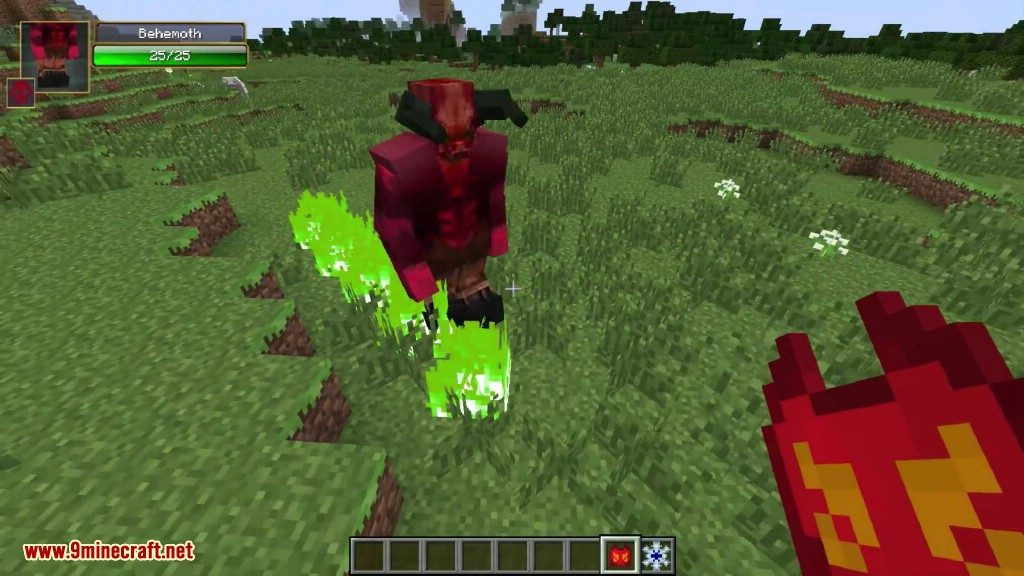
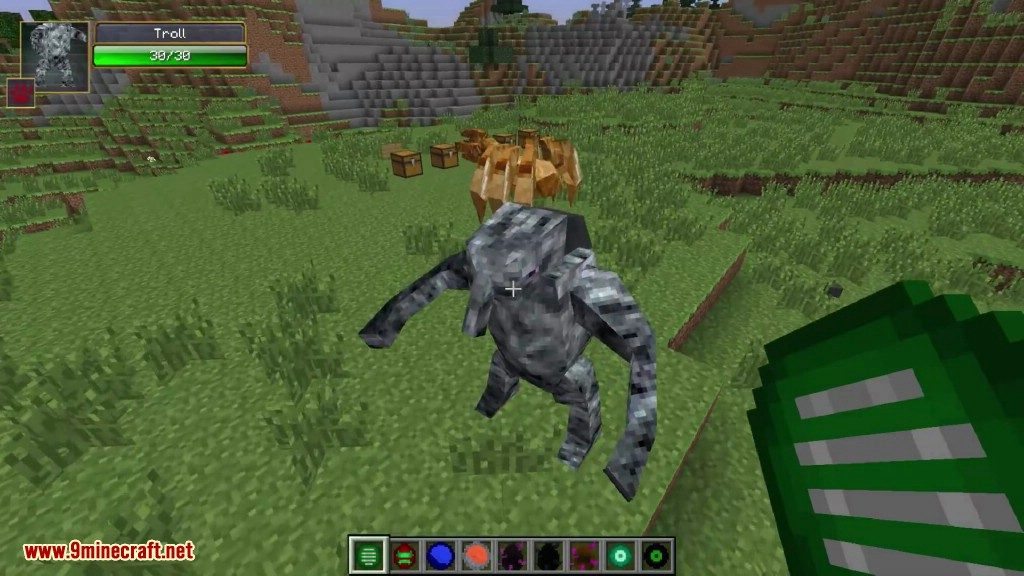
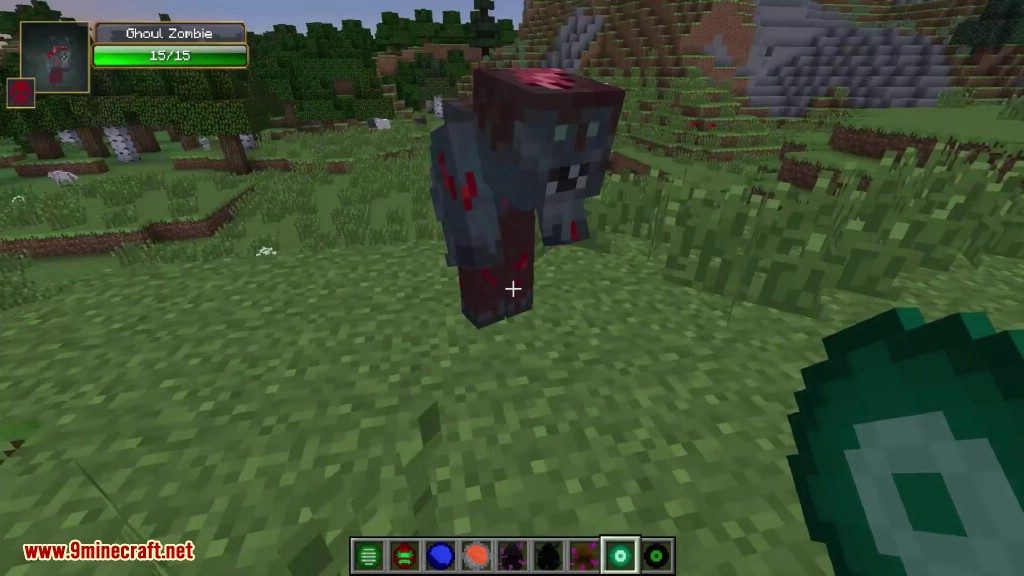
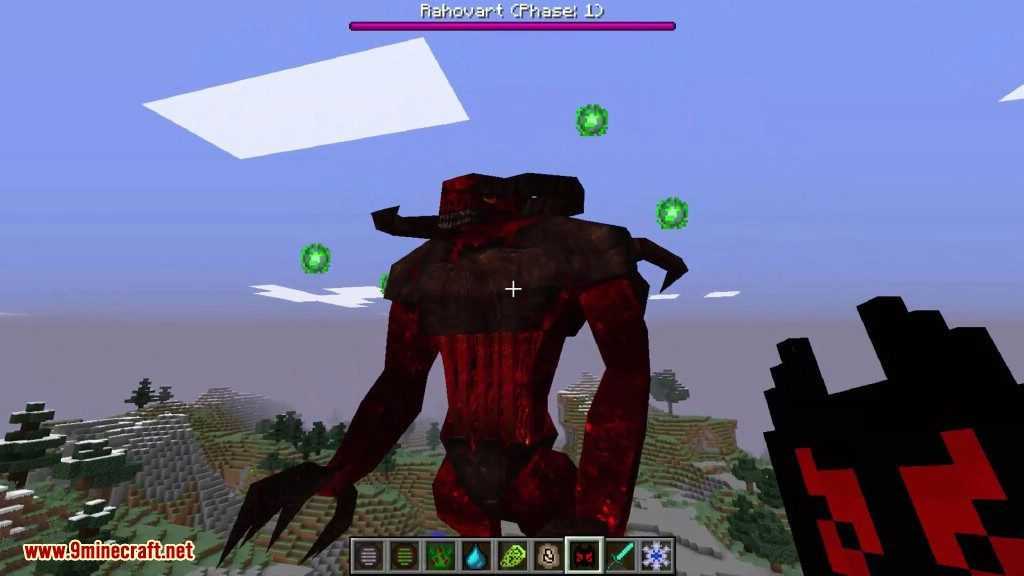
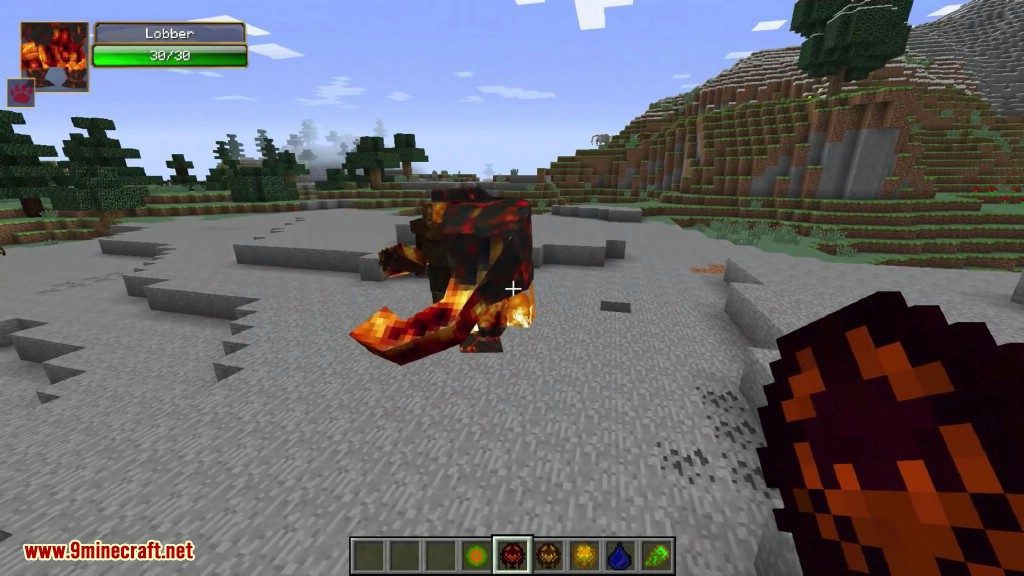
  • Cockatrices crawl away from their well-hidden nests, ready to attack. Peaceful as they may seem, these deadly birds shoot poisonous needles at you when provoked. They are one of the few hostile mobs in the Aether.

Mutiplayer

  • How are you going to conquere dungeons with your friends without having a way to meet up? The Aether 2 is built on the Minecraft Forge API, allowing an easy way to create and manage Aether multiplayer servers.

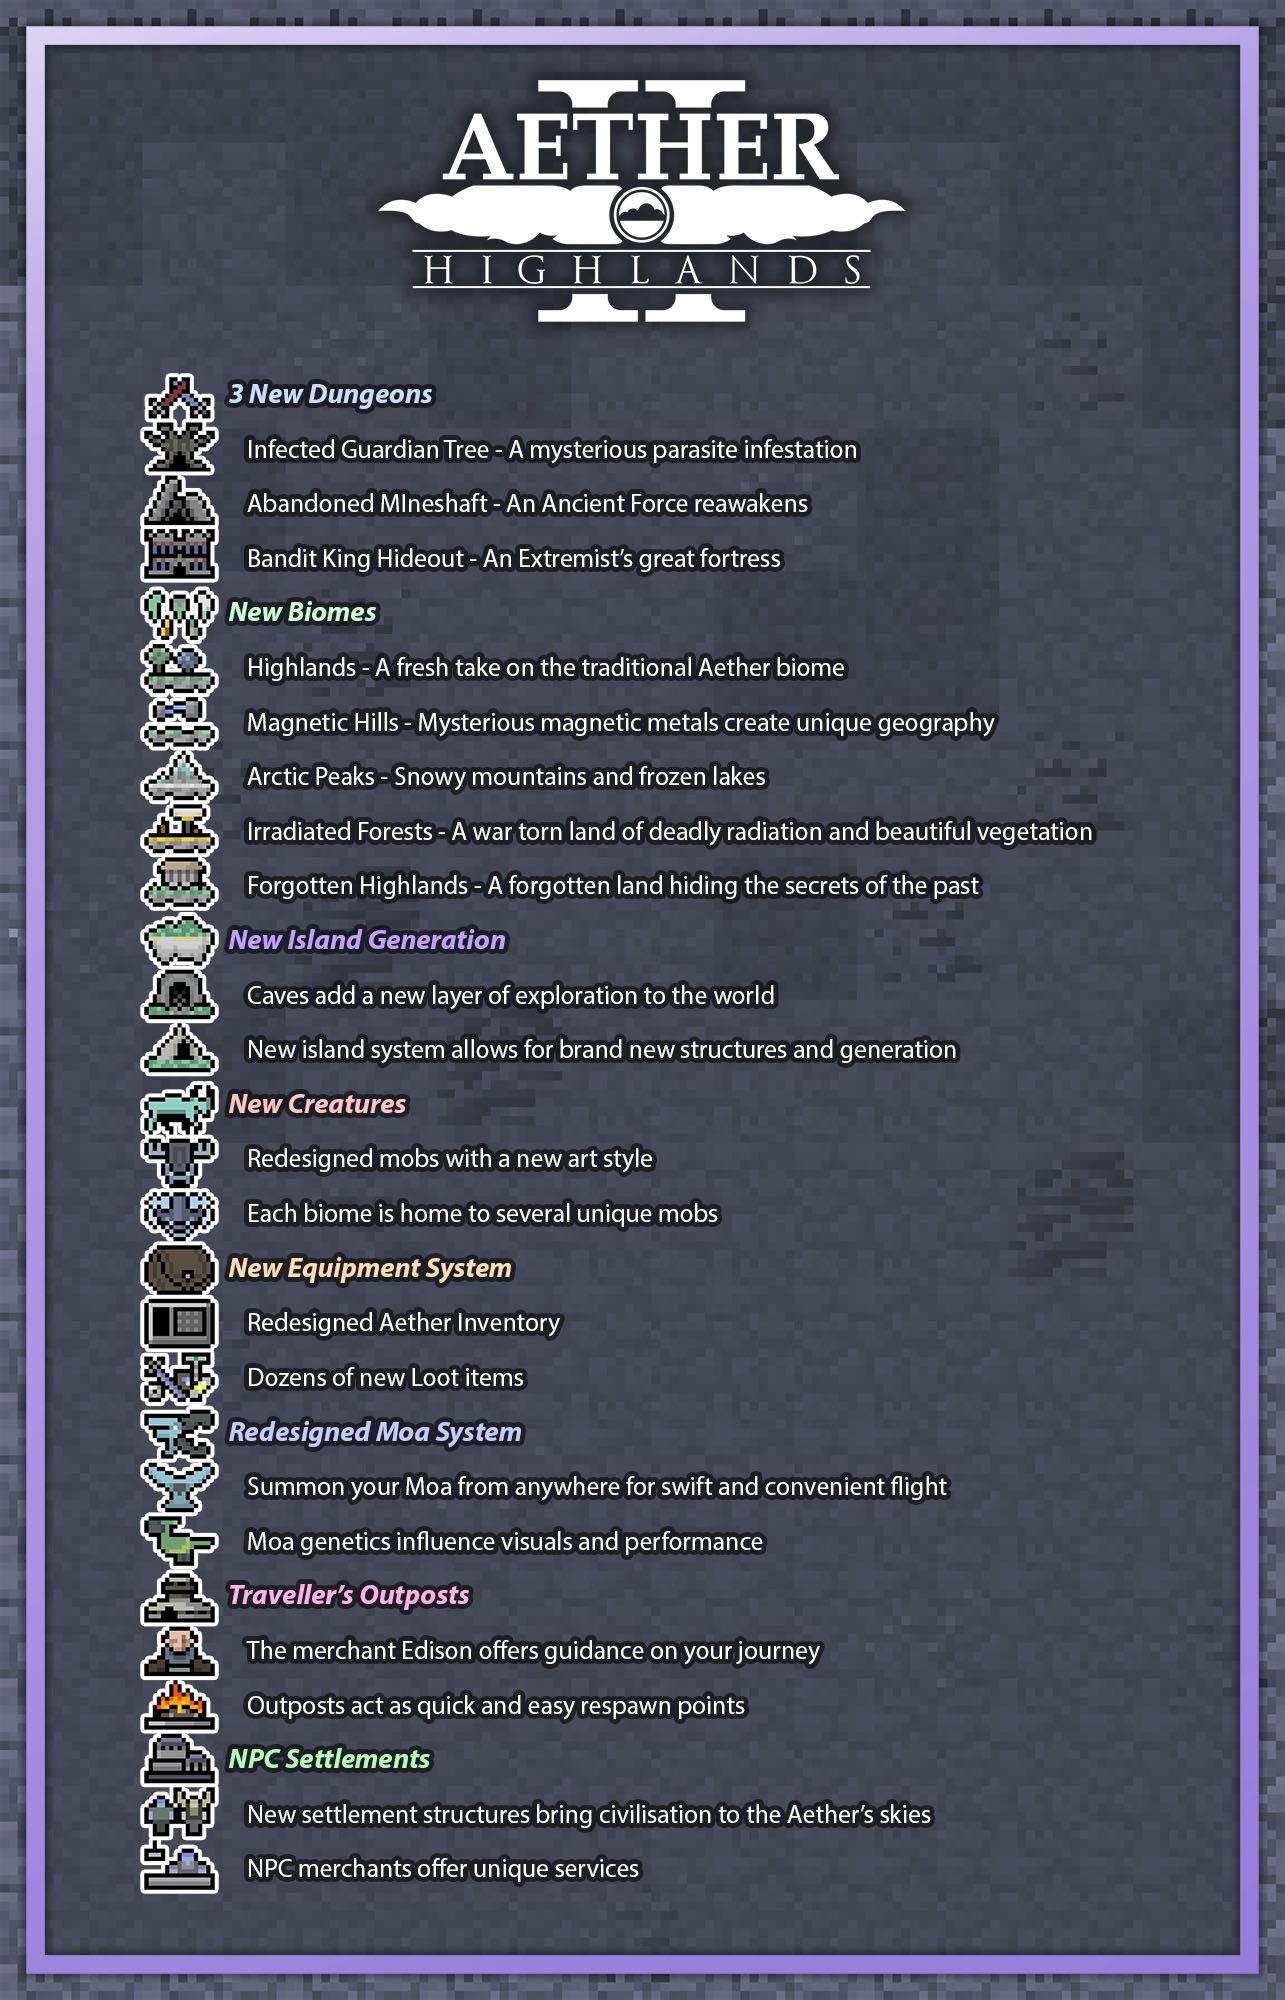
Aether 2 Highlands 2018 Features:
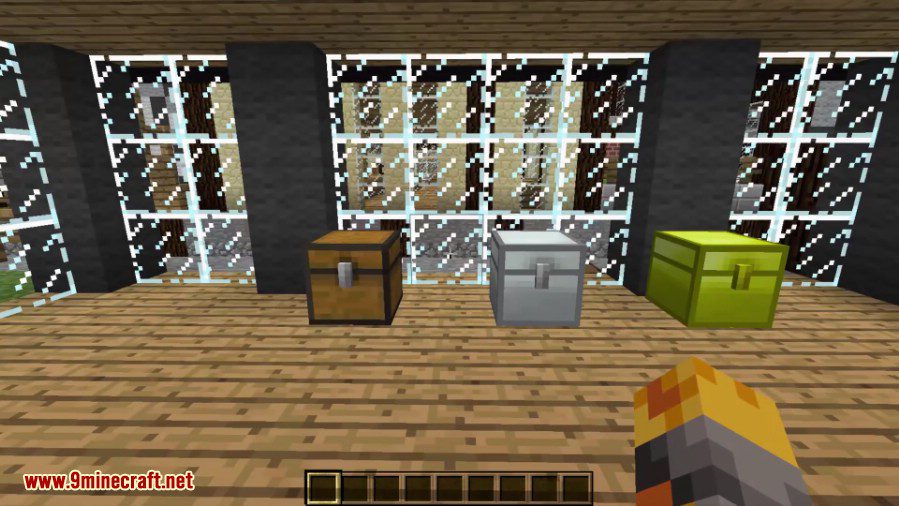
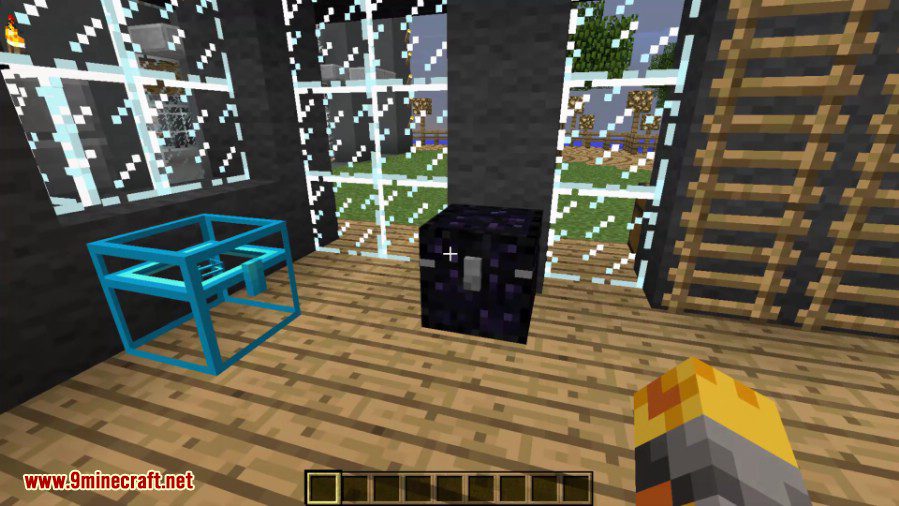
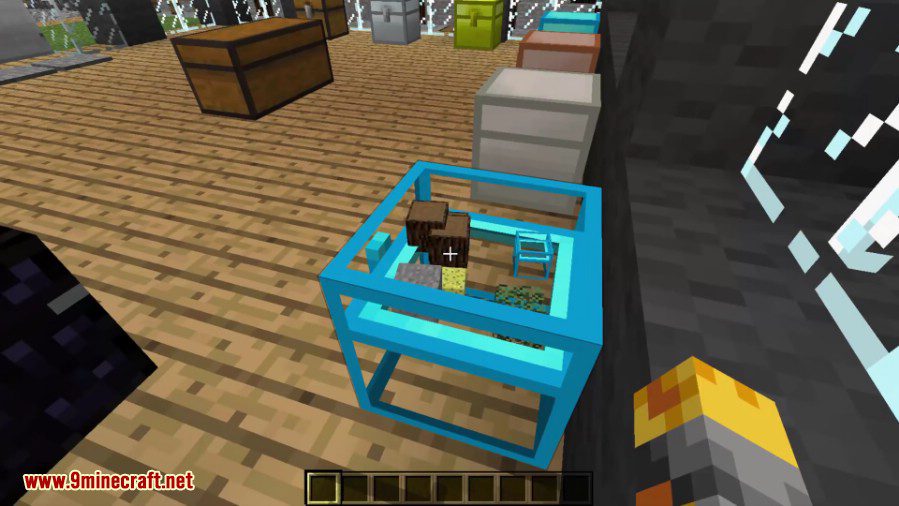
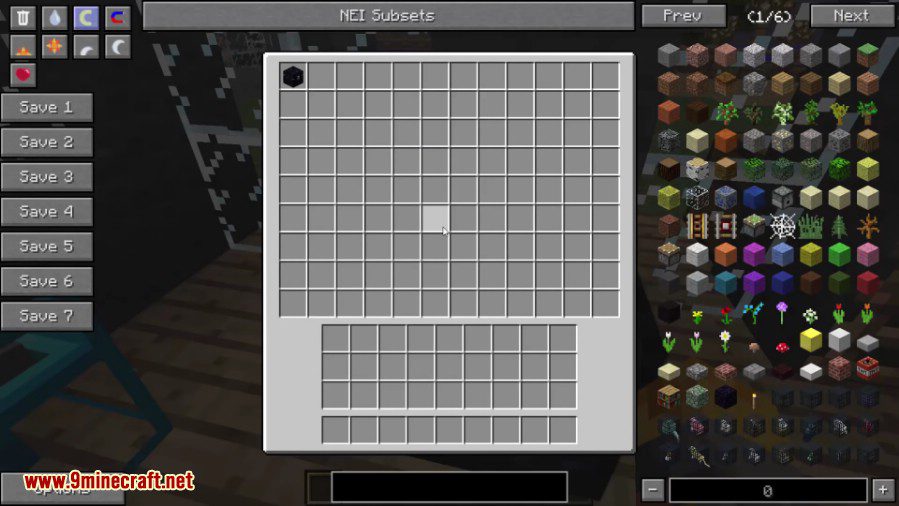
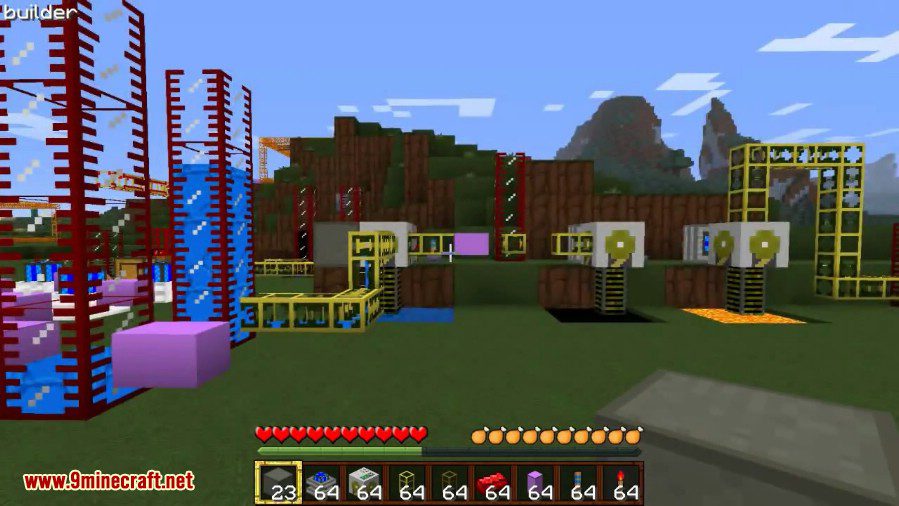
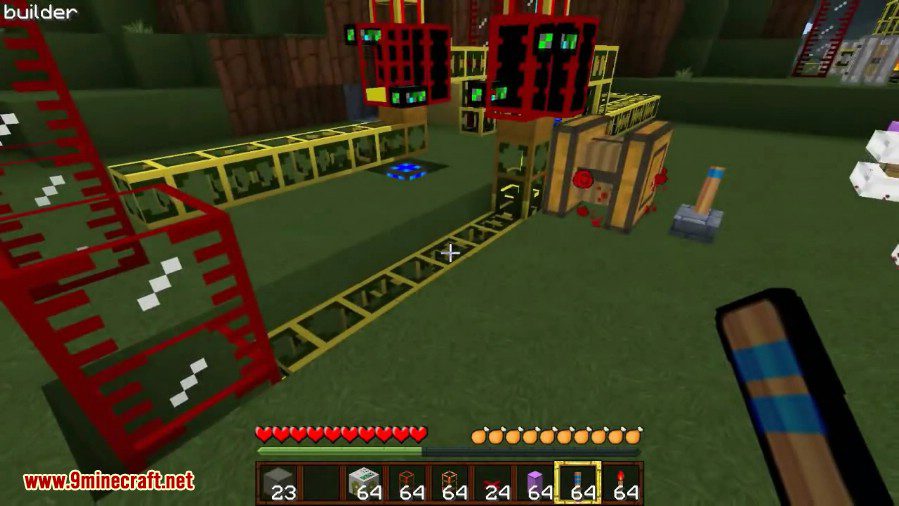
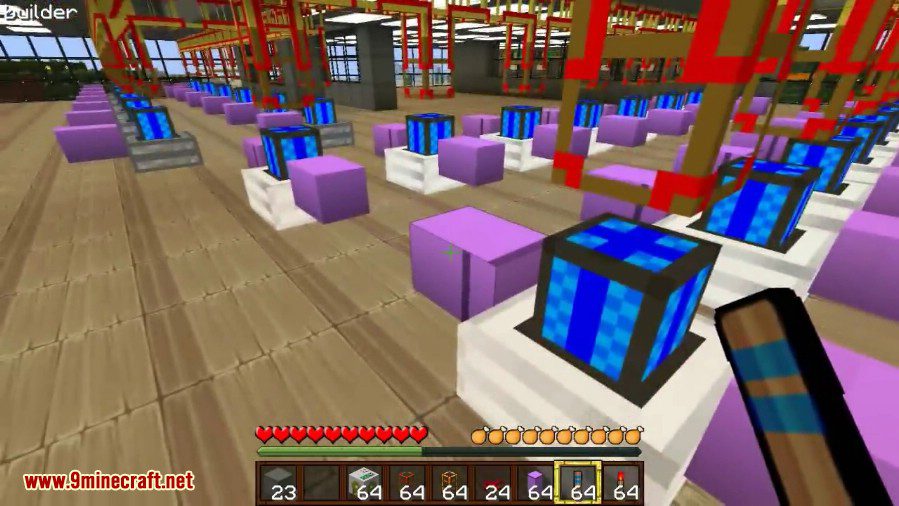
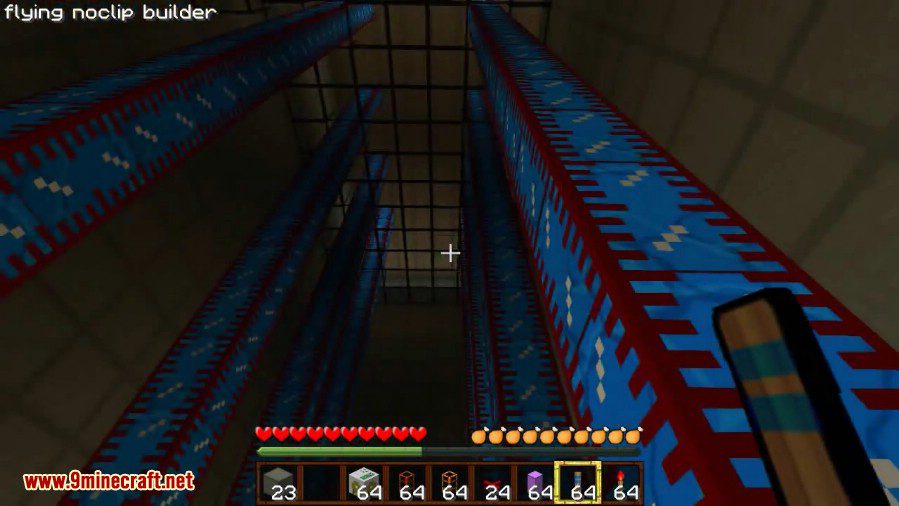
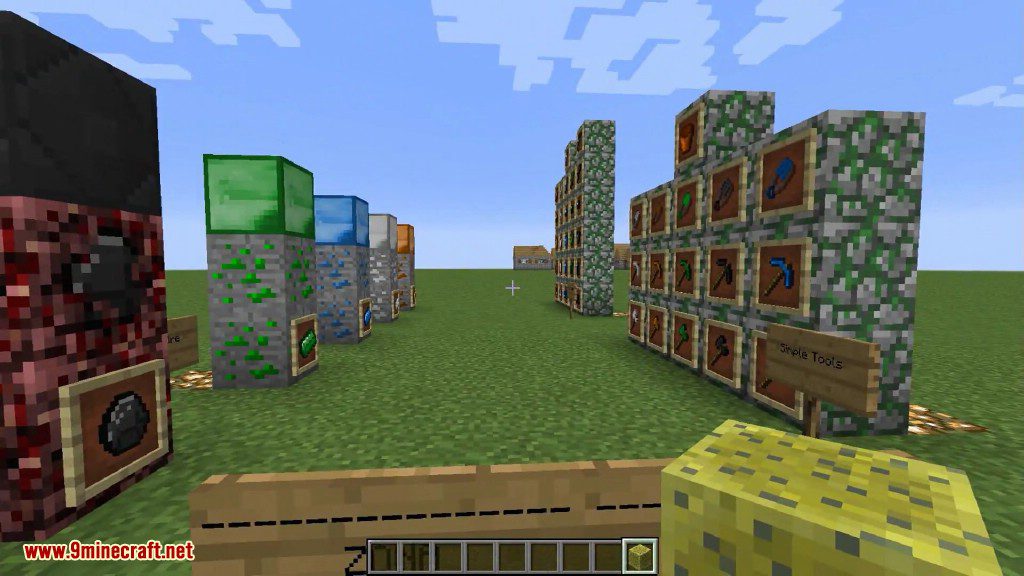
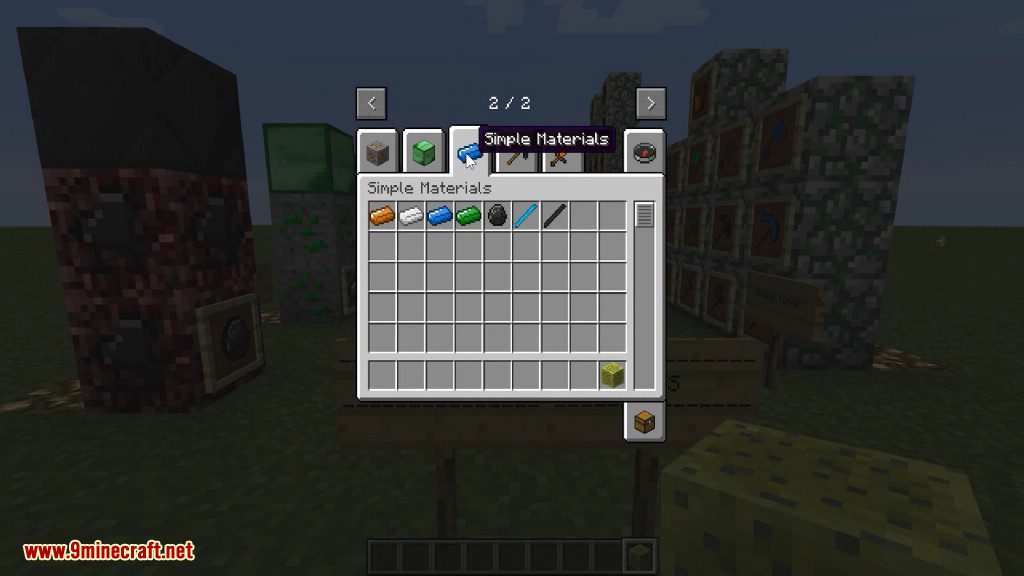
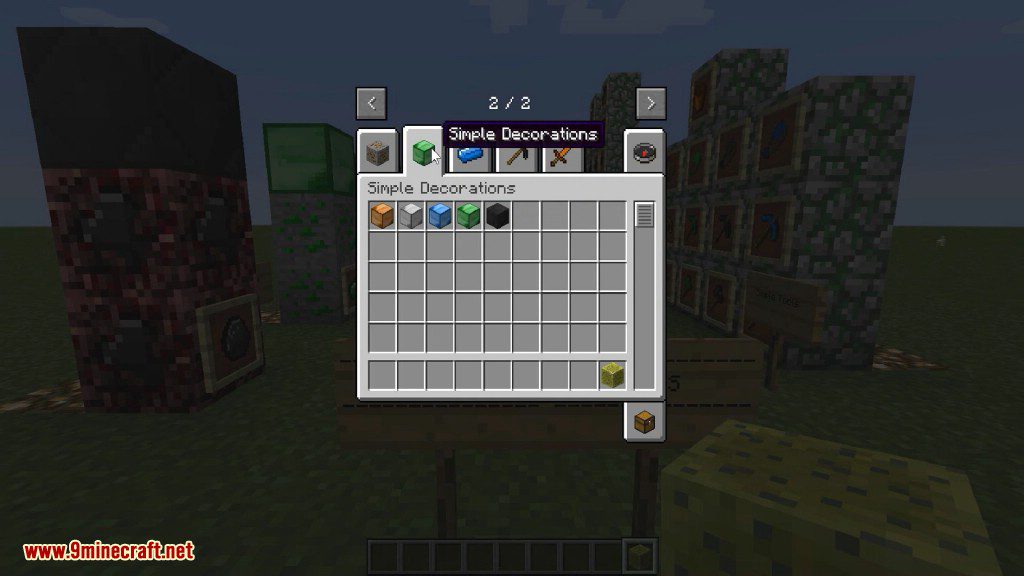
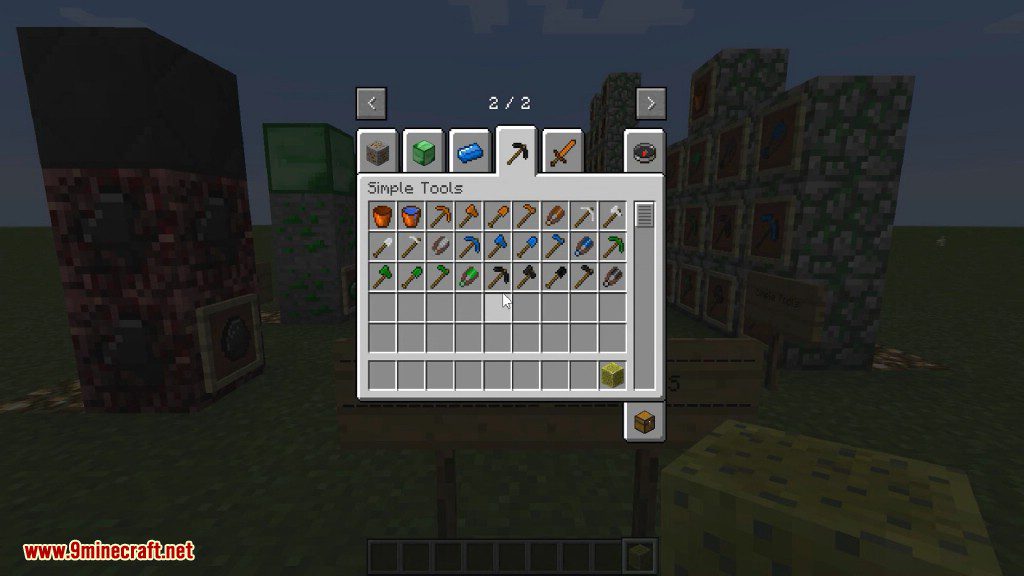
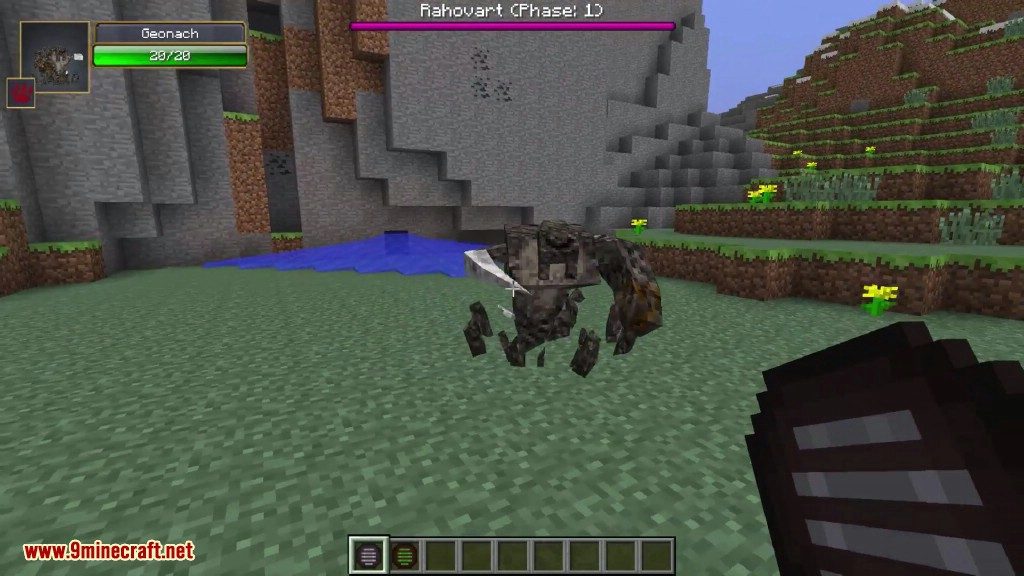
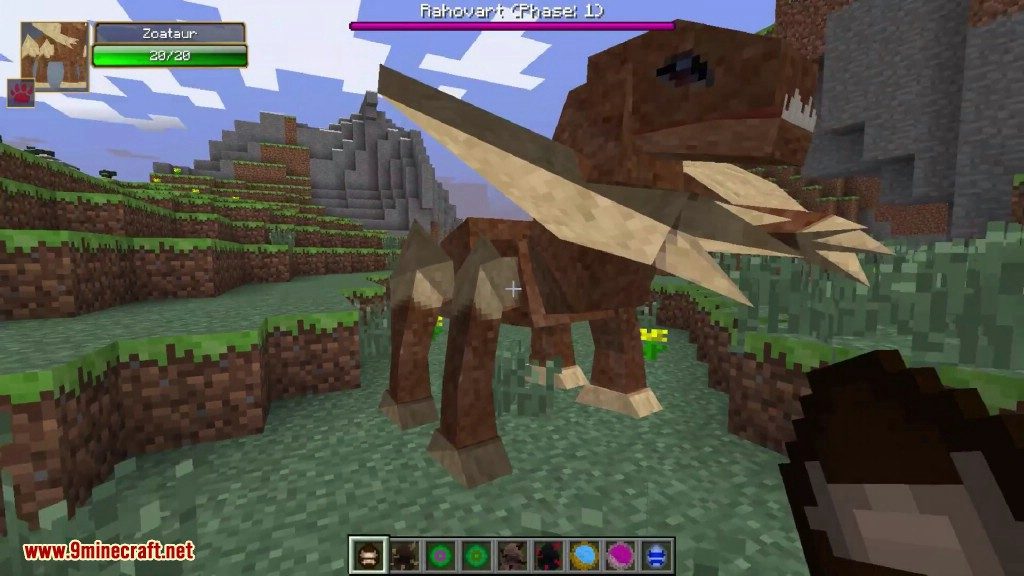
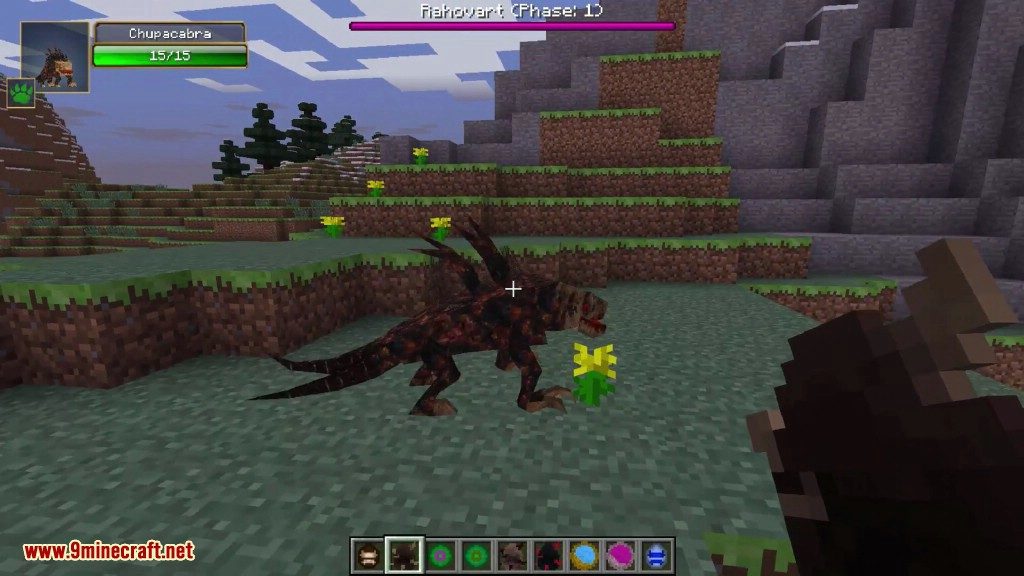
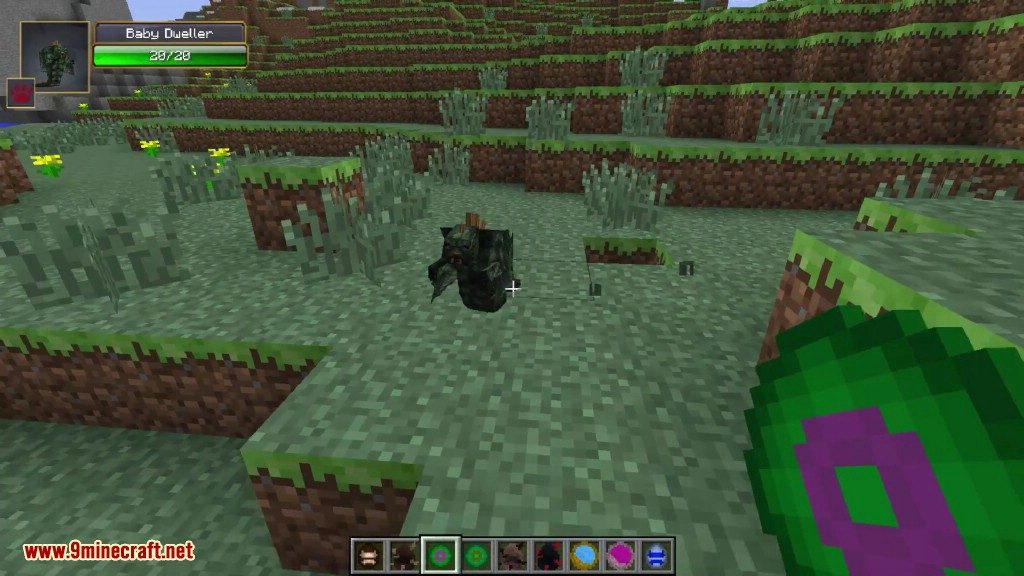
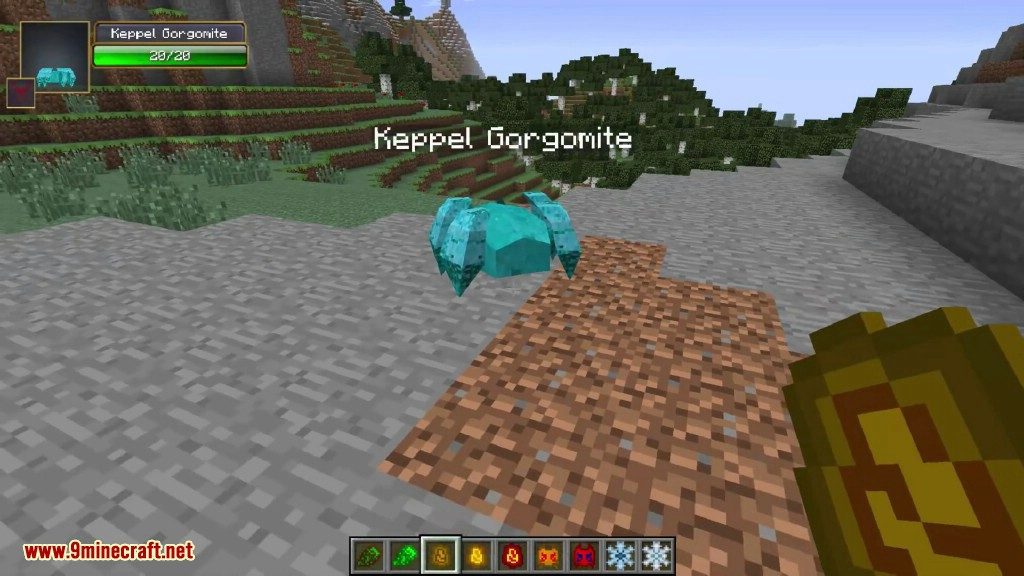
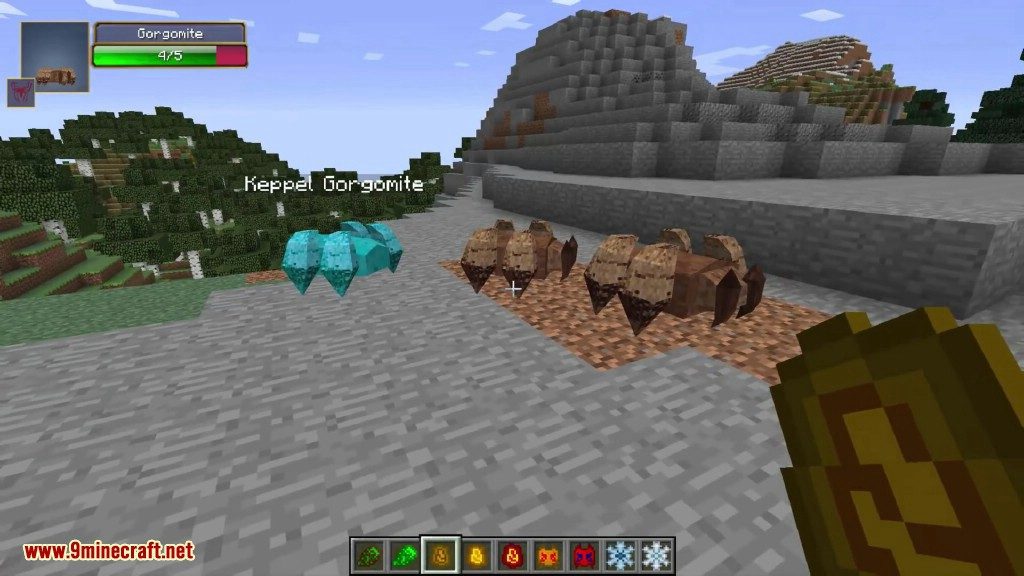
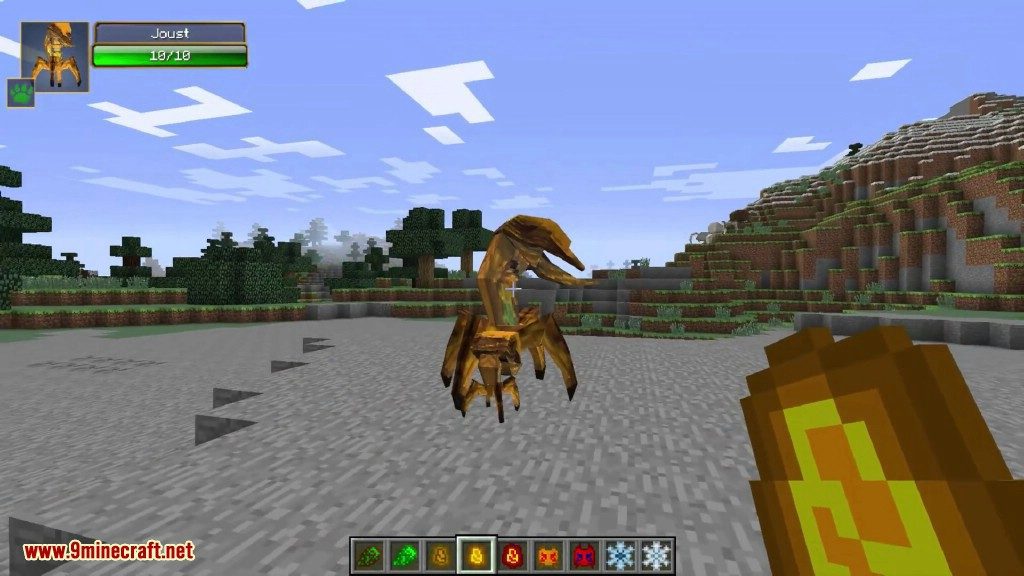
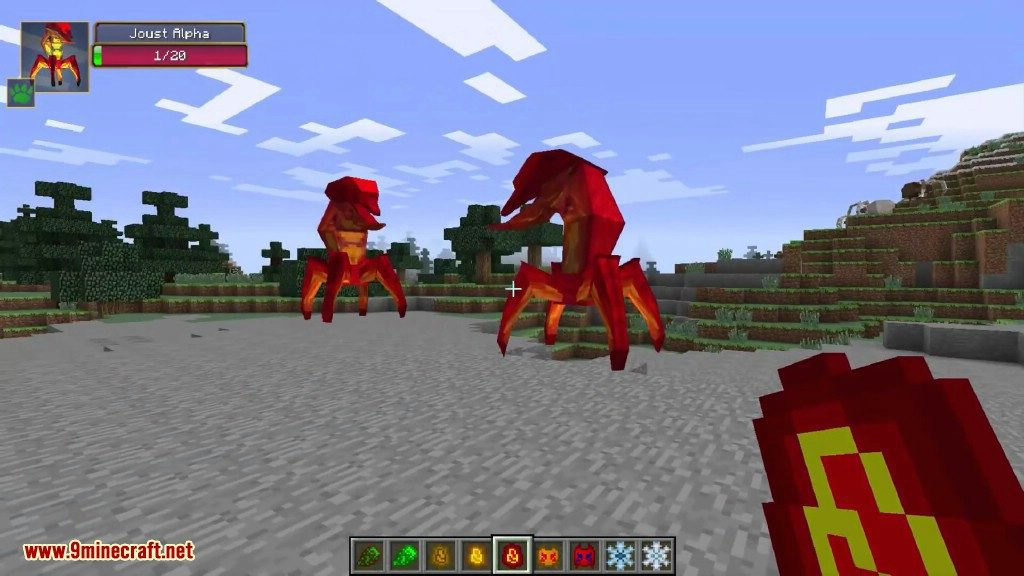
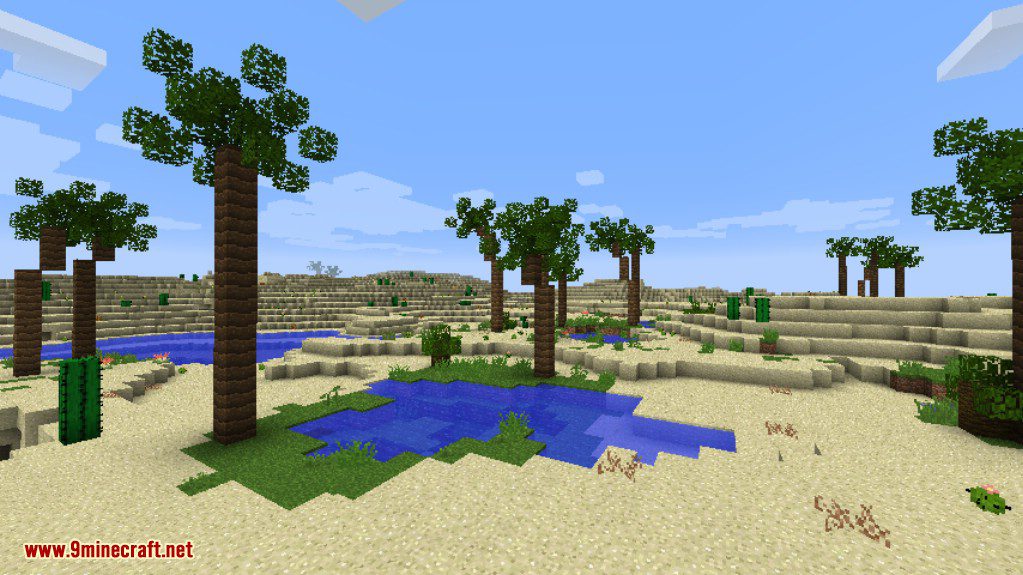
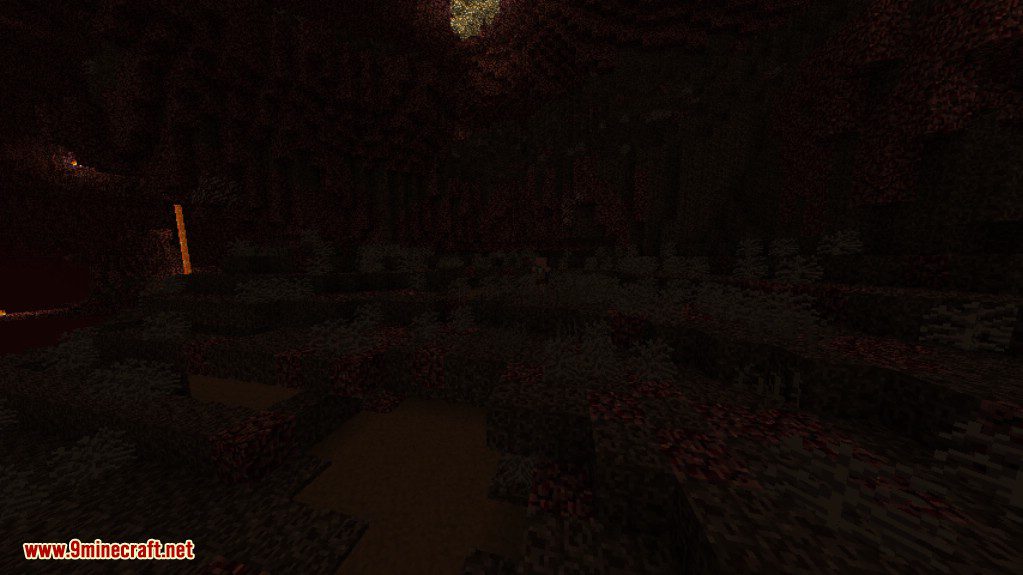
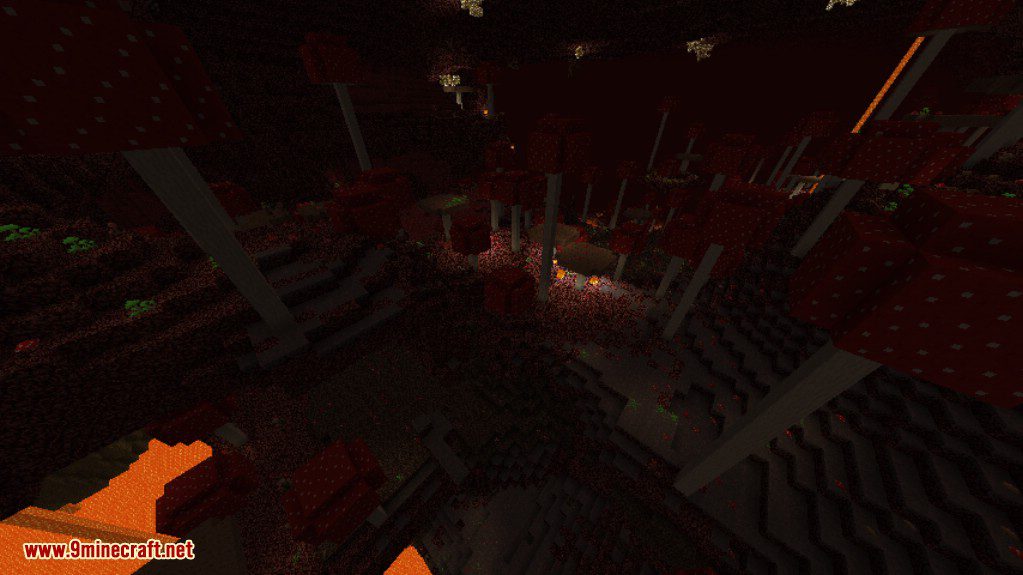
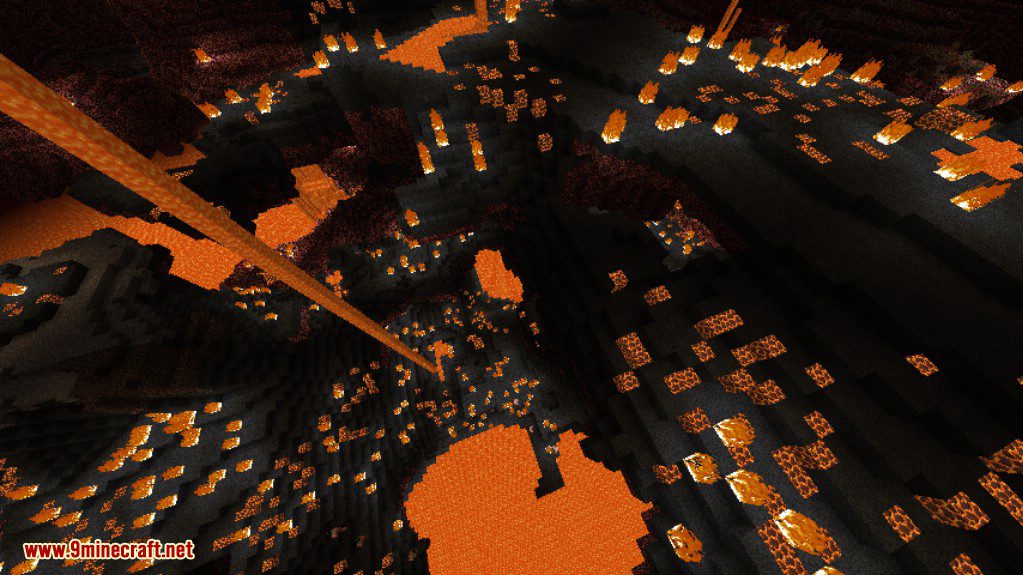
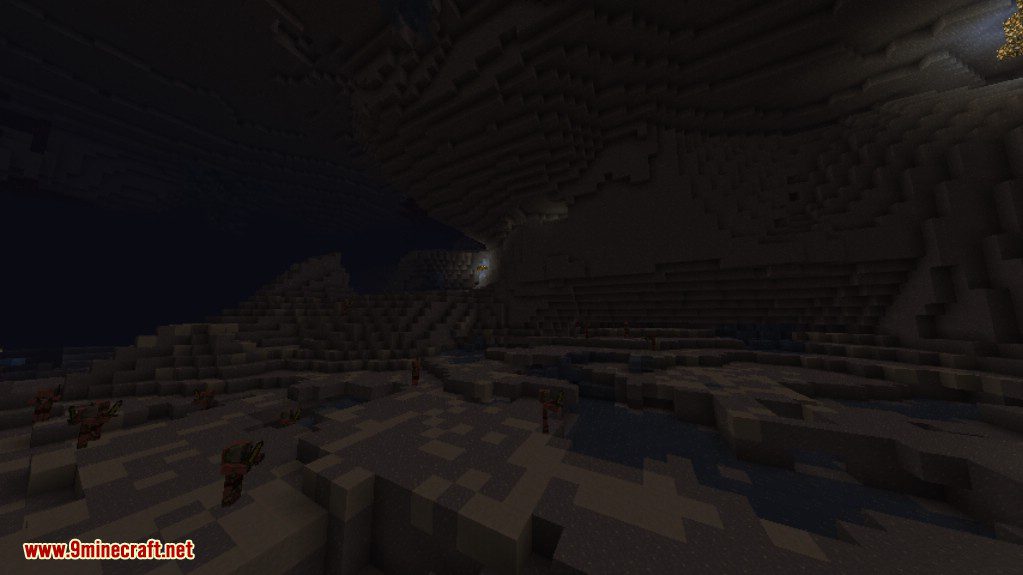
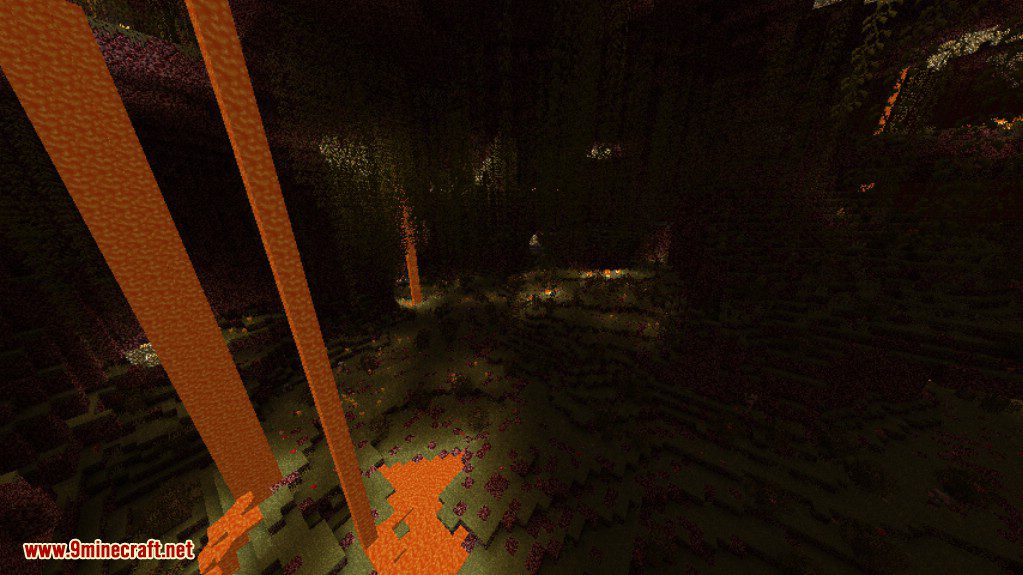
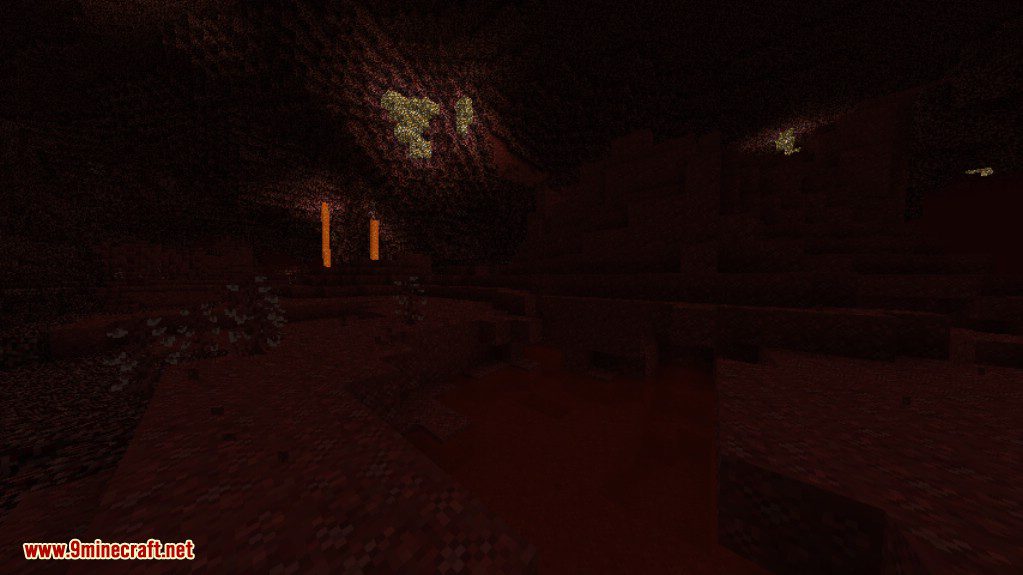
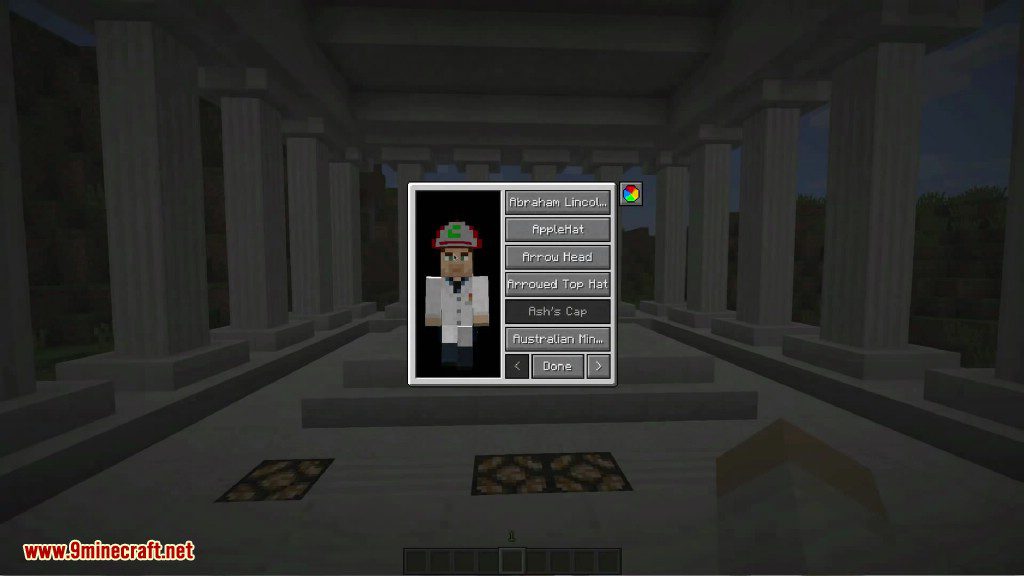
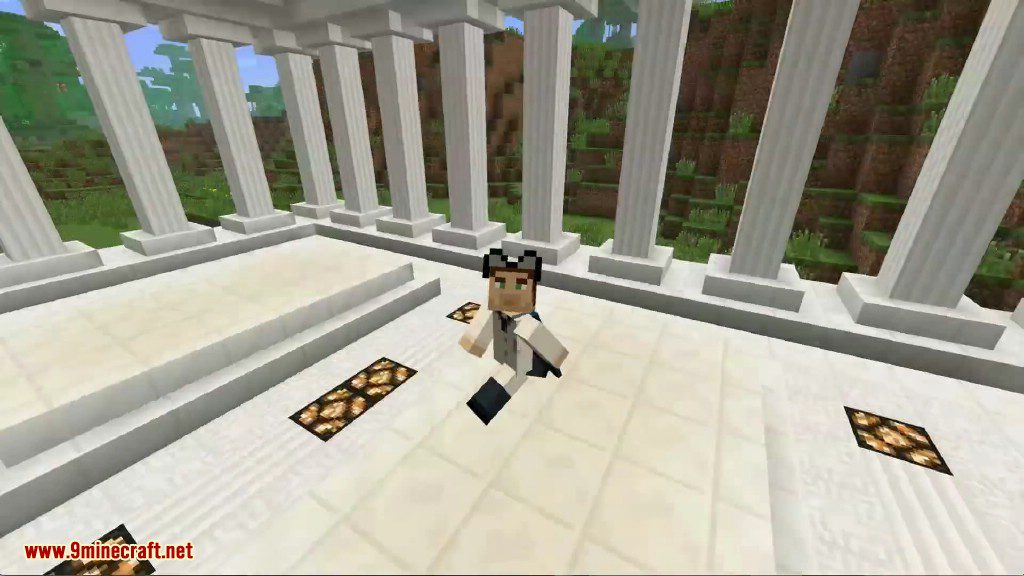
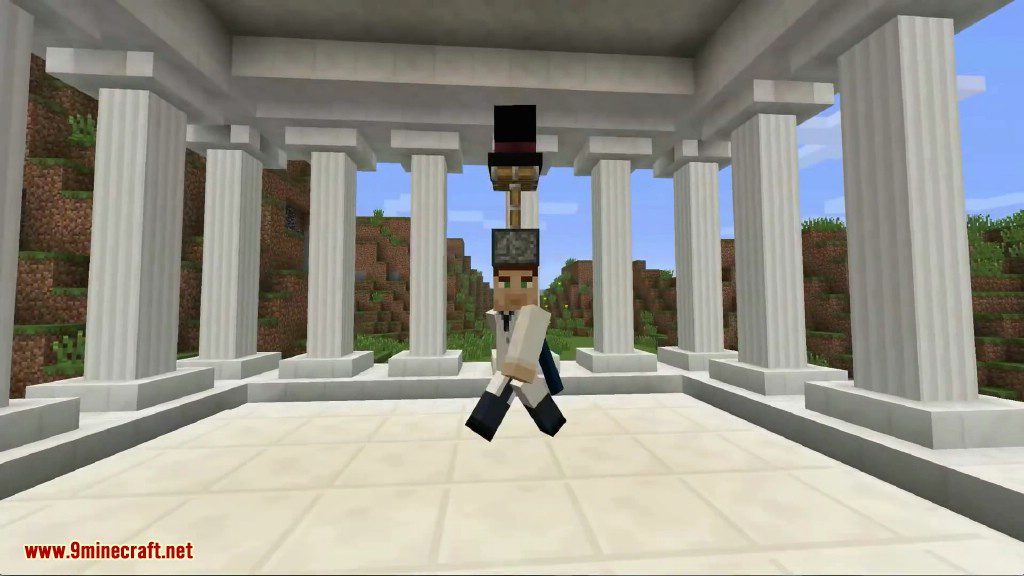
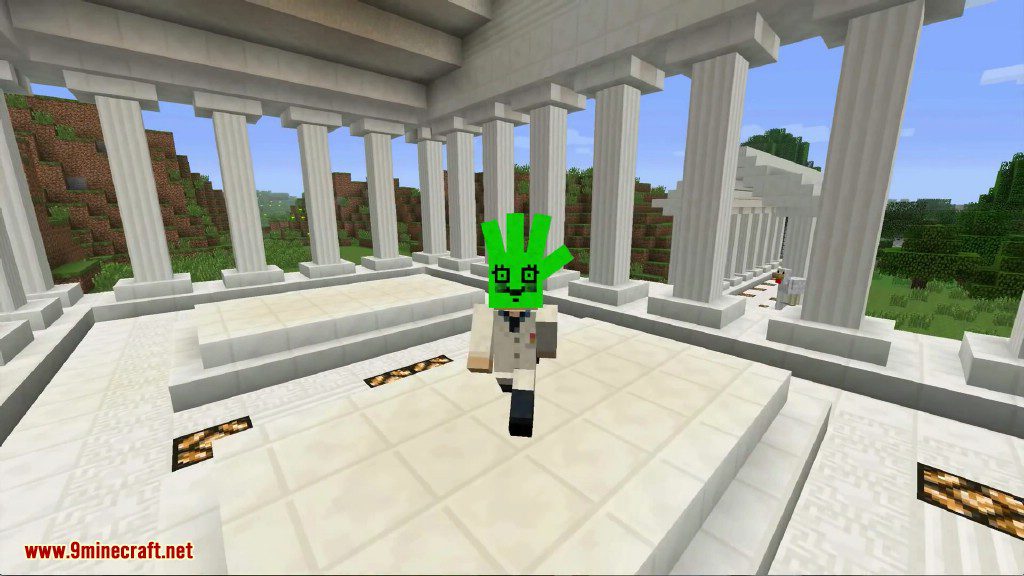
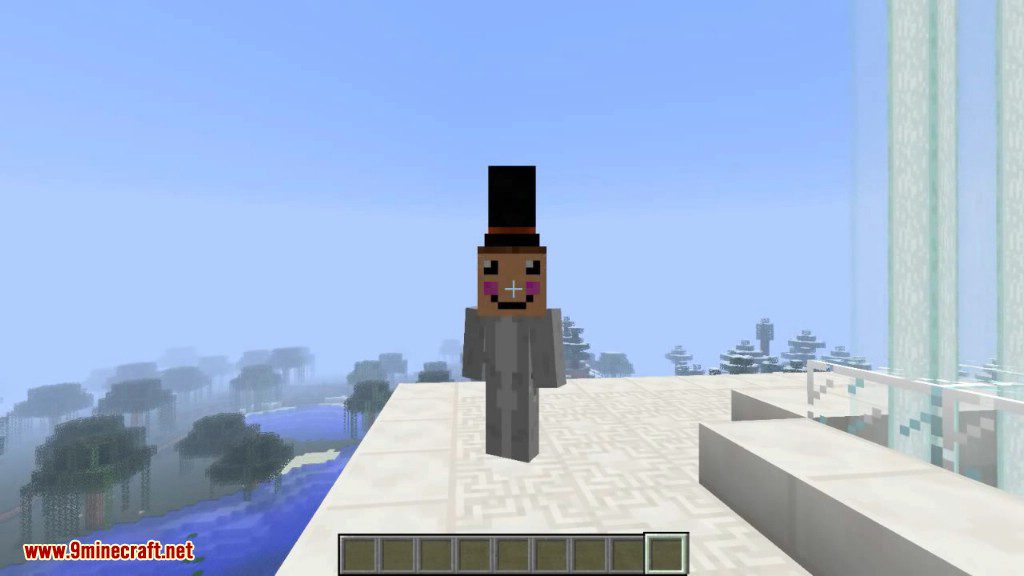
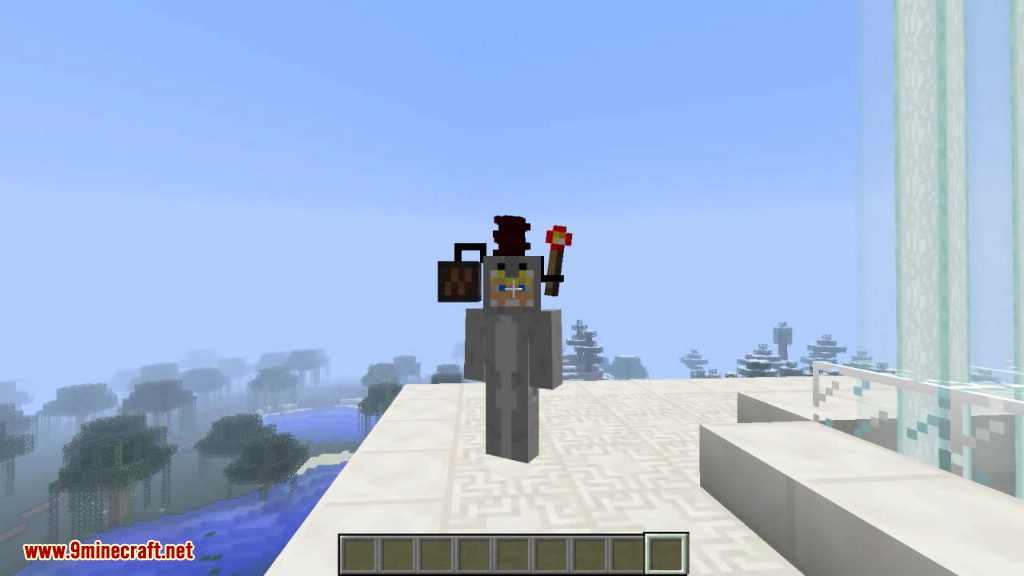
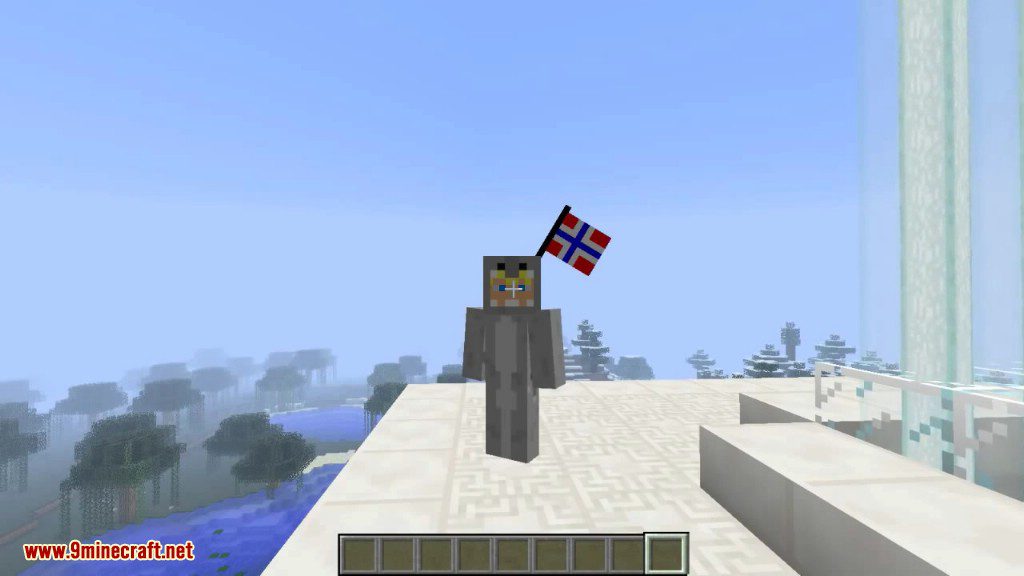
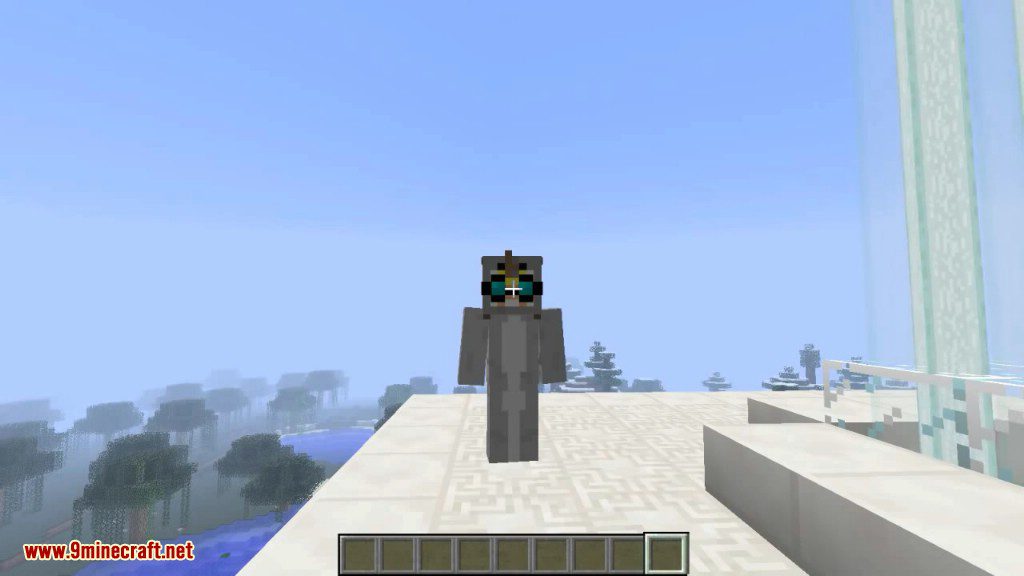
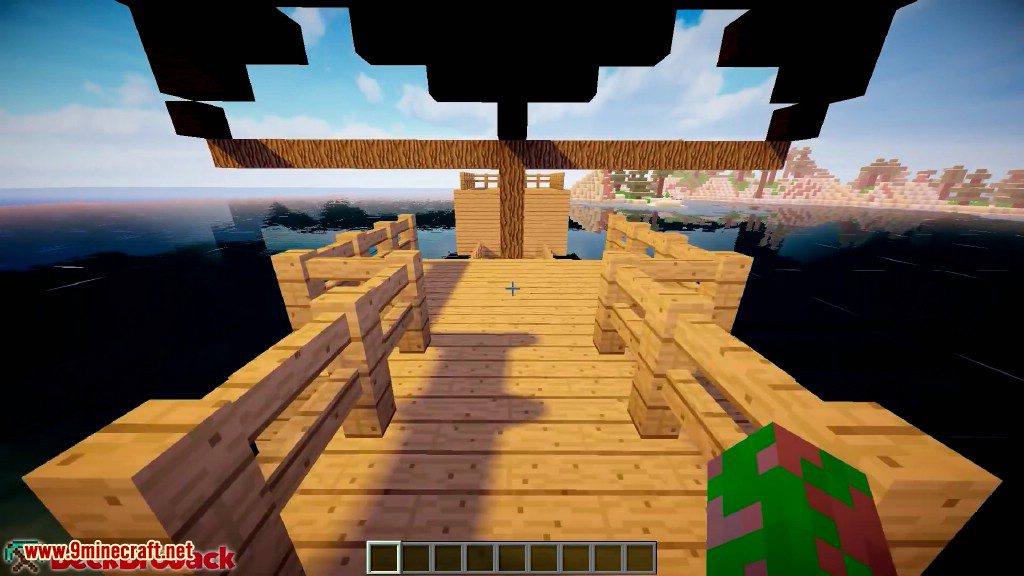
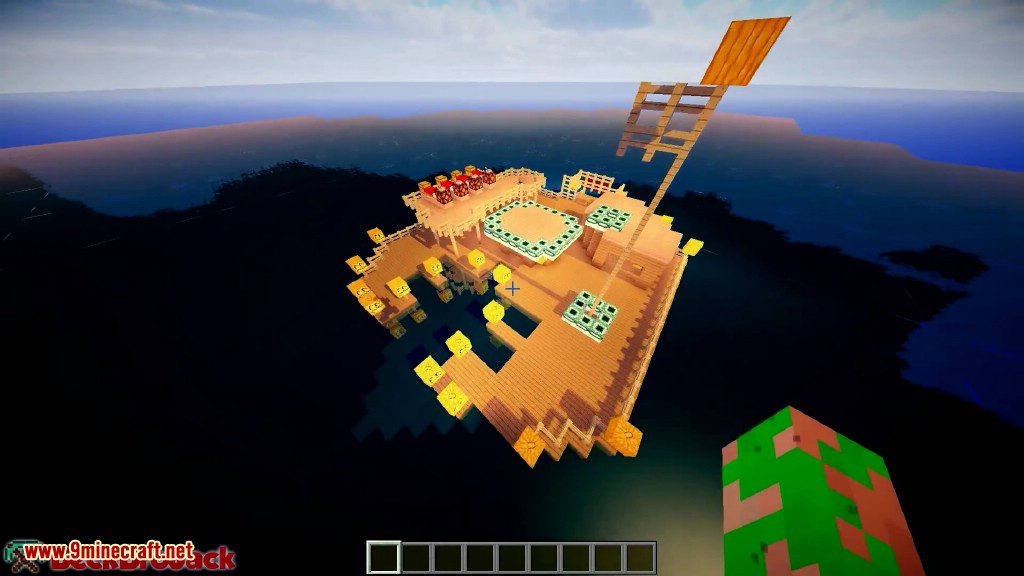
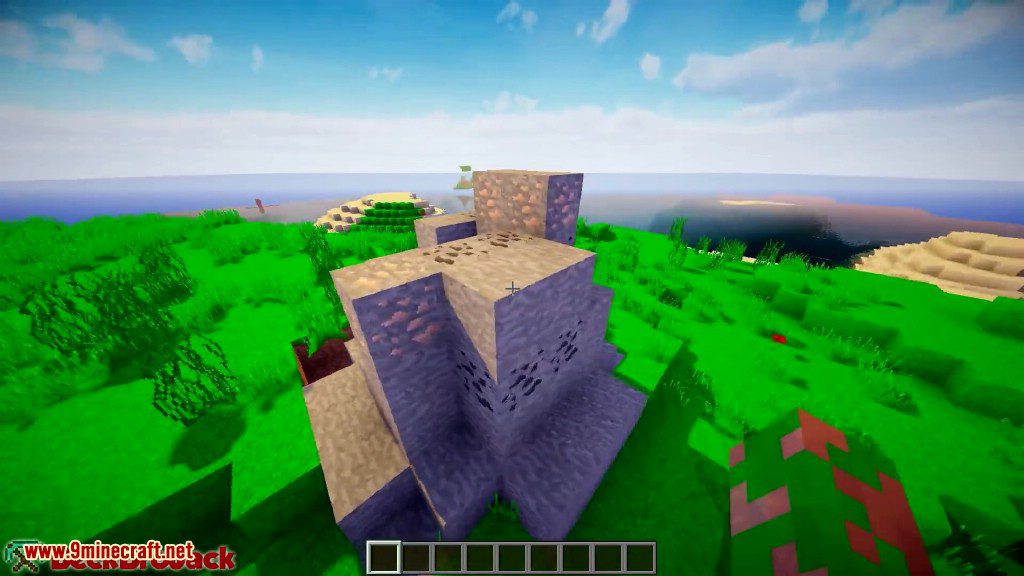
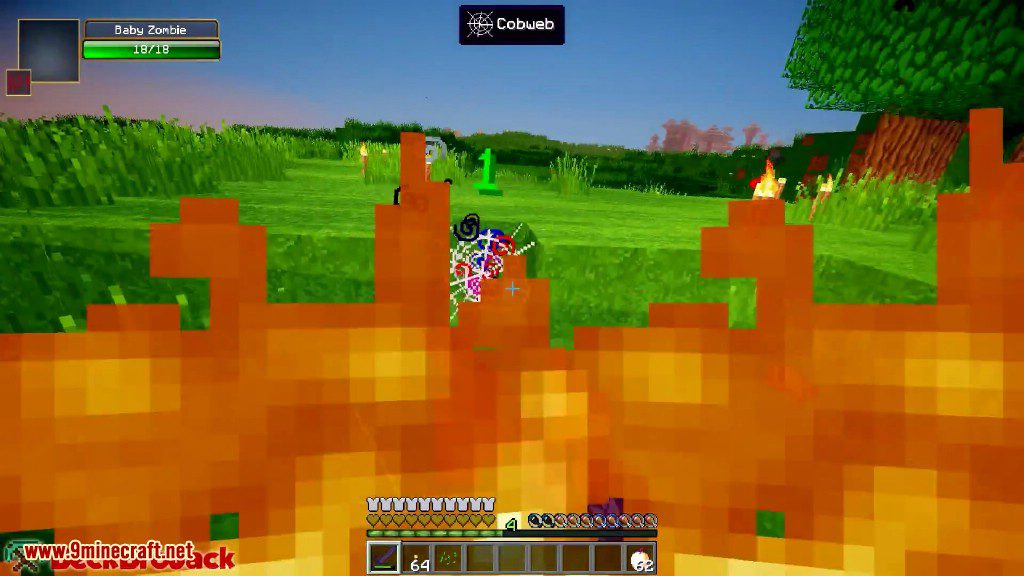
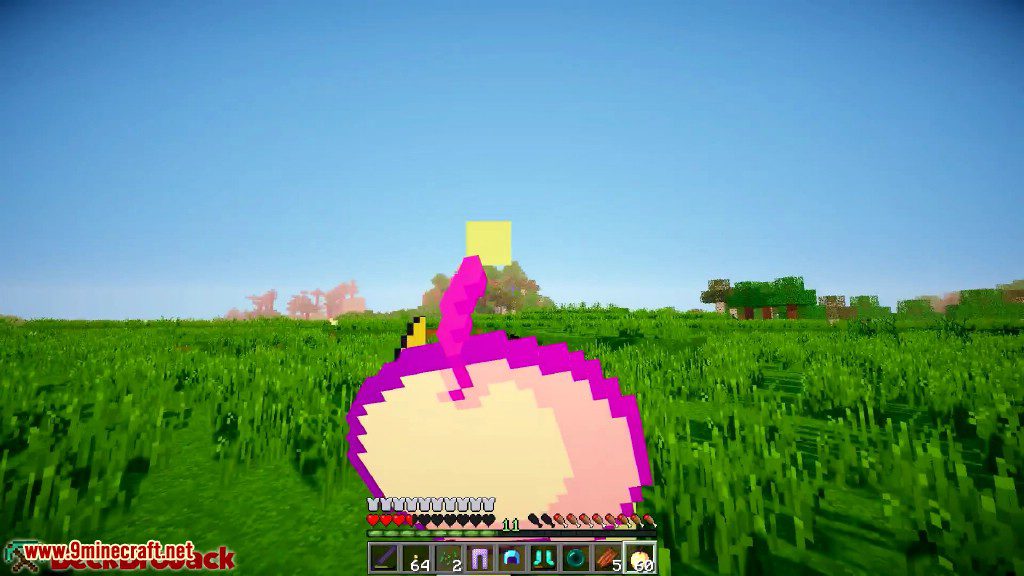
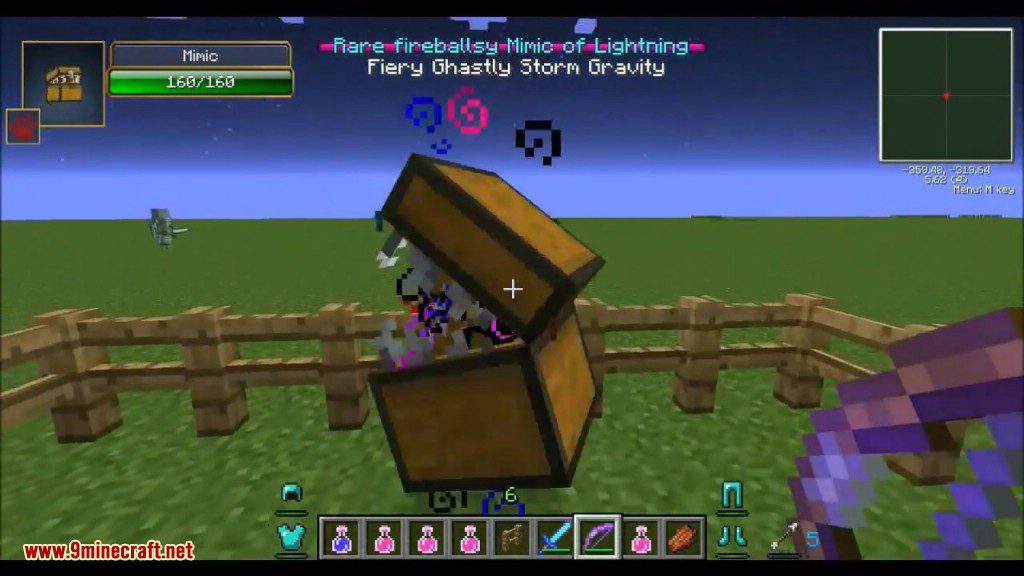
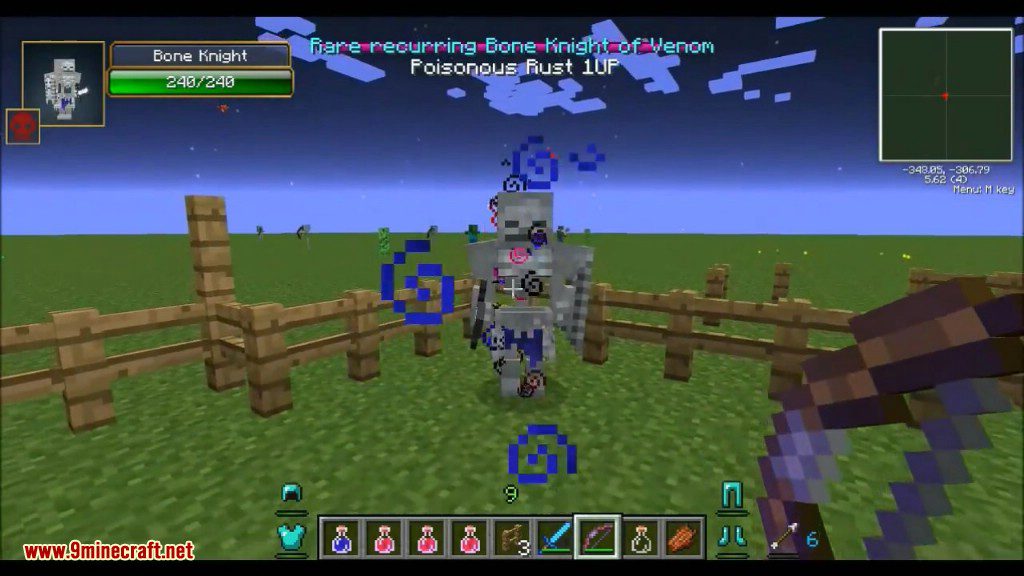
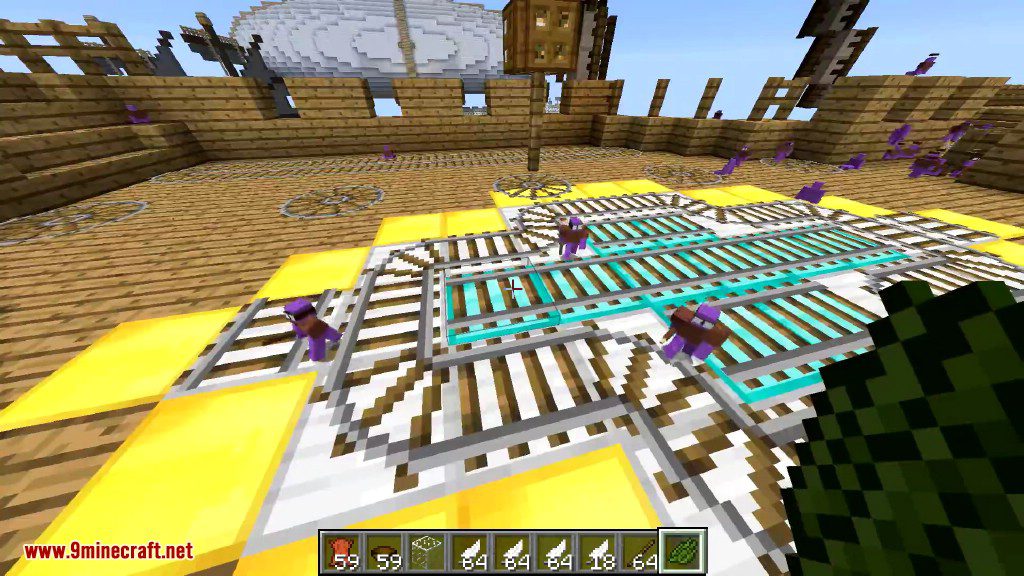
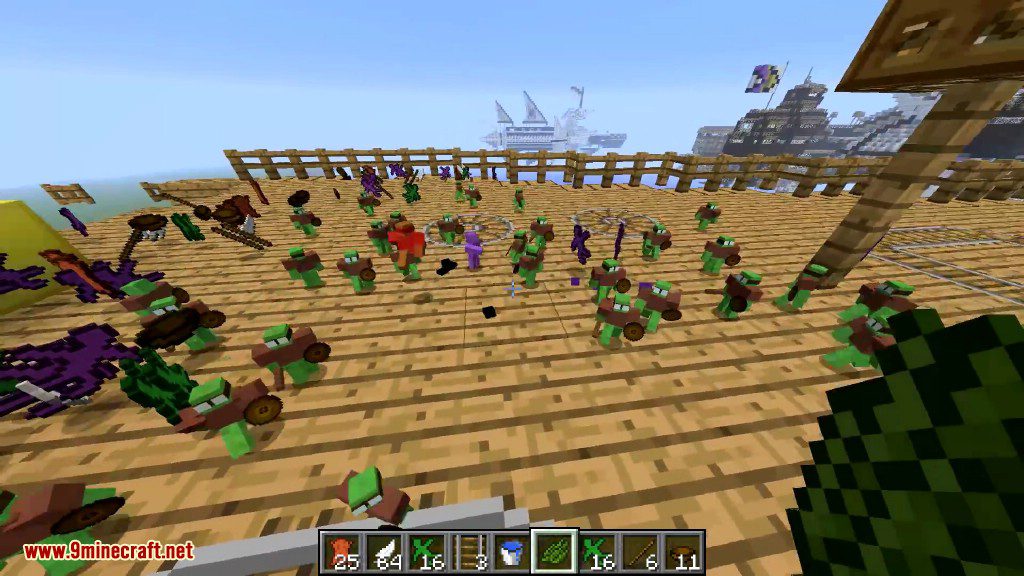
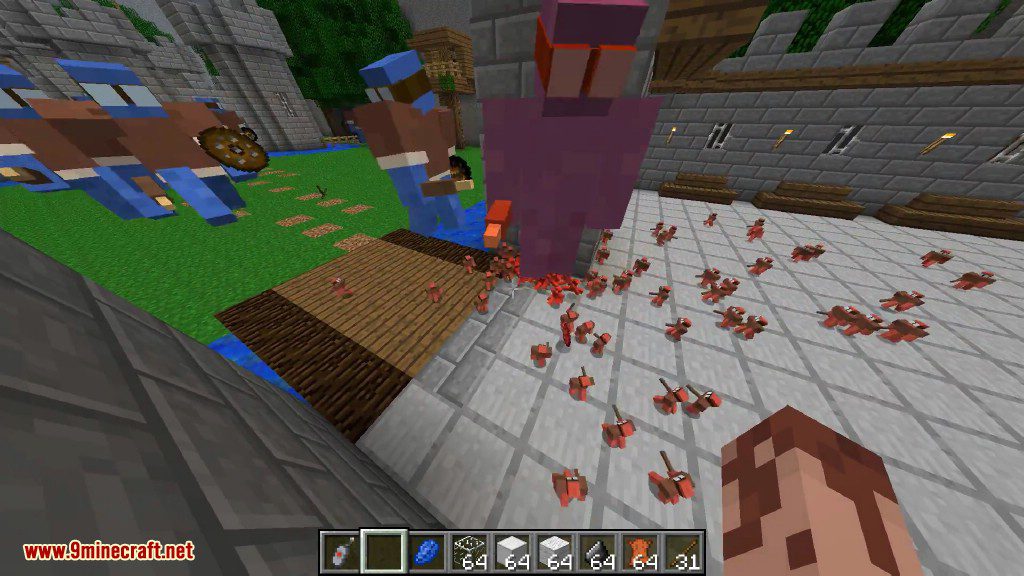
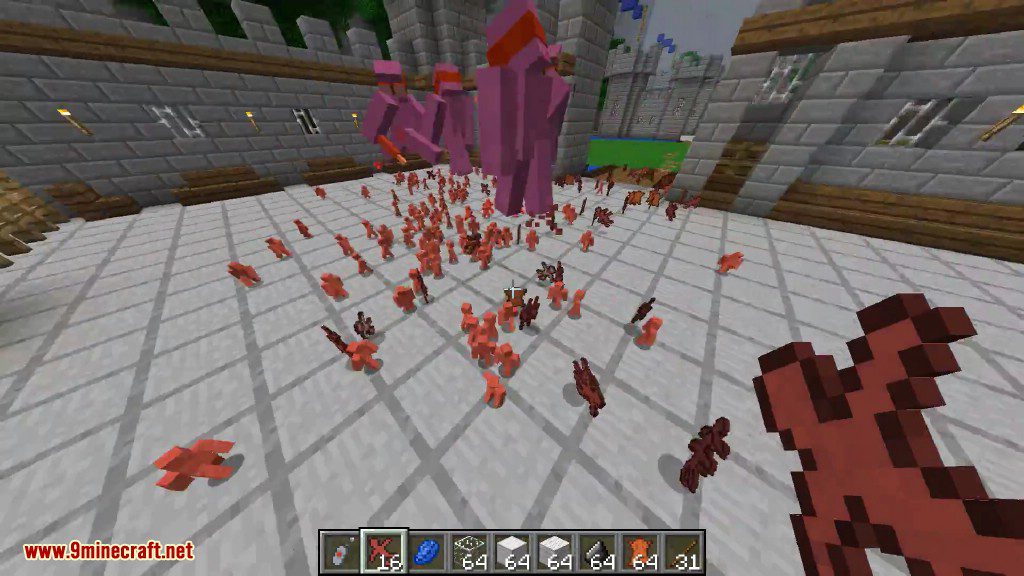
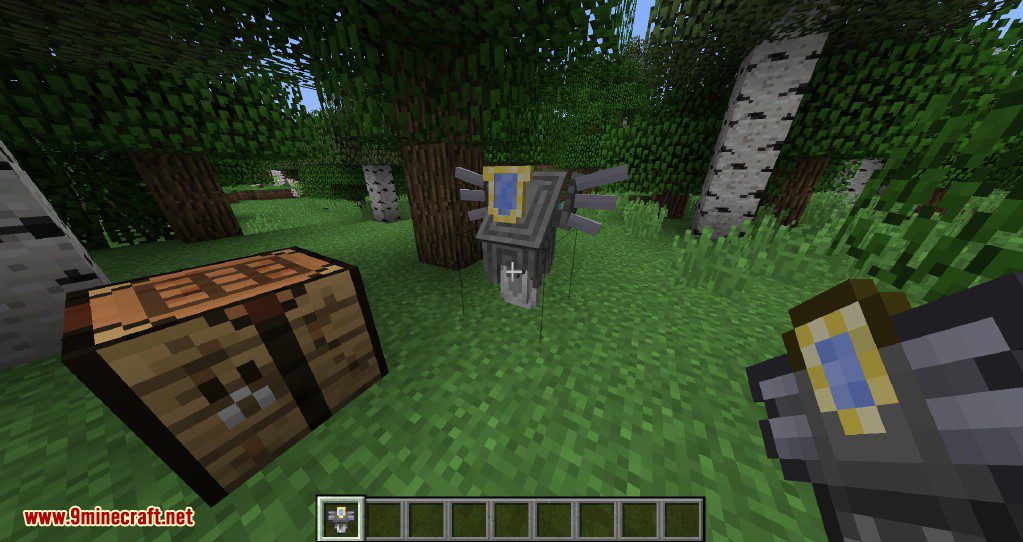
Aether 2 Mod 2018 Features 1

Screenshots:

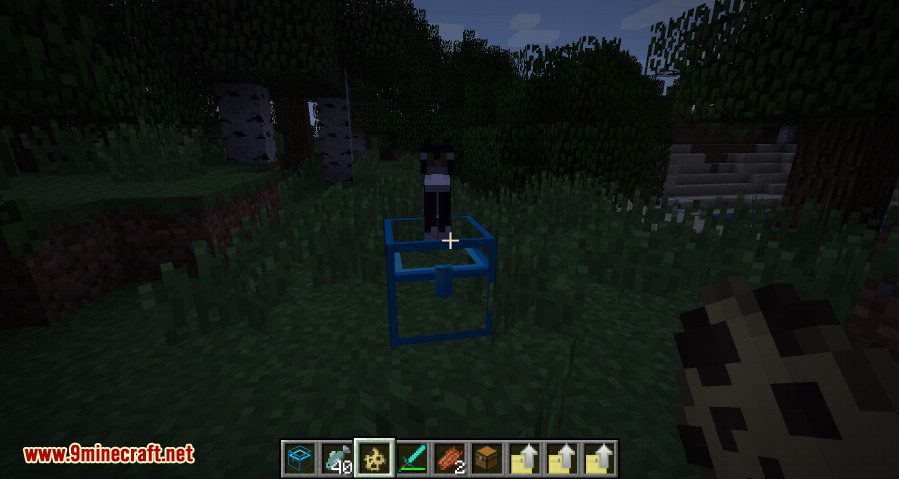
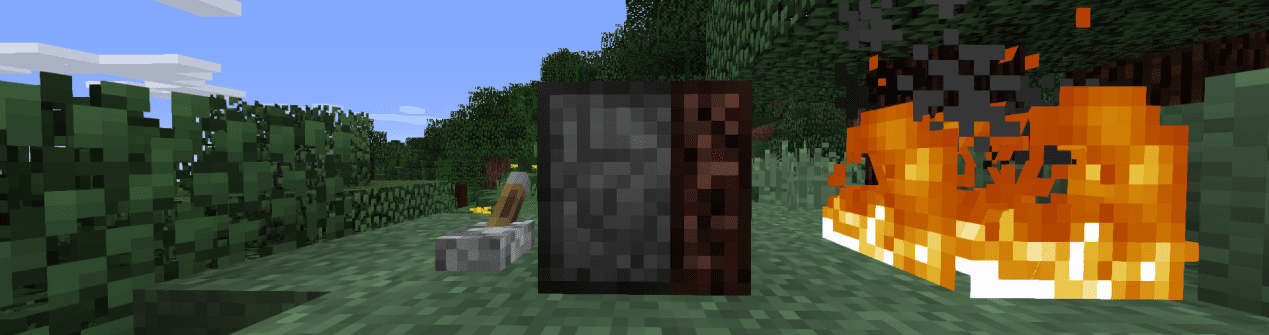
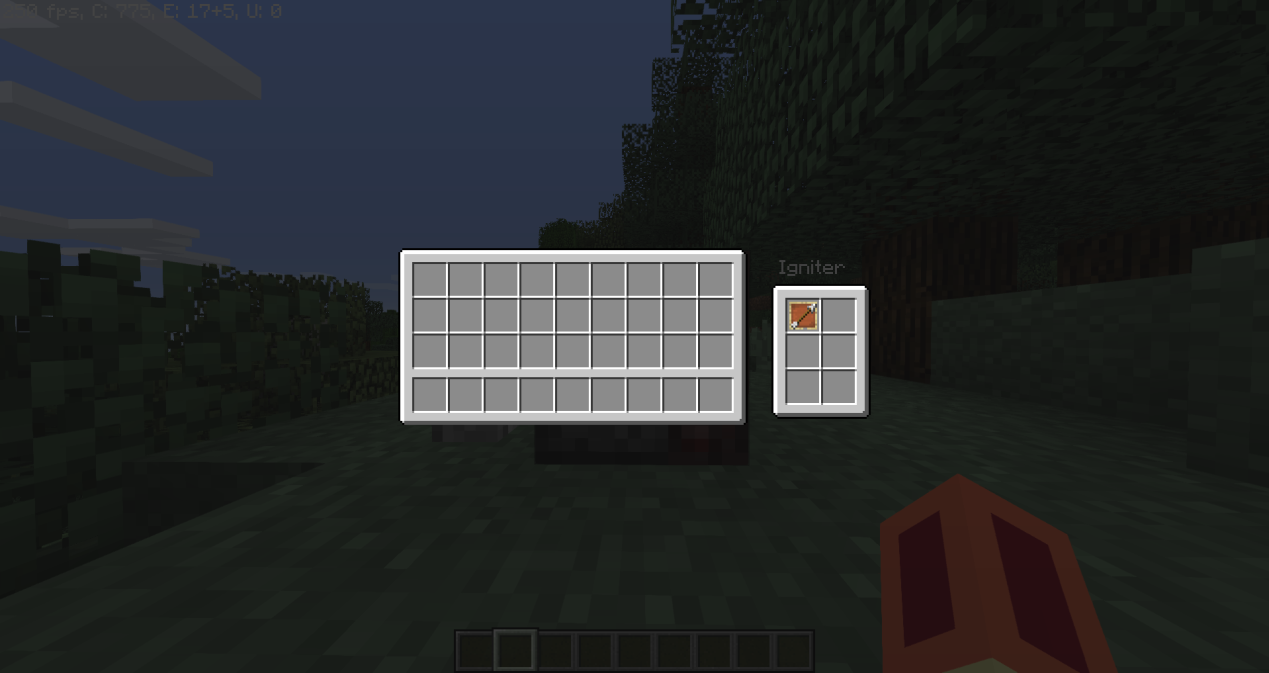
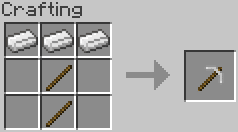
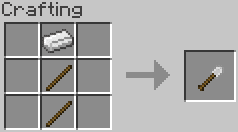
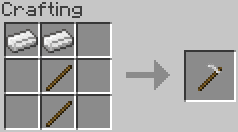
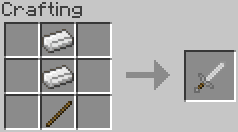
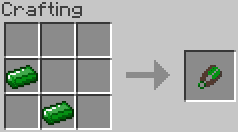
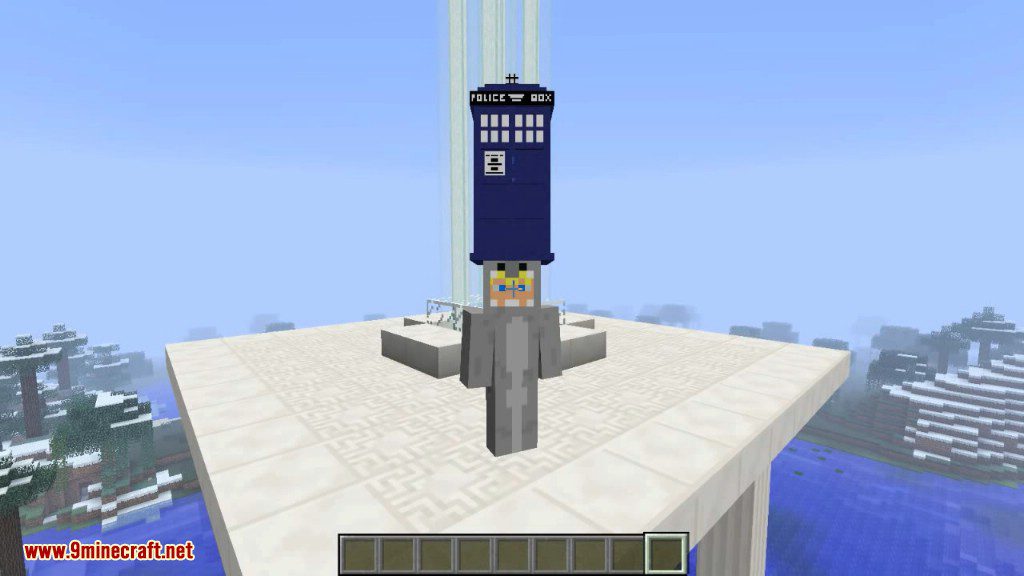
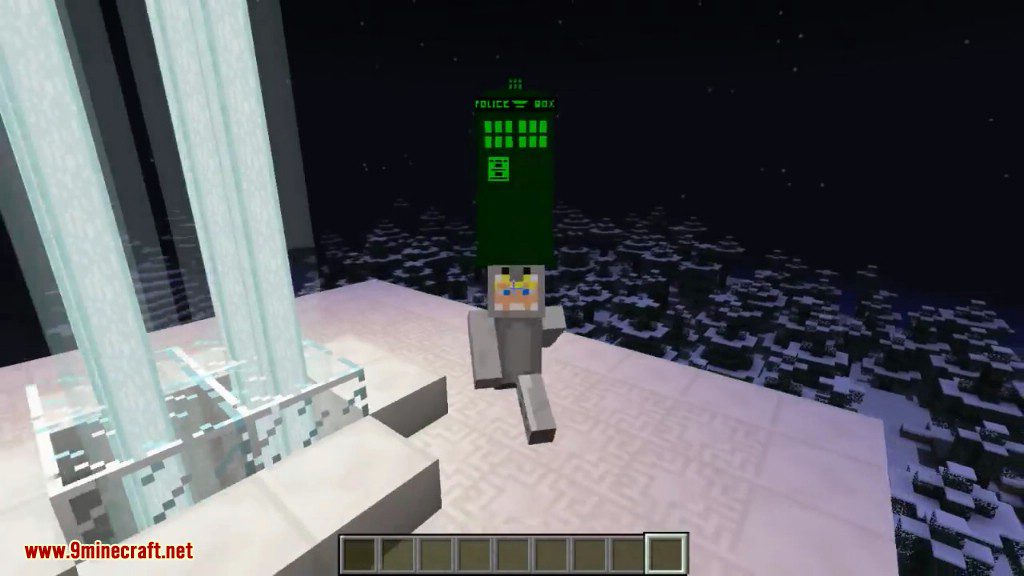
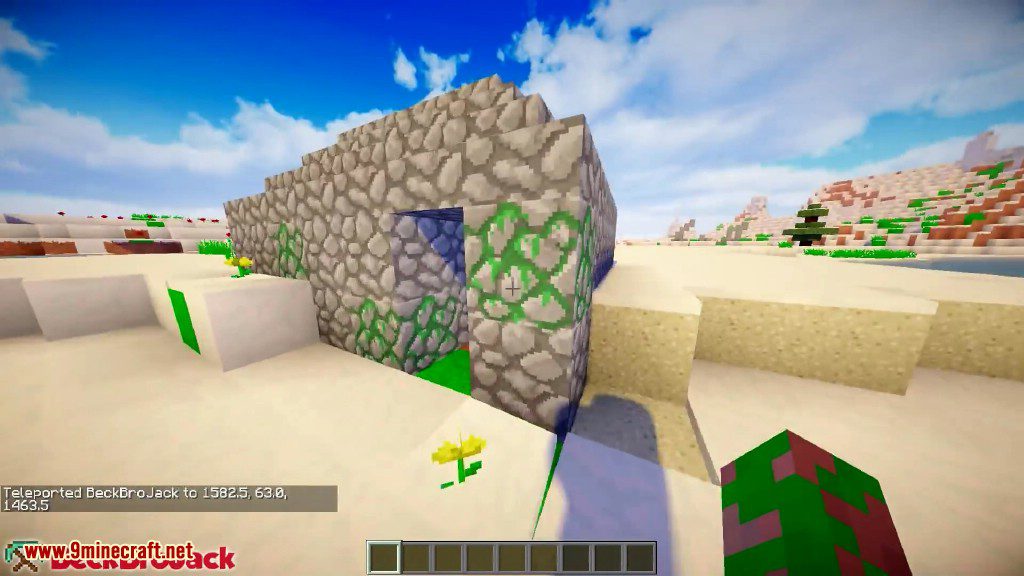
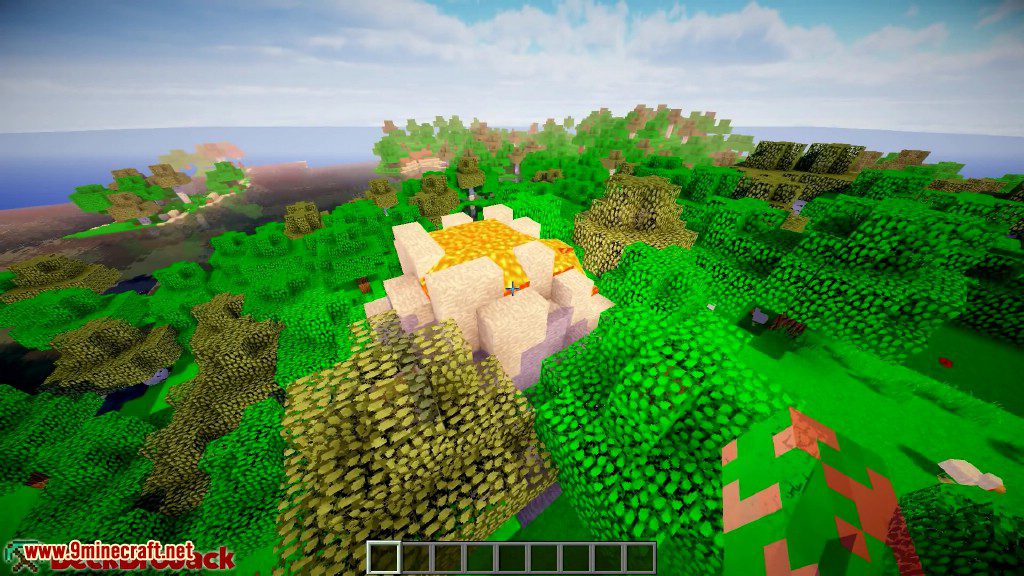
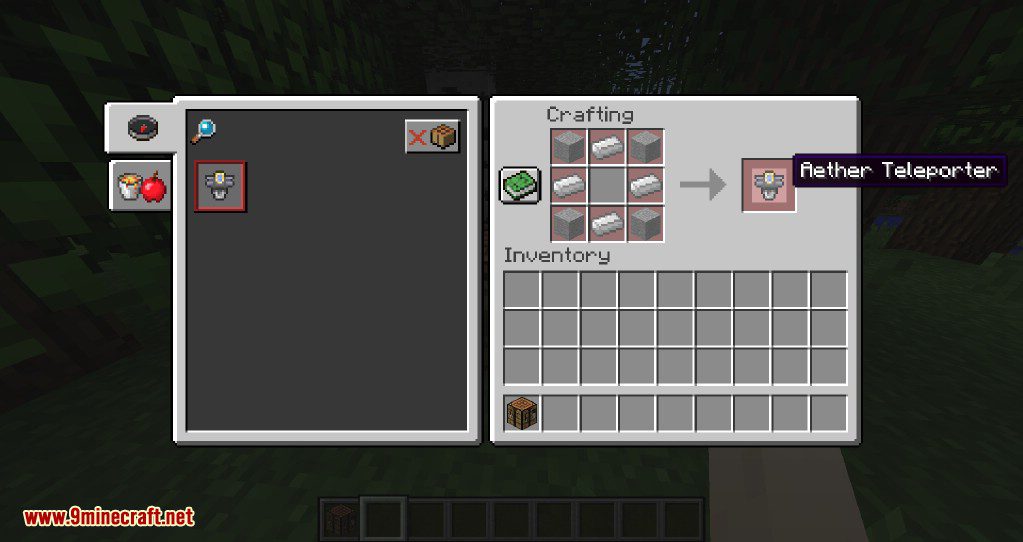
The Aether Teleporter! Crafted with just stone and iron you can now access the Aether 2’s content early on in your survival playthrough.

Aether 2 Mod 2018 Screenshots 1

Aether 2 Mod 2018 Screenshots 3

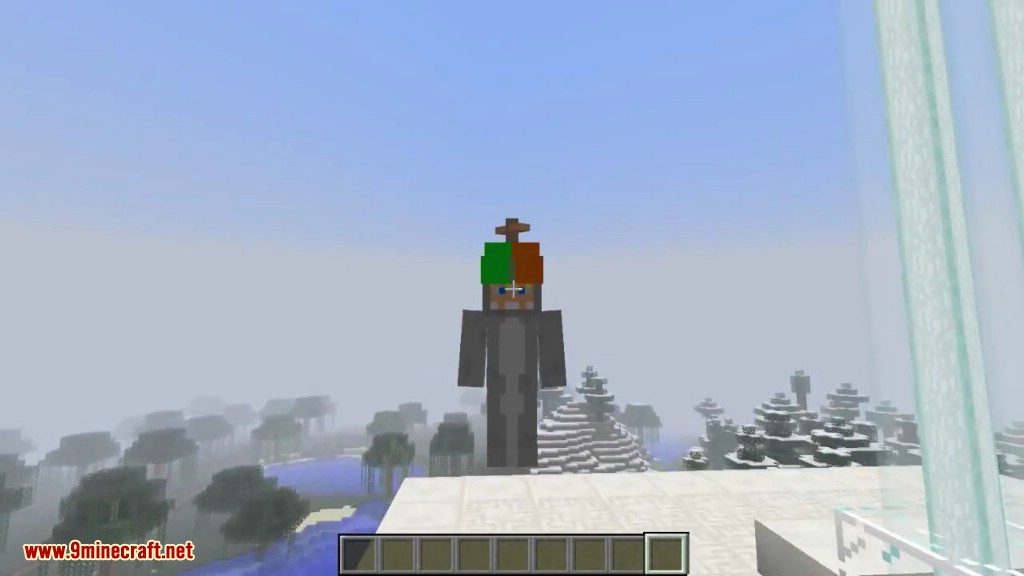
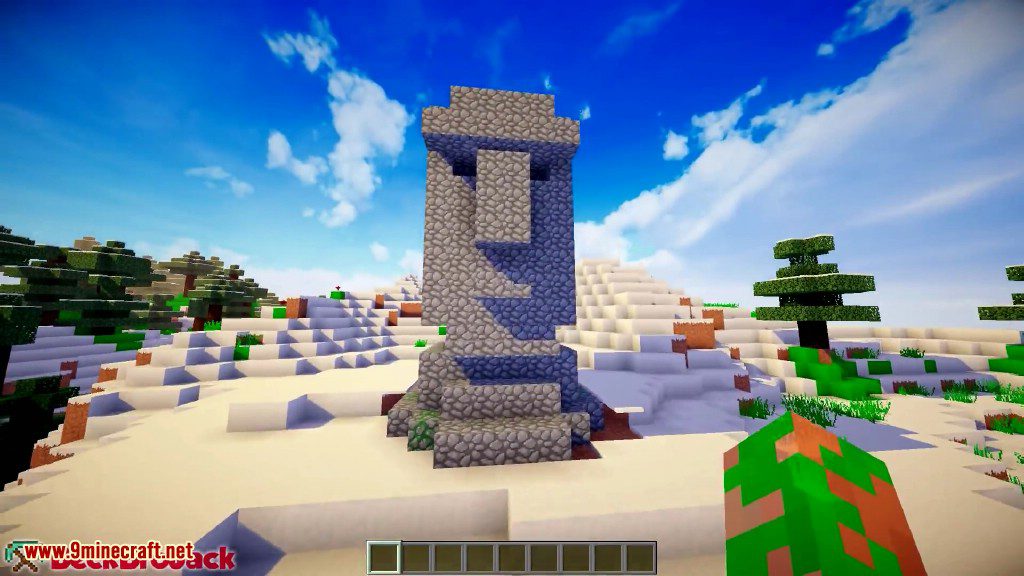
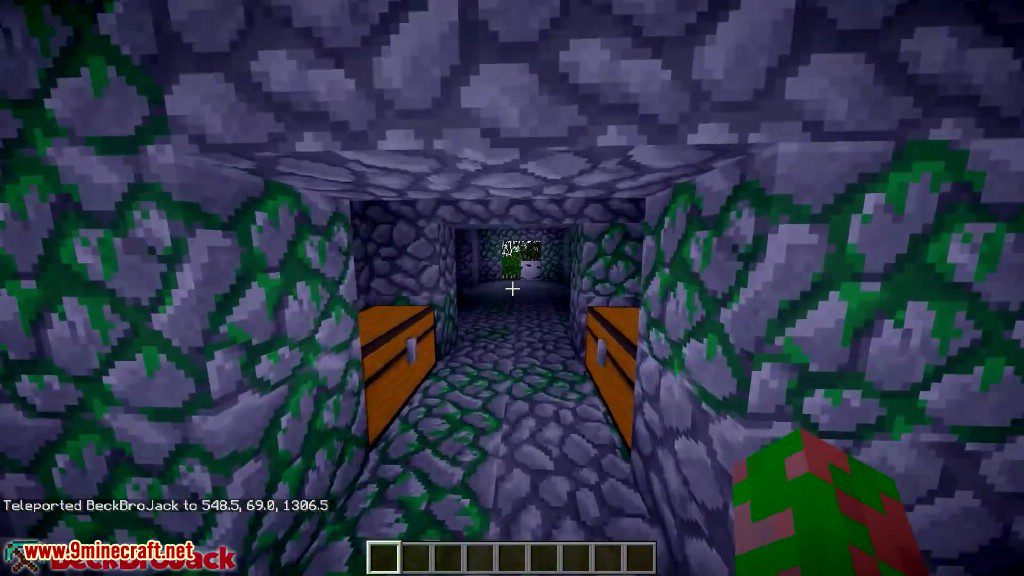
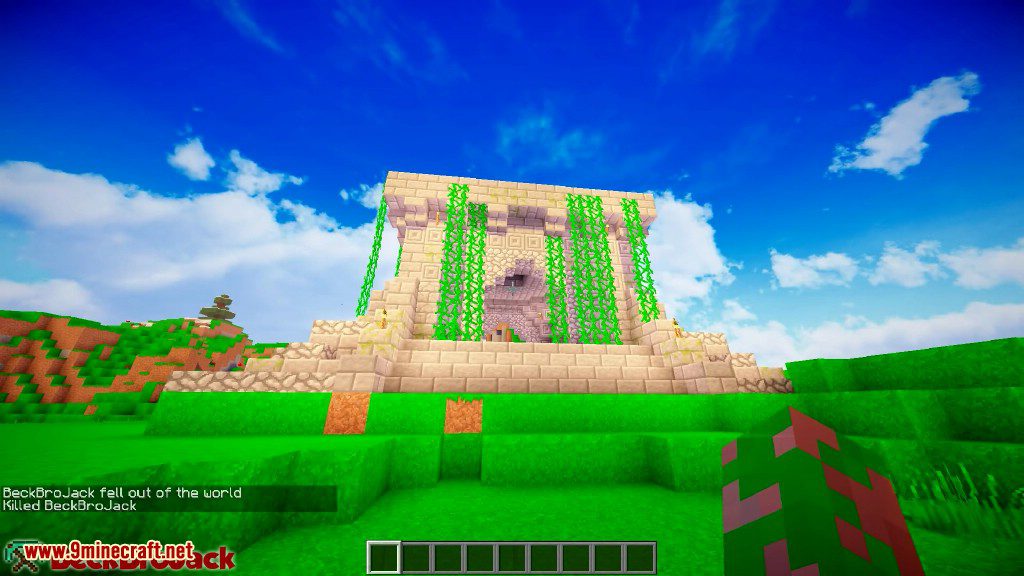
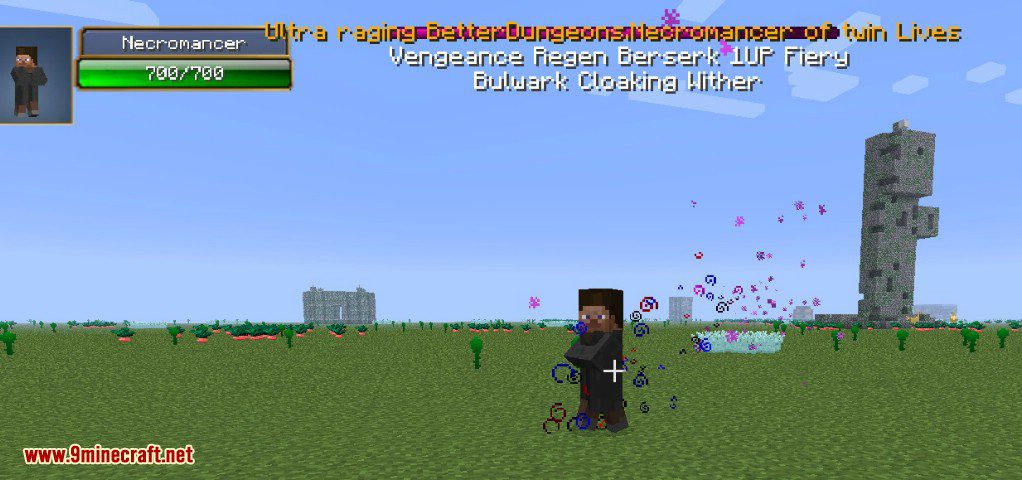
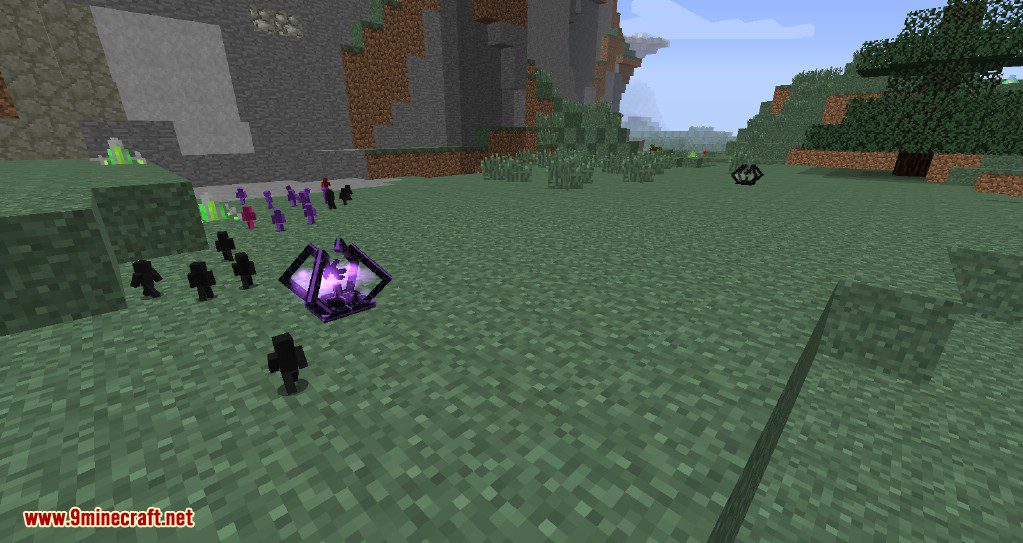
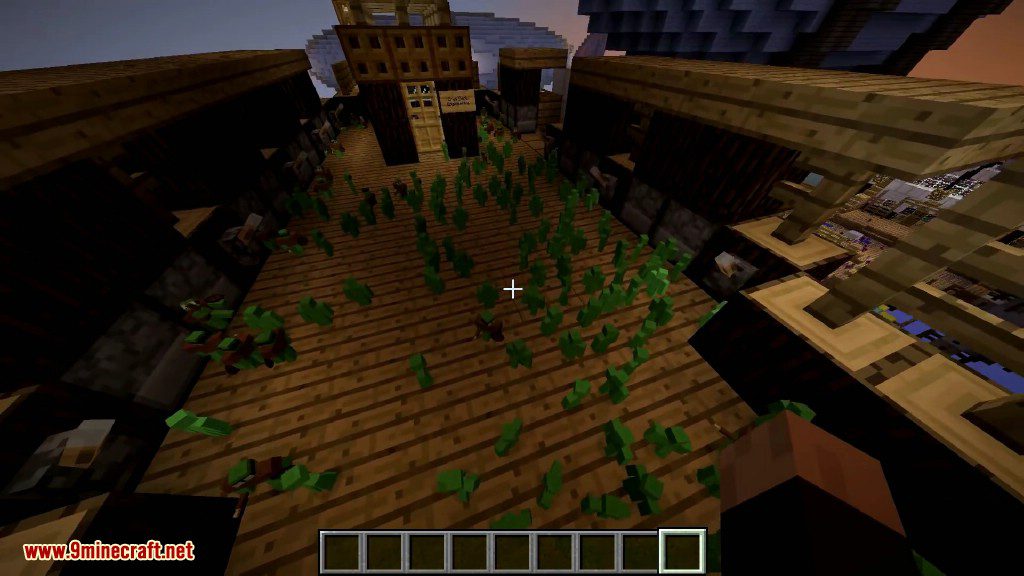
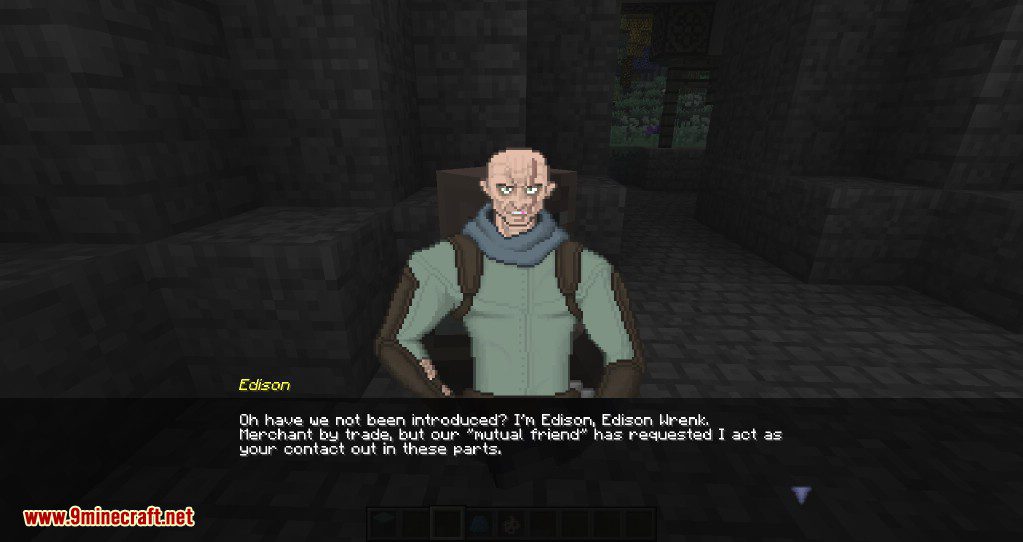
A new prologue area will guide you into the Aether’s world. The new Necromancer NPC will be your contact for getting to the heavenly realm. Explore his tower before heading to the Aether!

Aether 2 Mod 2018 Screenshots 4

Aether 2 Mod 2018 Screenshots 5

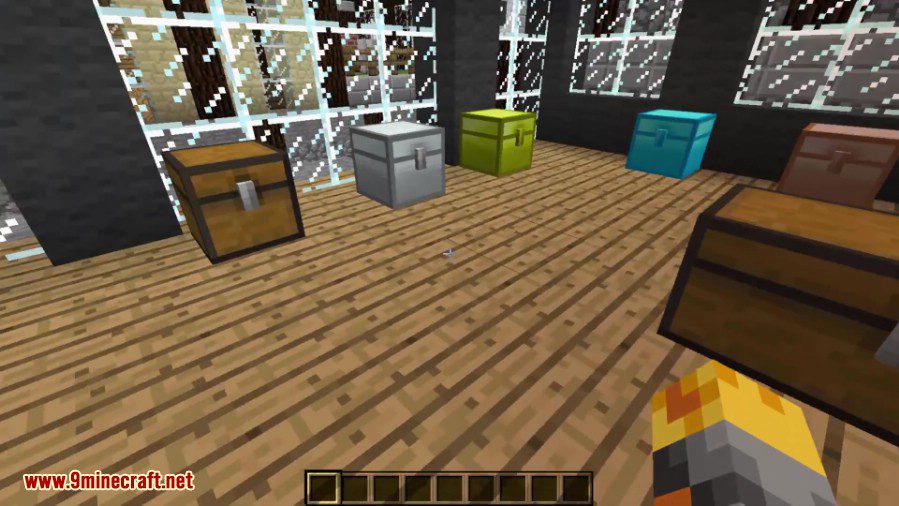
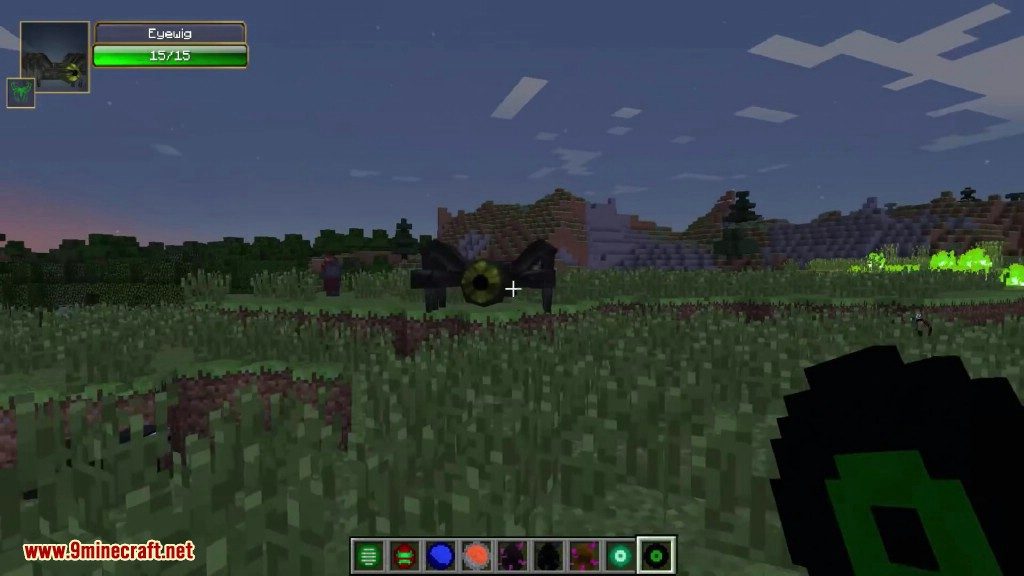
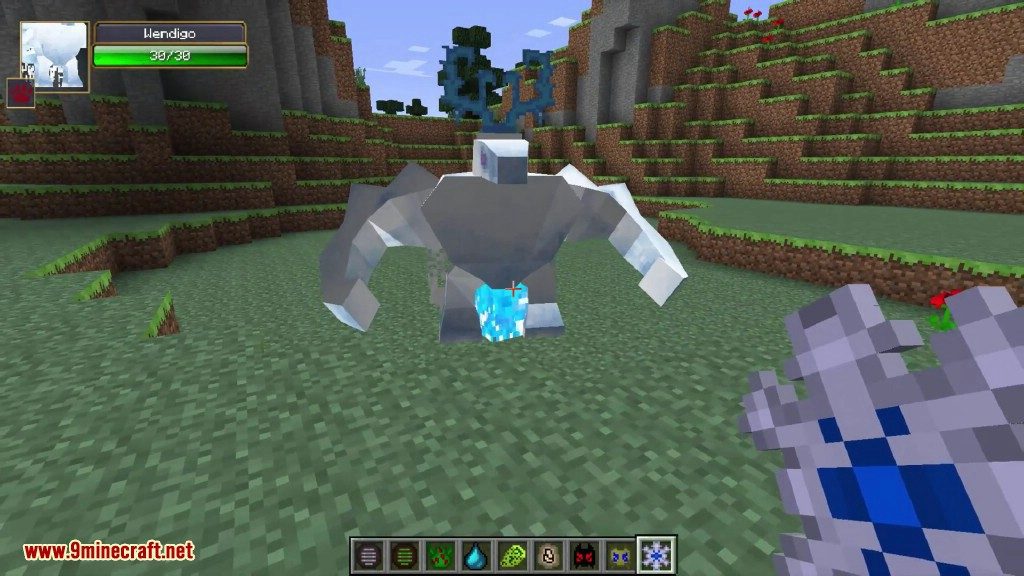
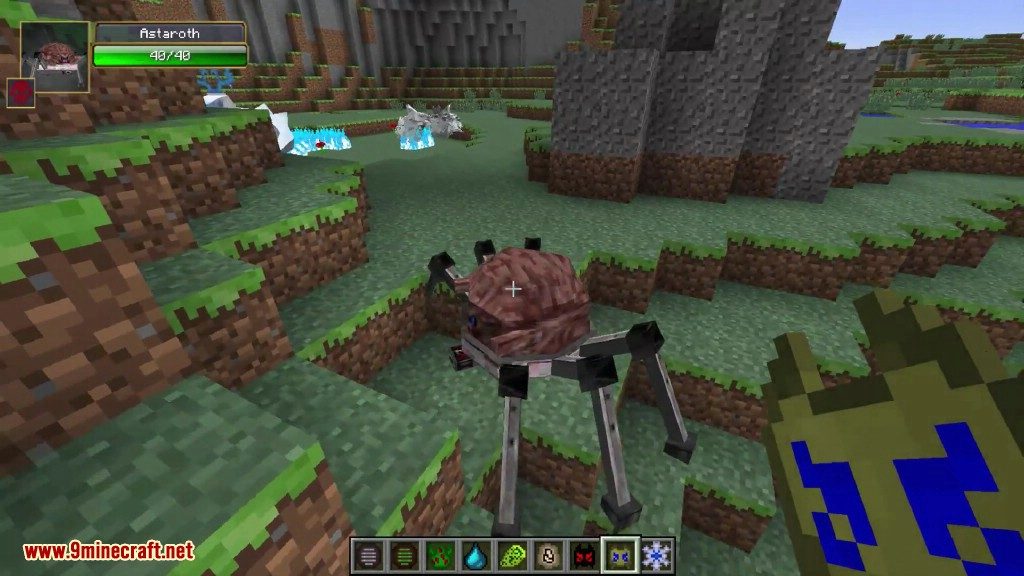
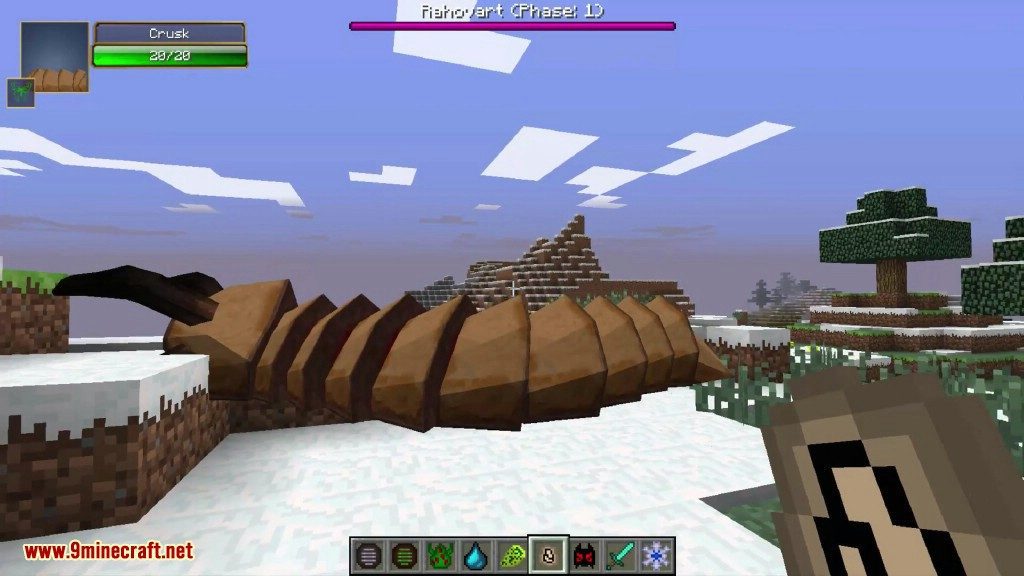
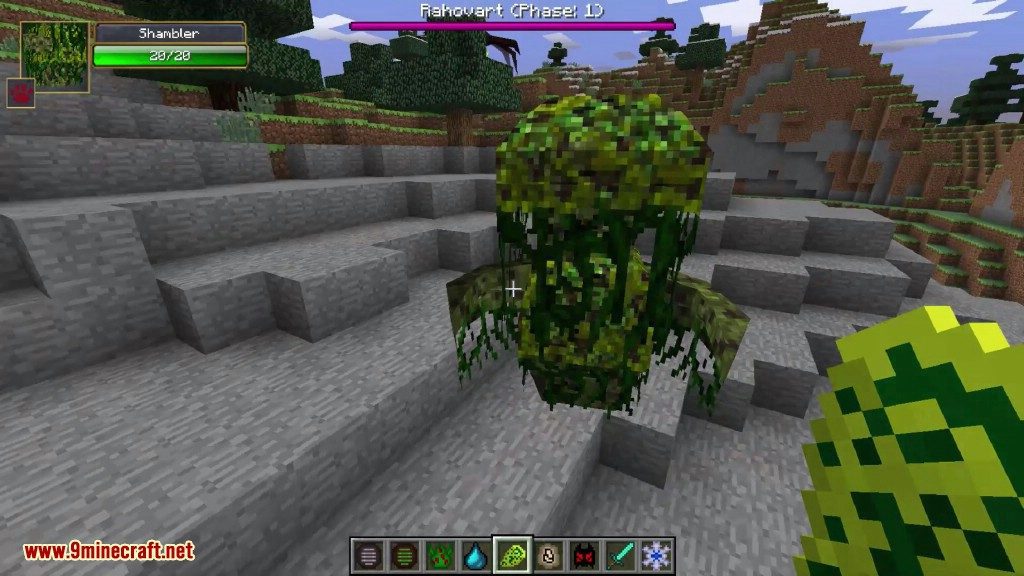
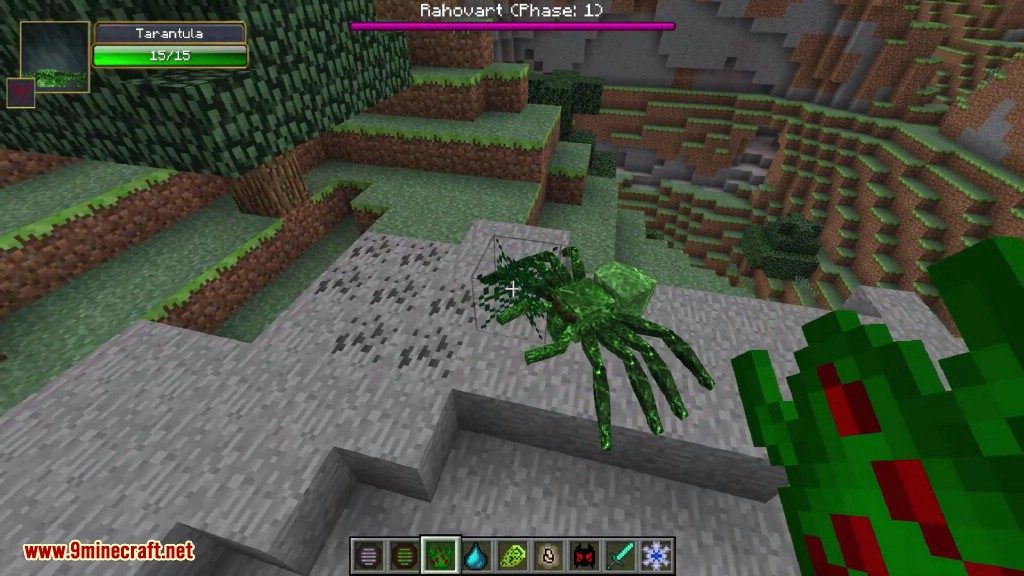
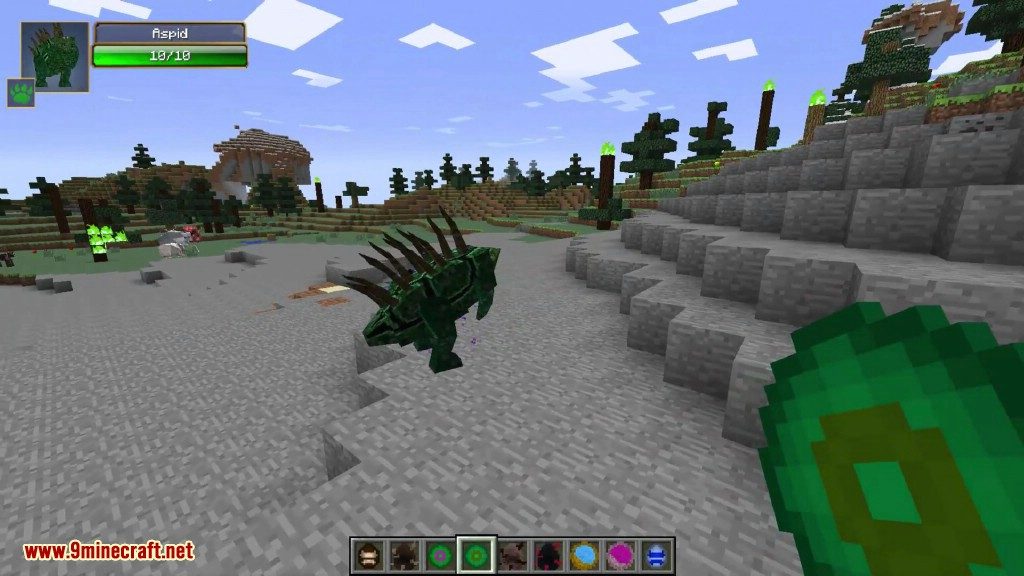
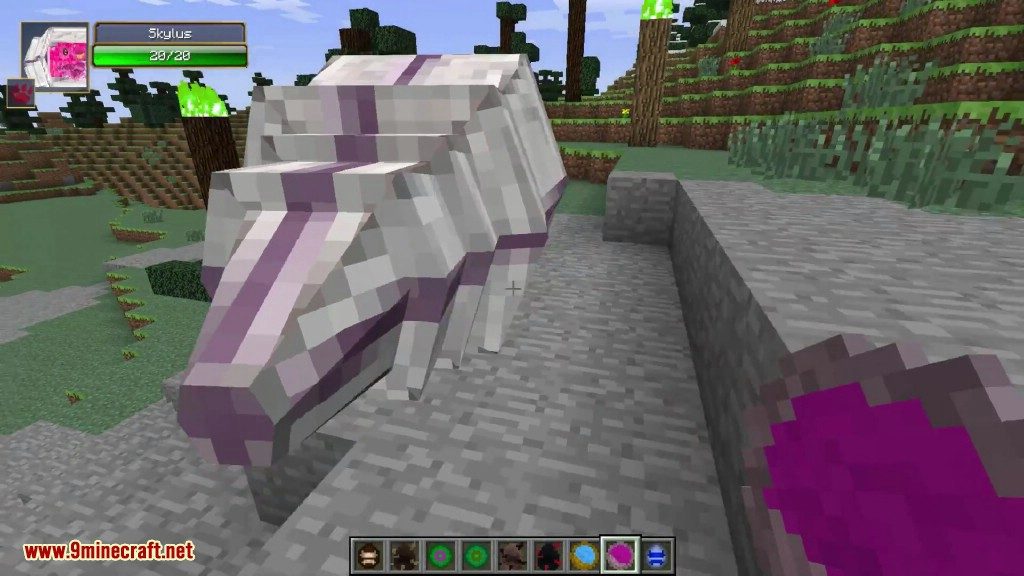
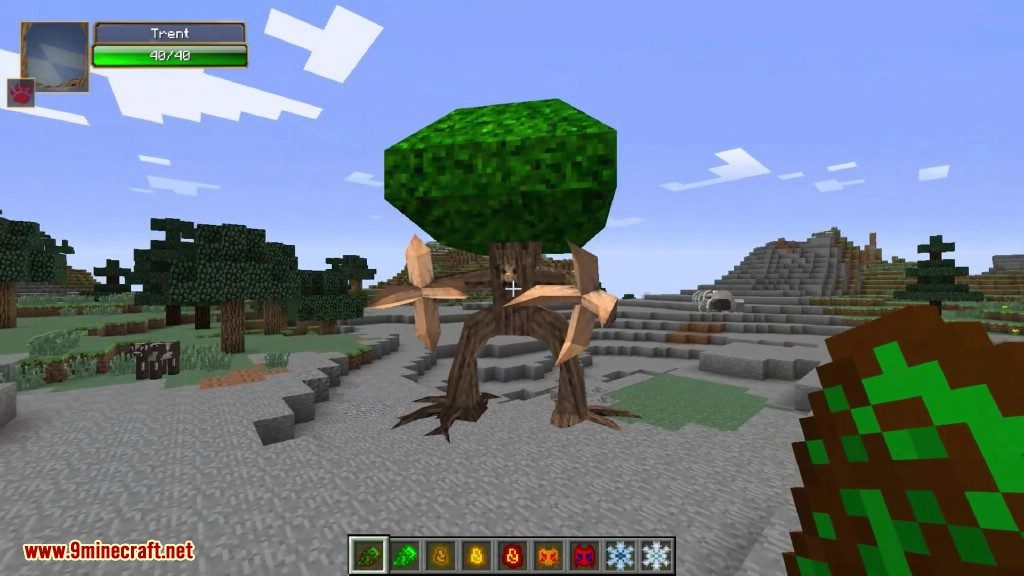
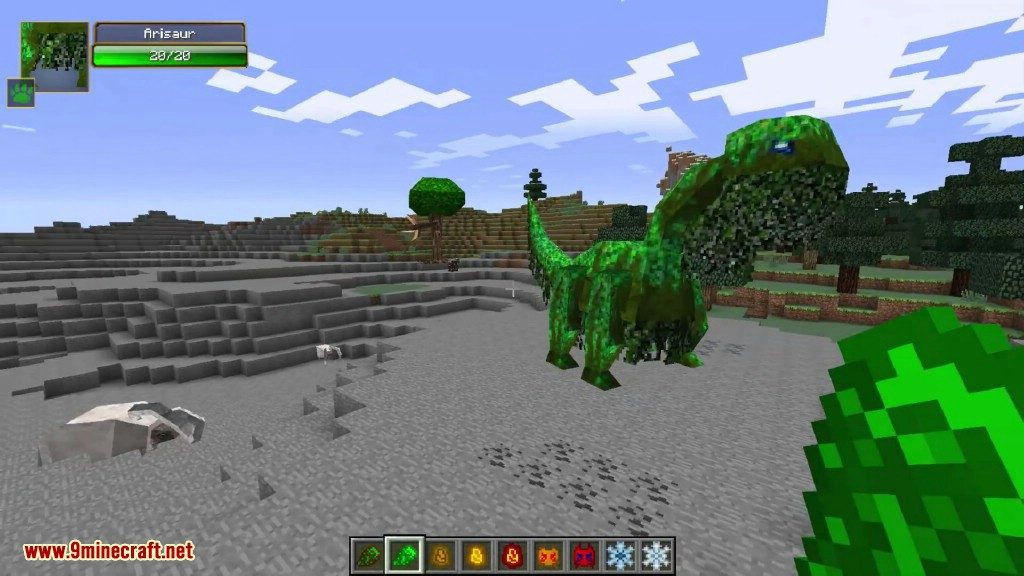
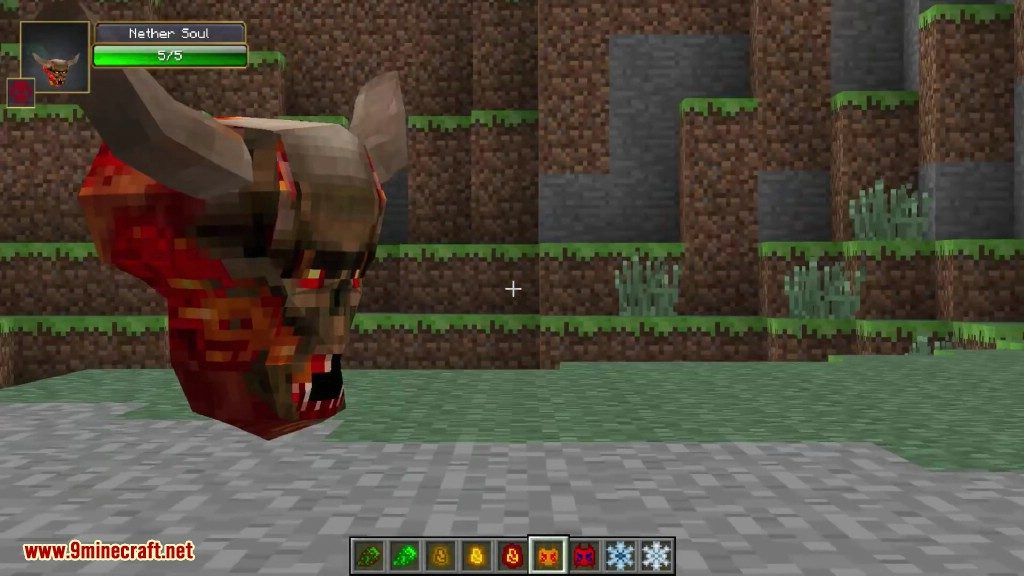
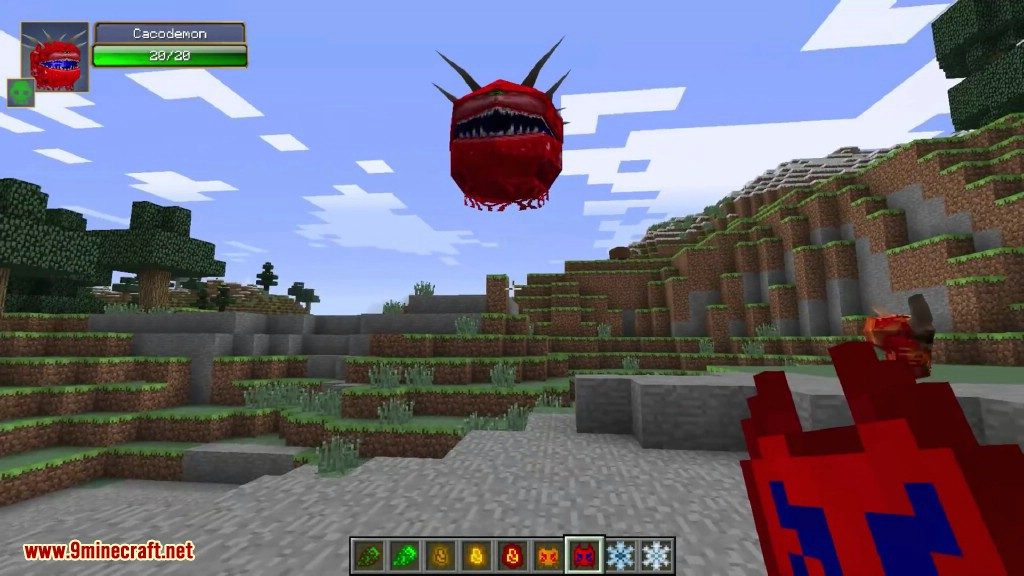
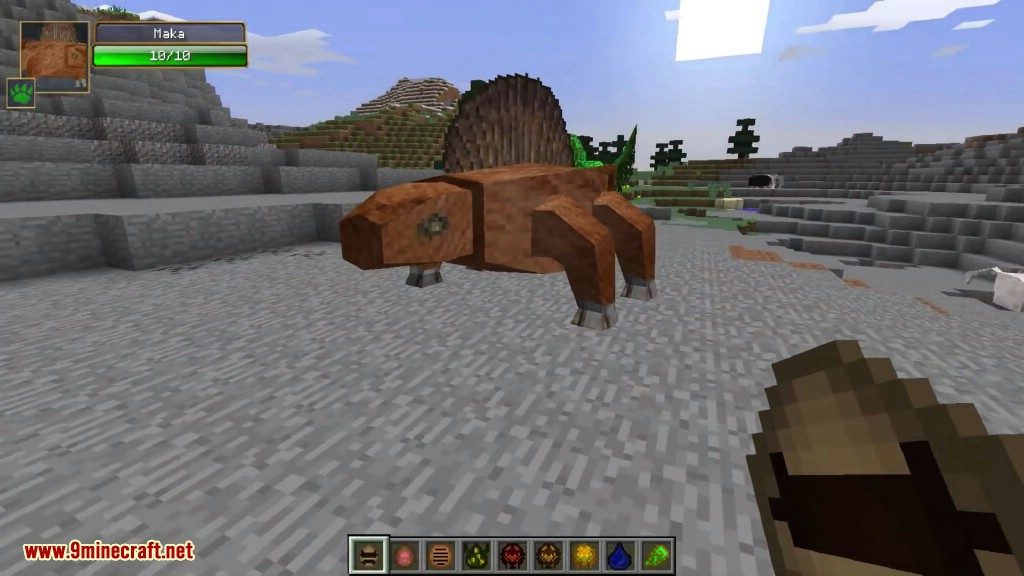
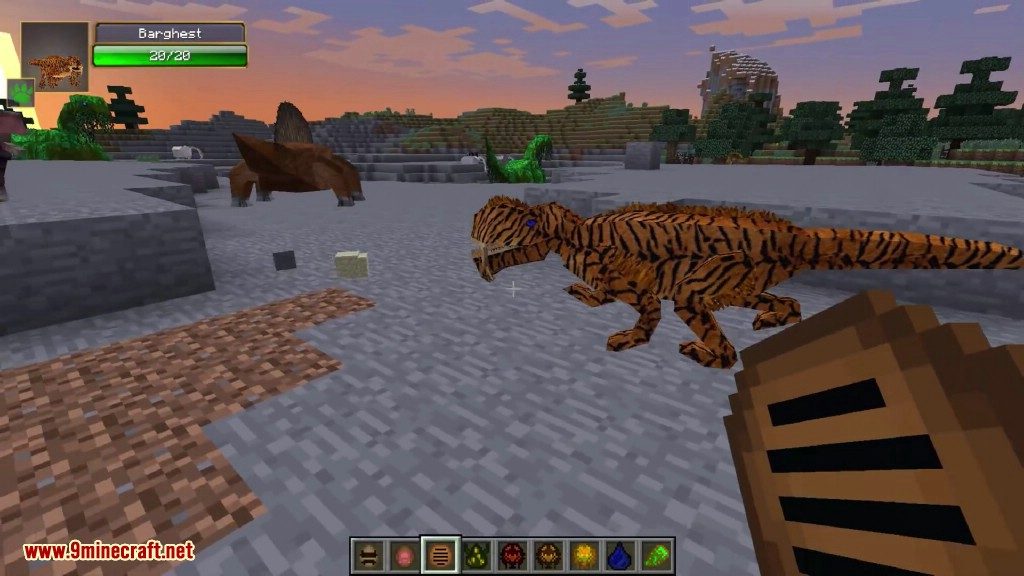
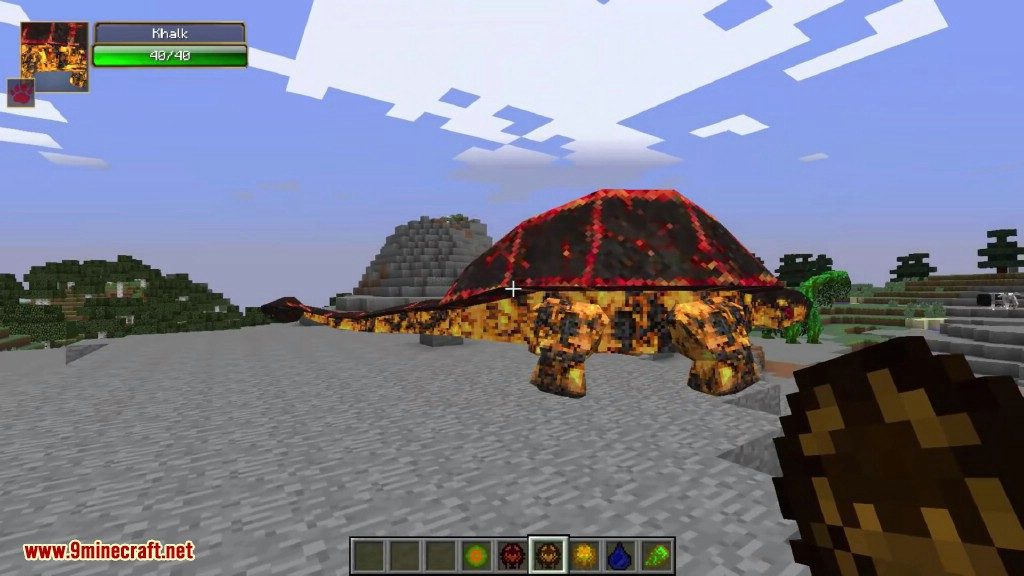
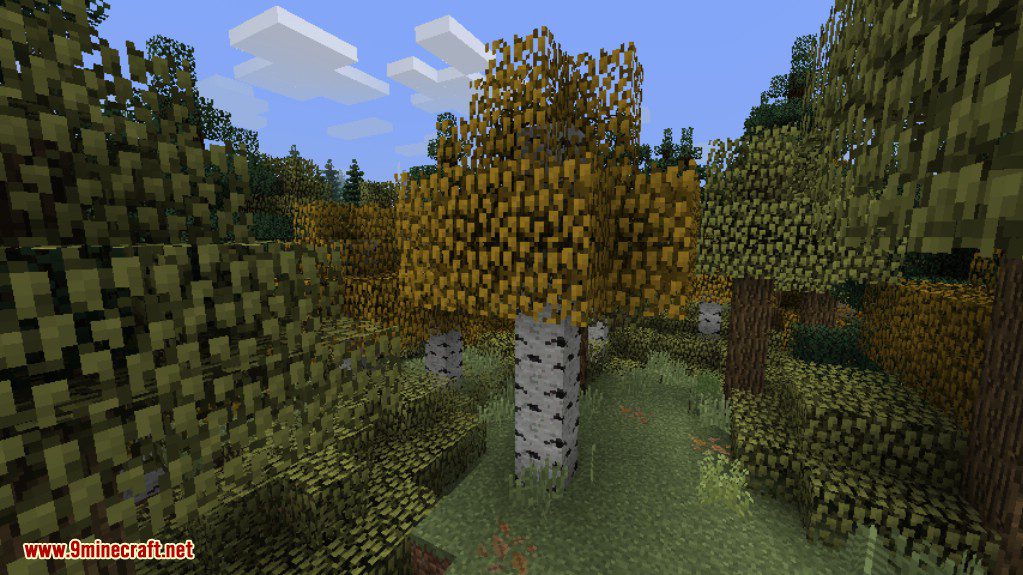
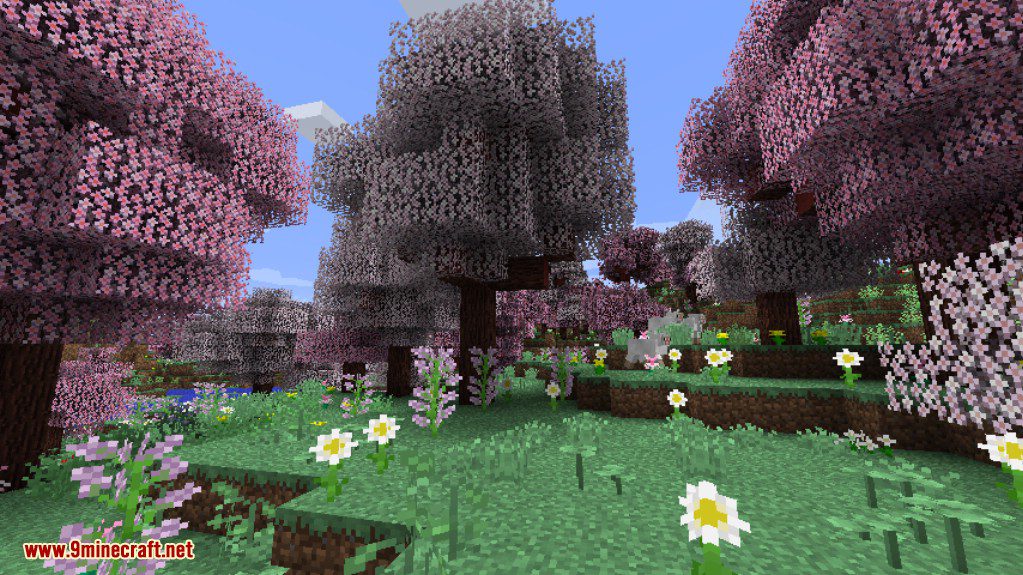
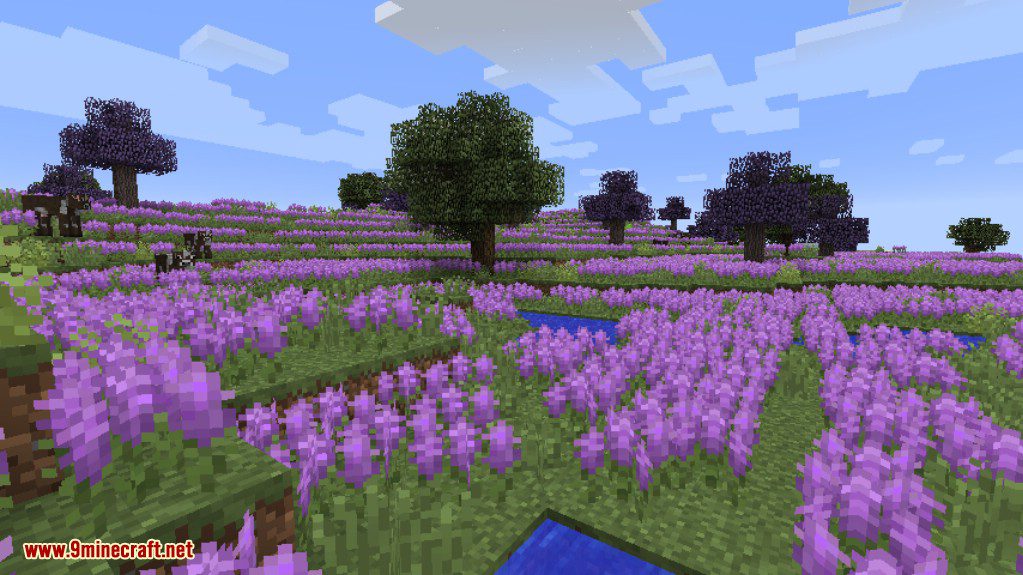
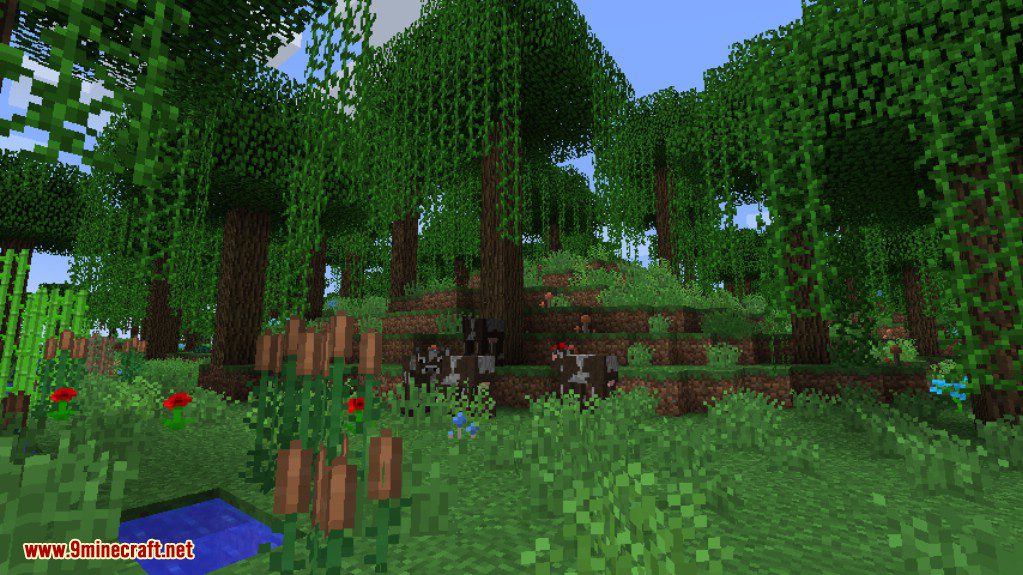
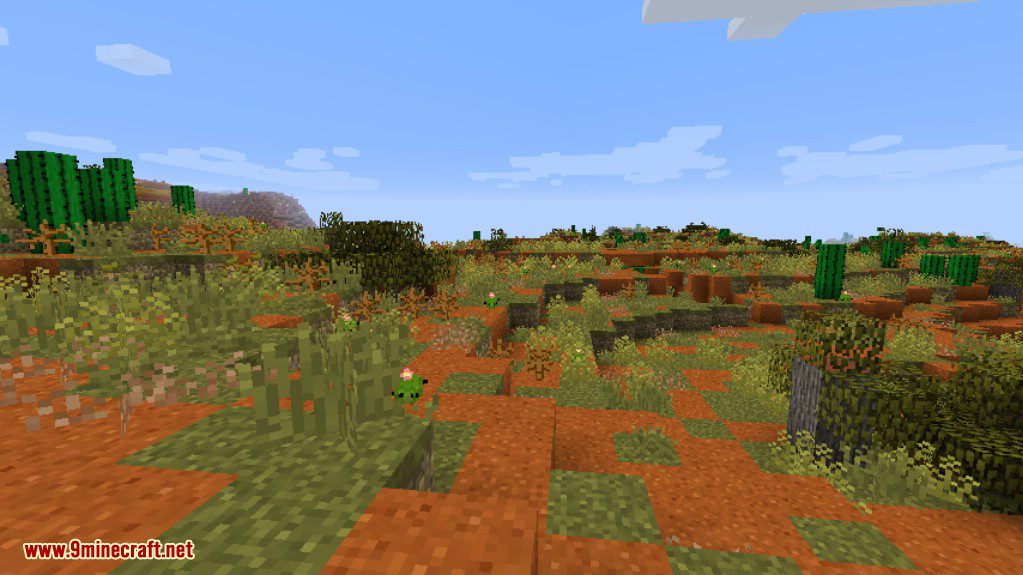
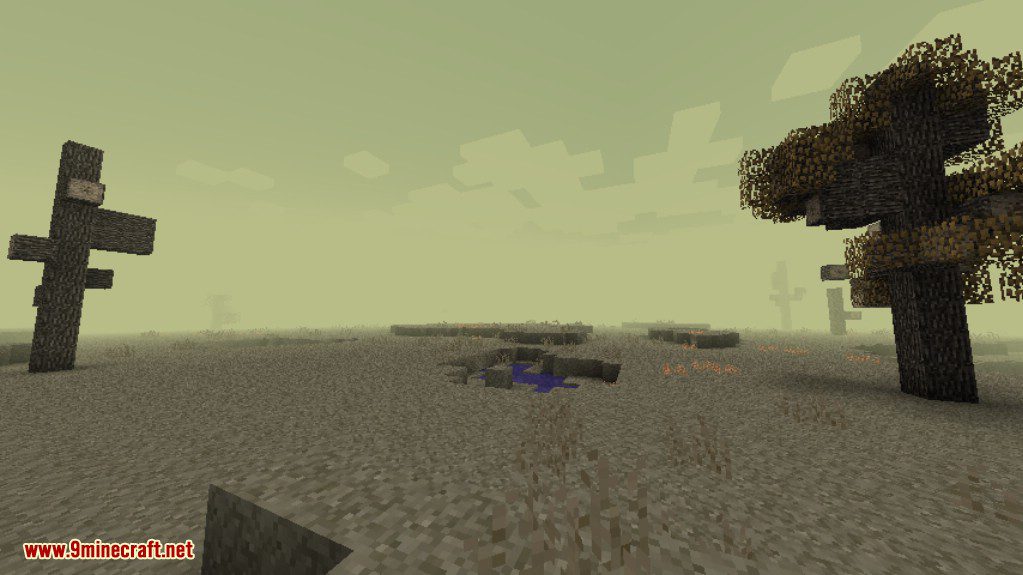
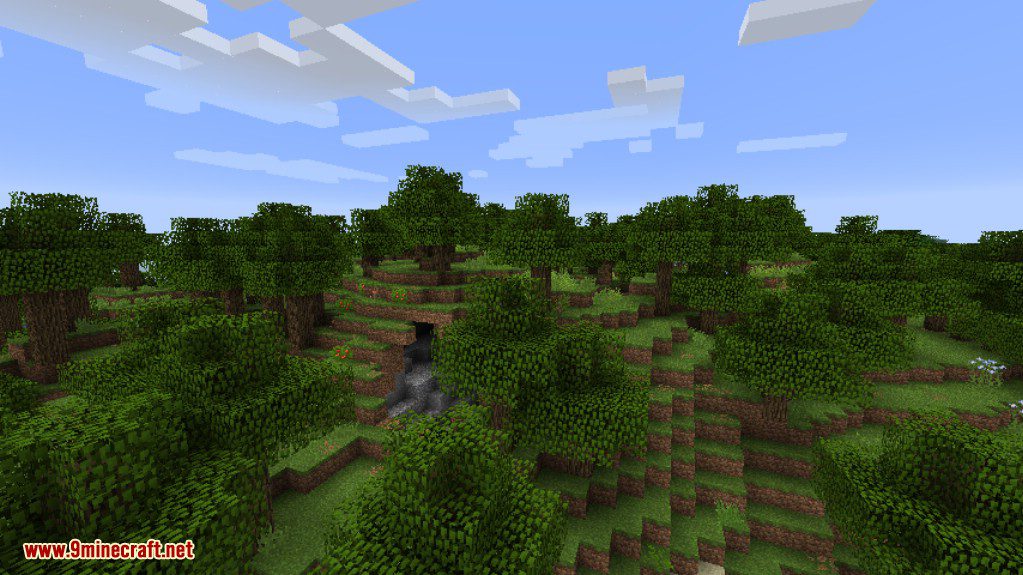
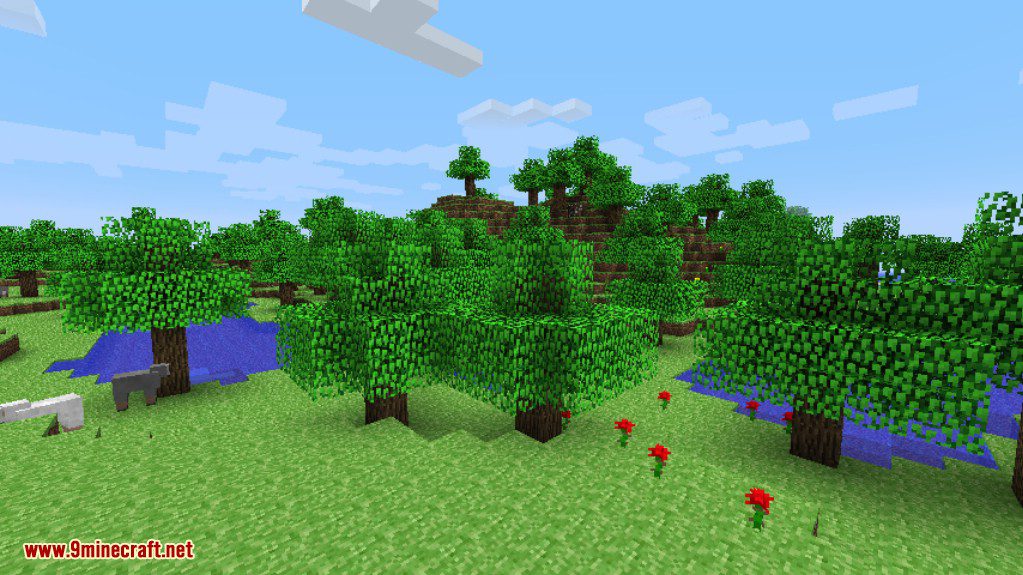
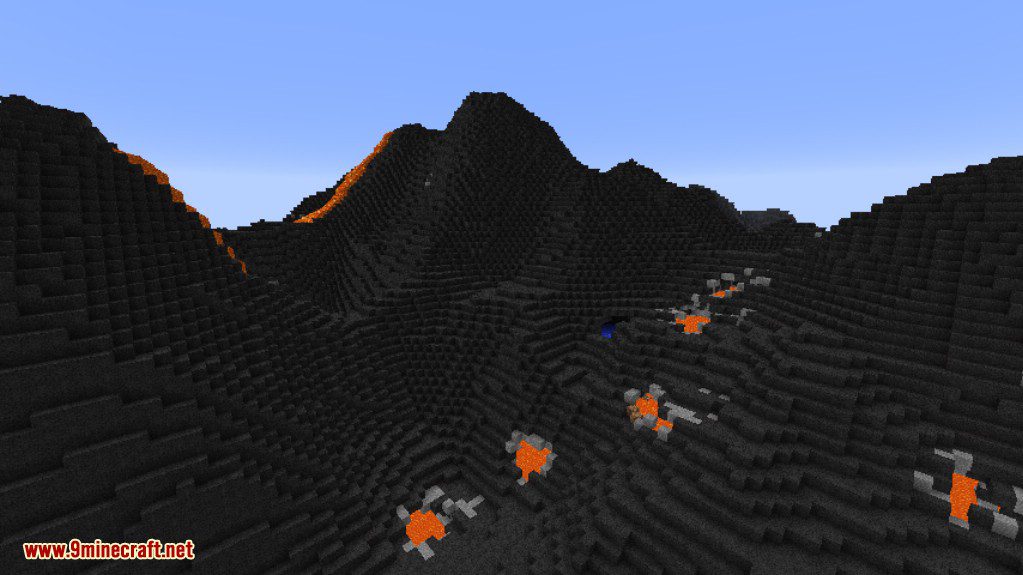
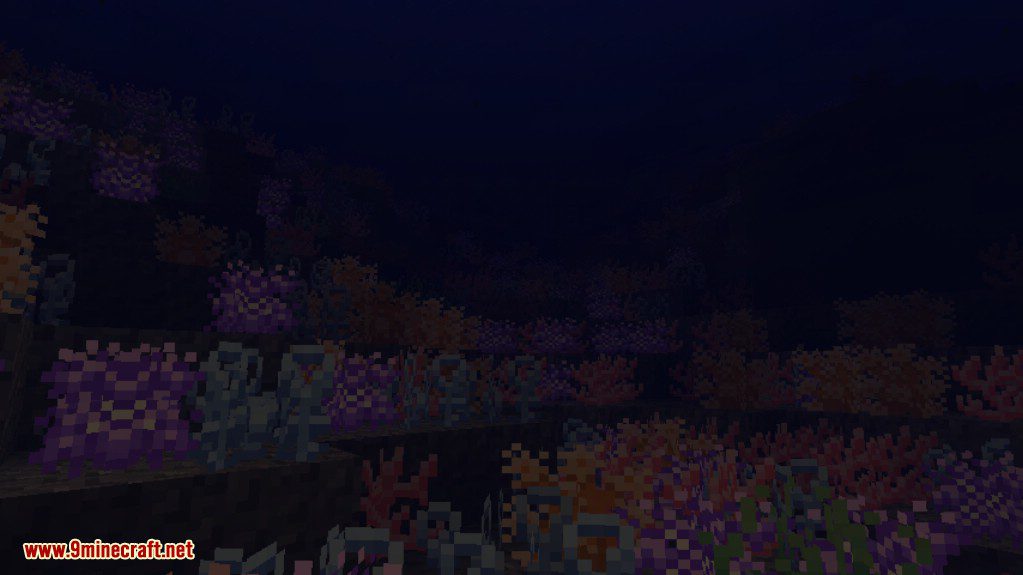
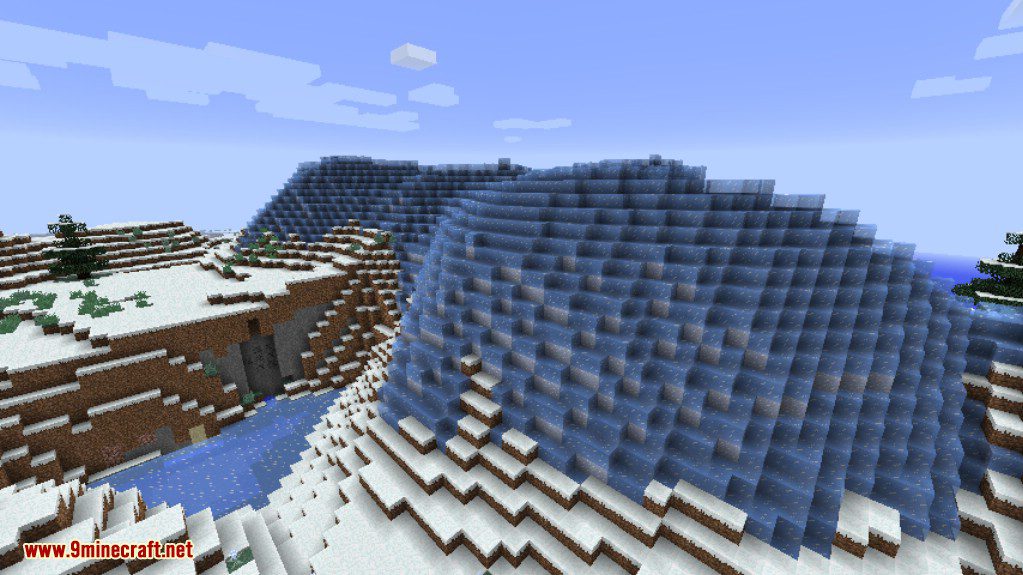
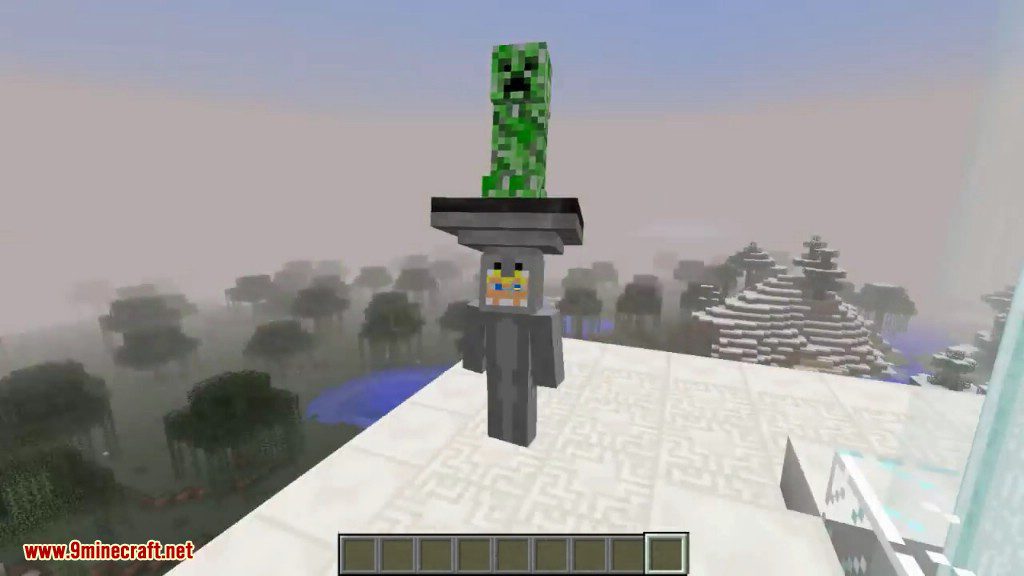
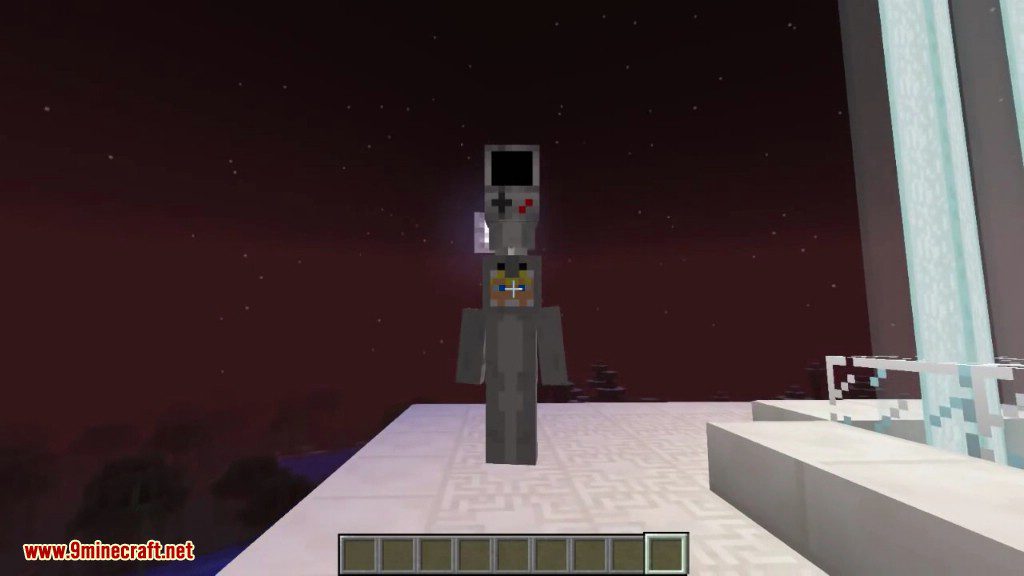
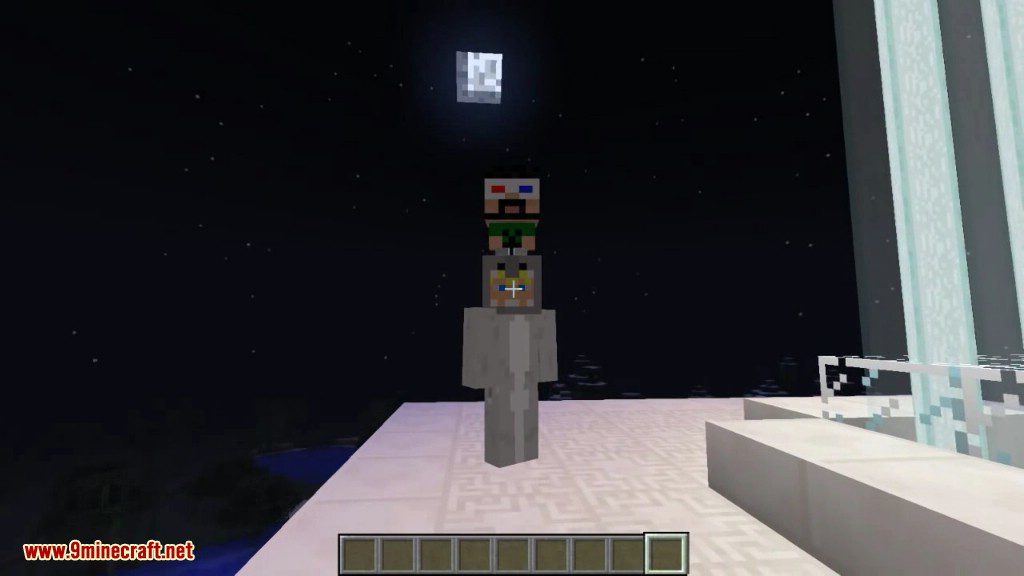
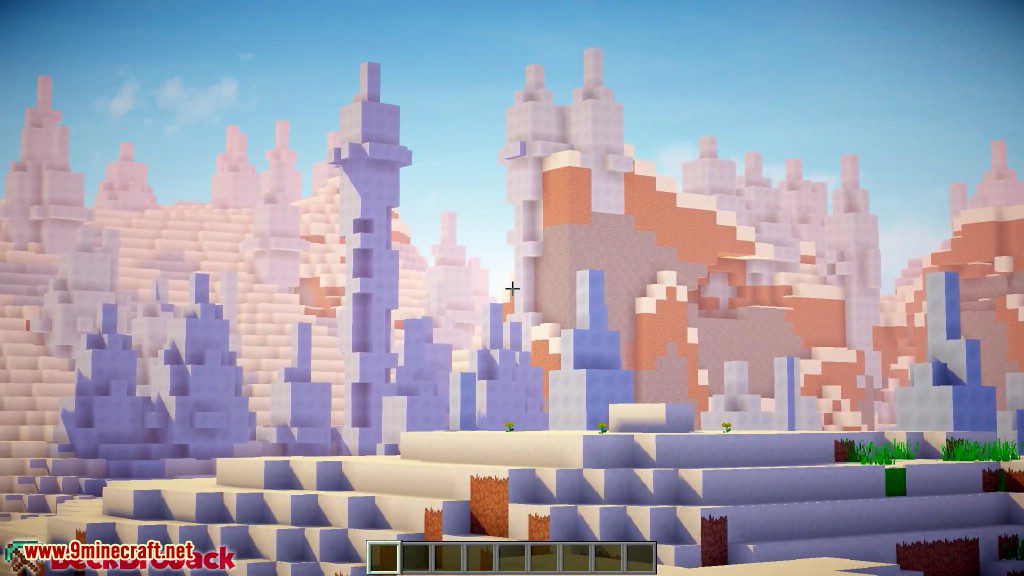
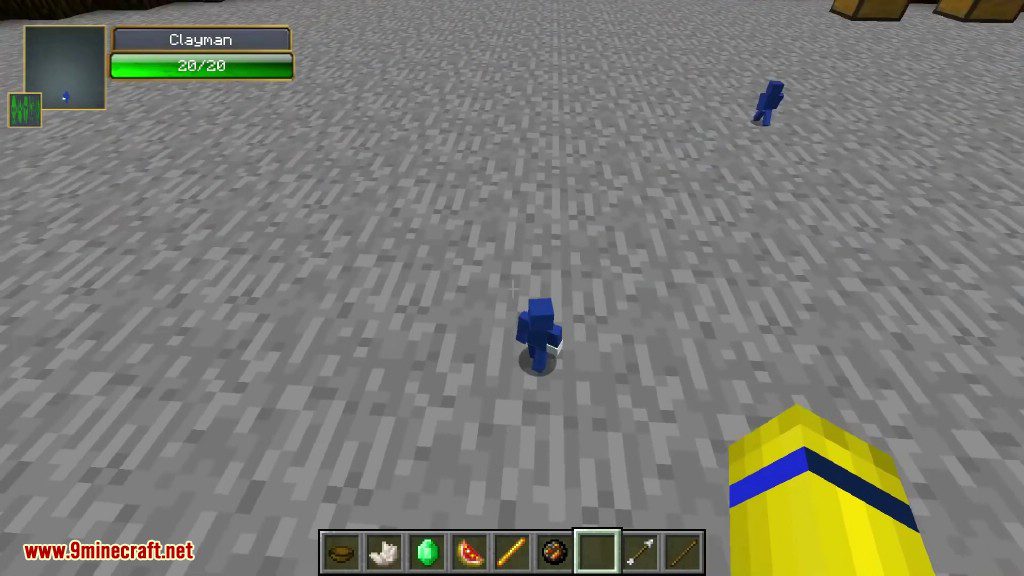
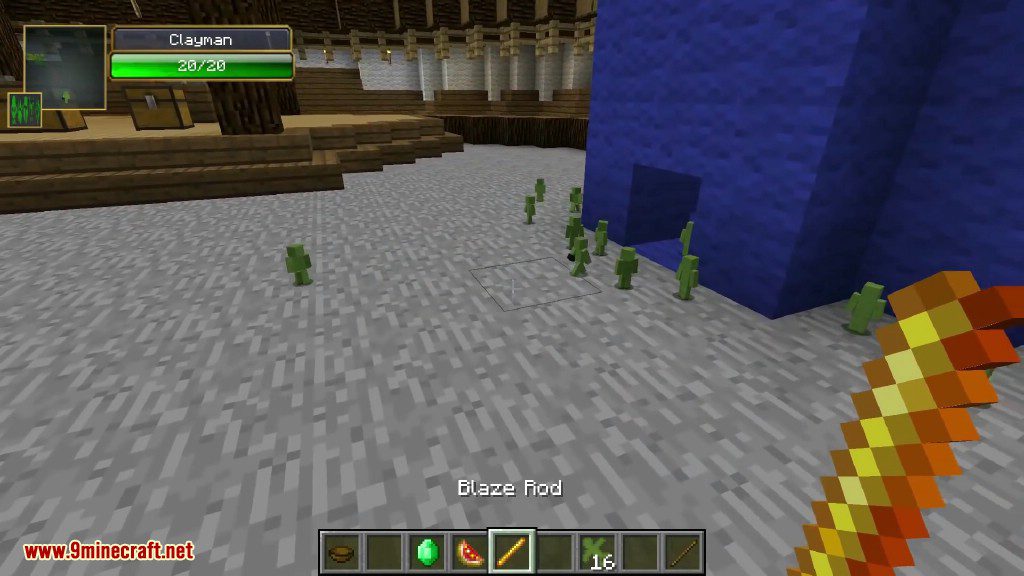
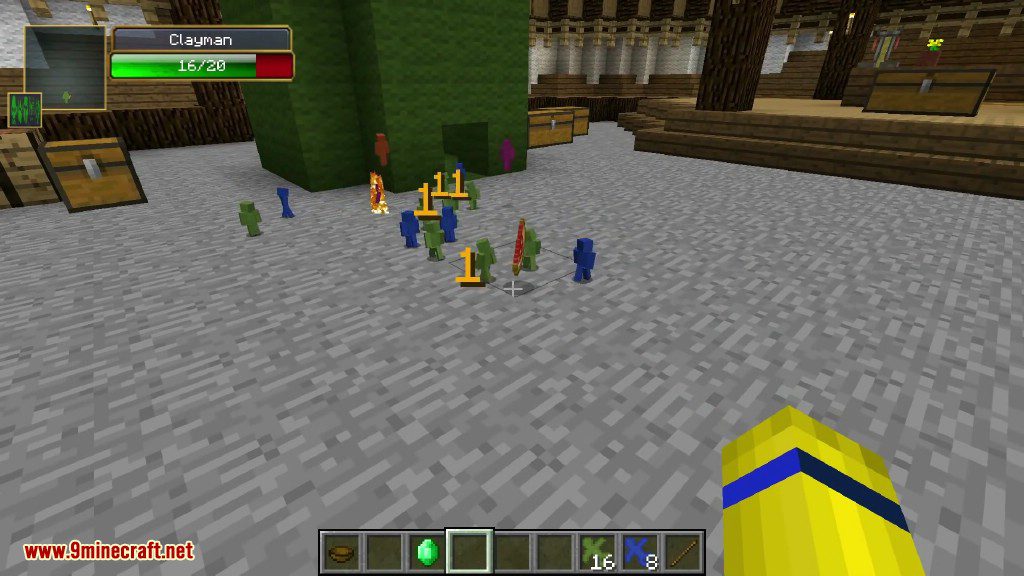
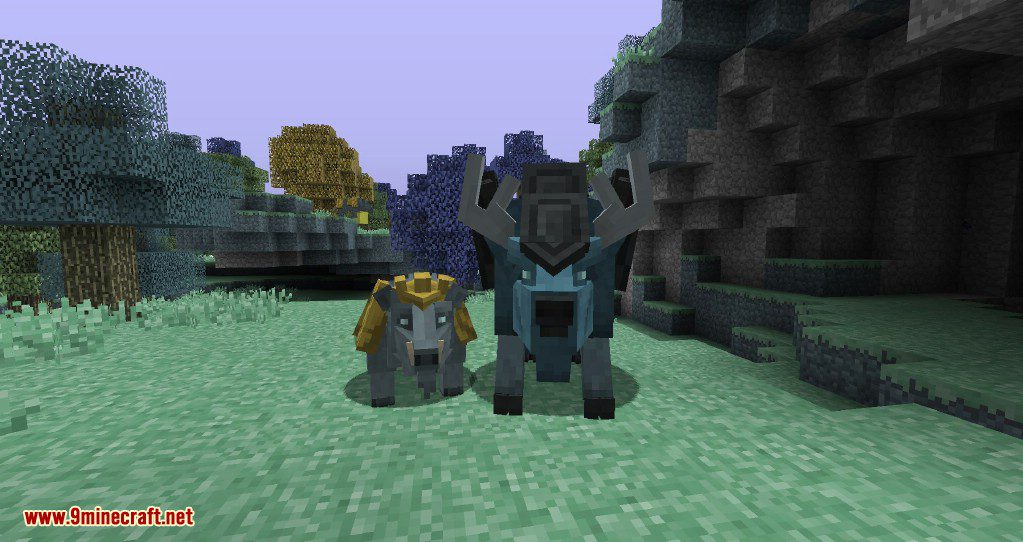
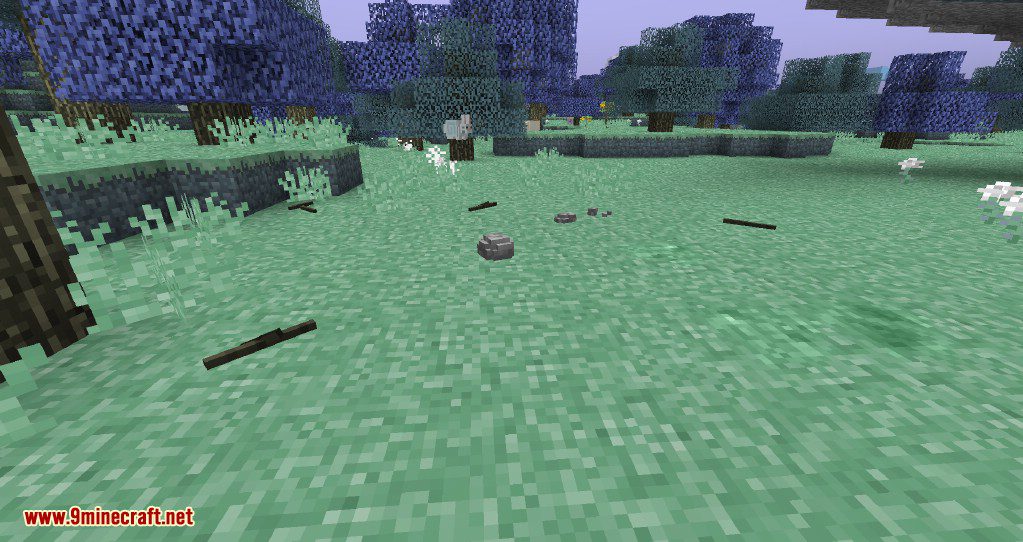
The Aether 2 has also seen a huge face-lift! New textures, mobs, blocks, and structures can be found in the hostile paradise that is the Aether.

Aether 2 Mod 2018 Screenshots 2

Aether 2 Mod 2018 Screenshots 14

Aether 2 Mod 2018 Screenshots 6

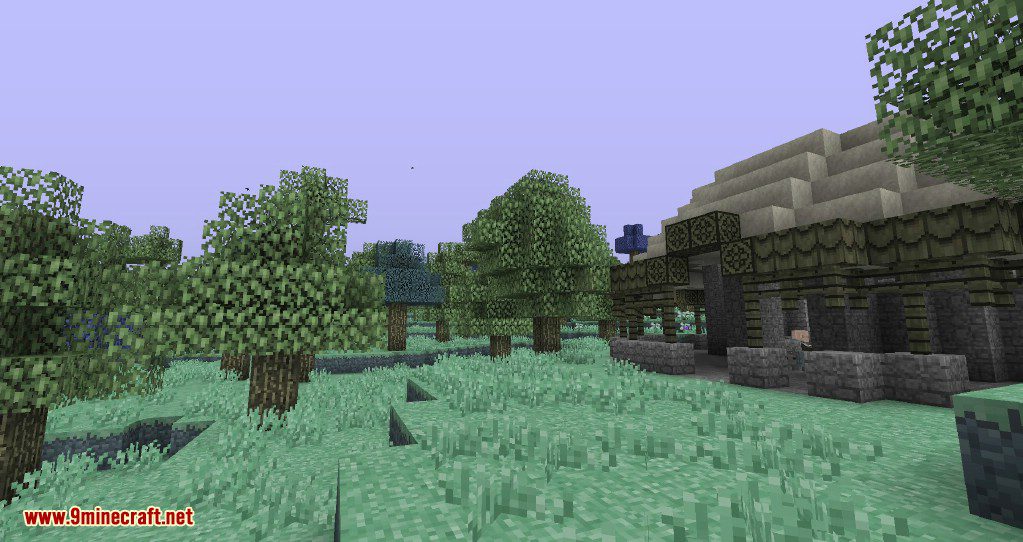
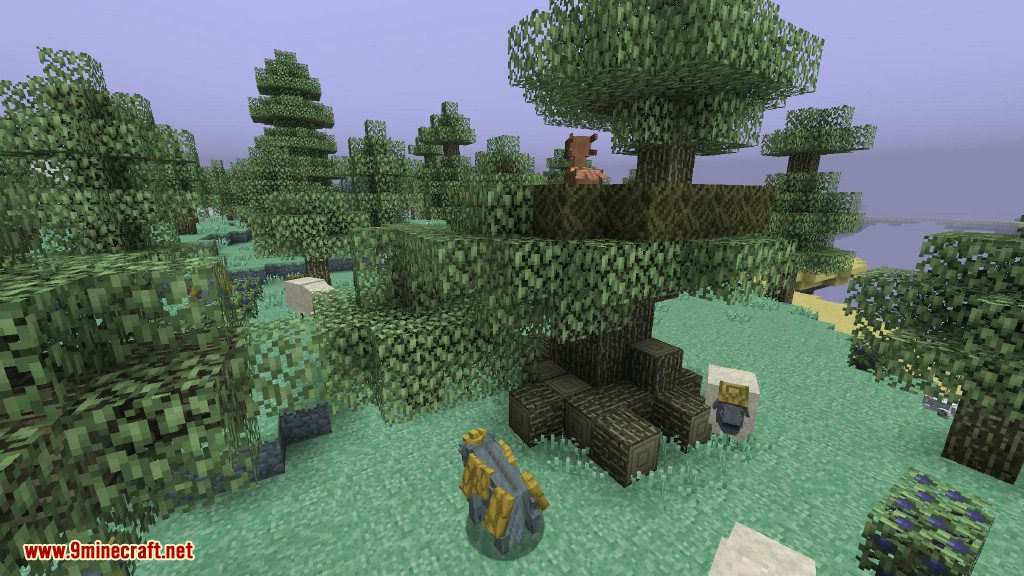
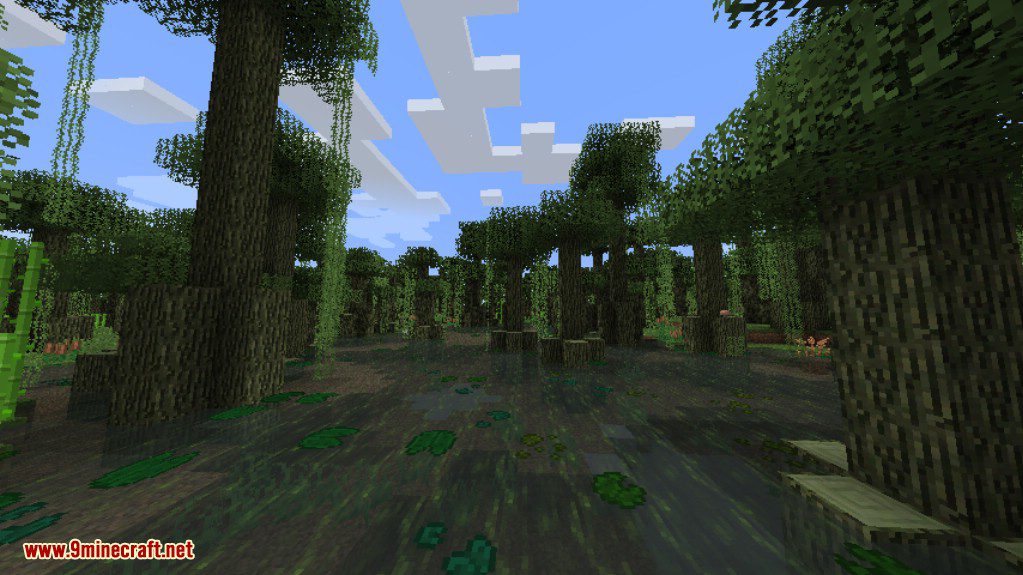
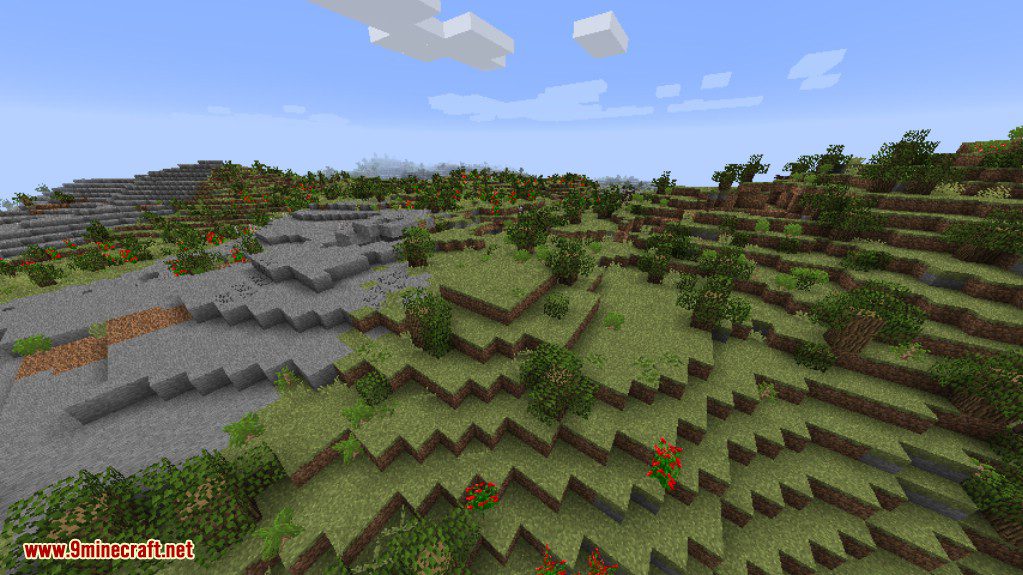
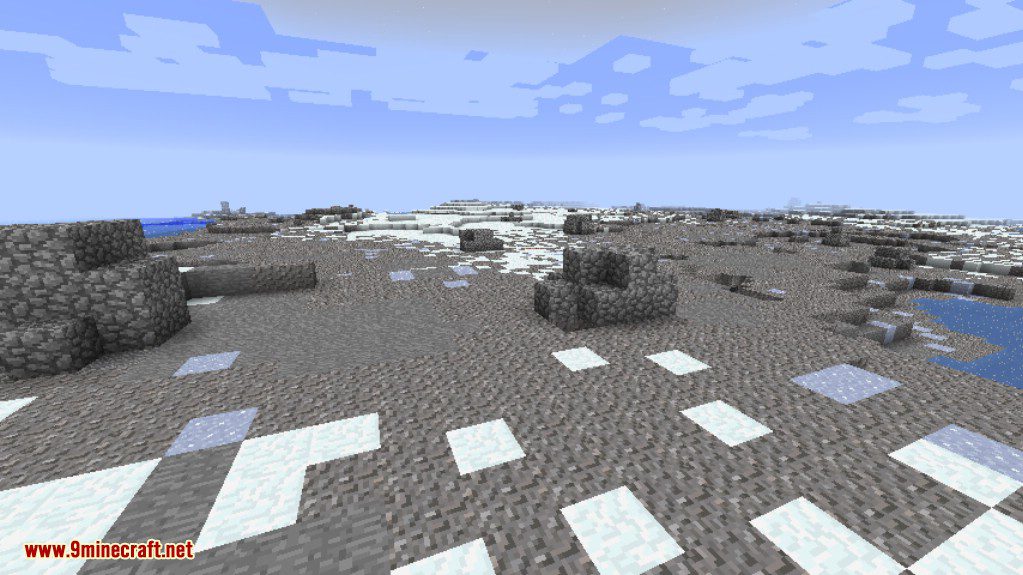
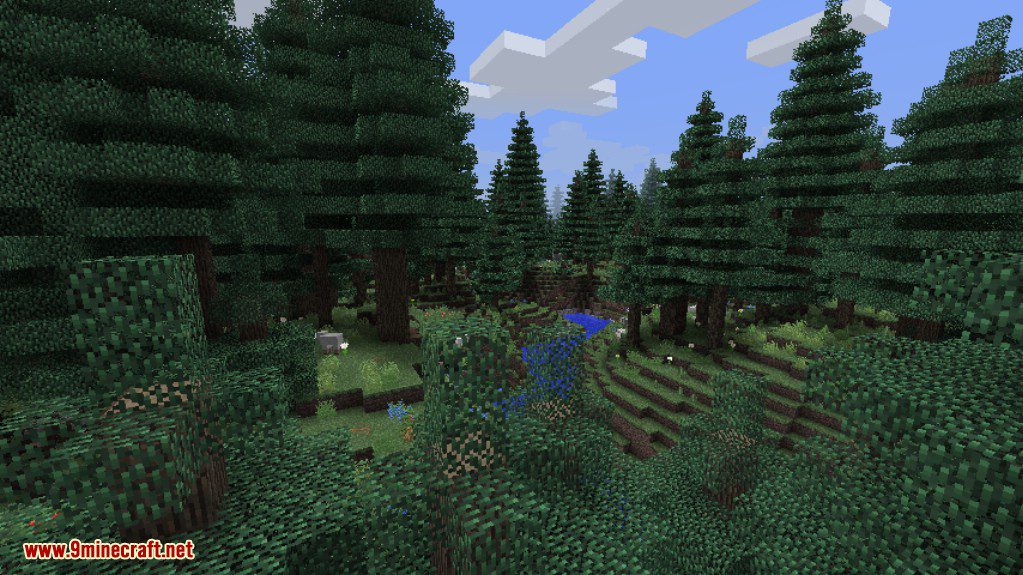
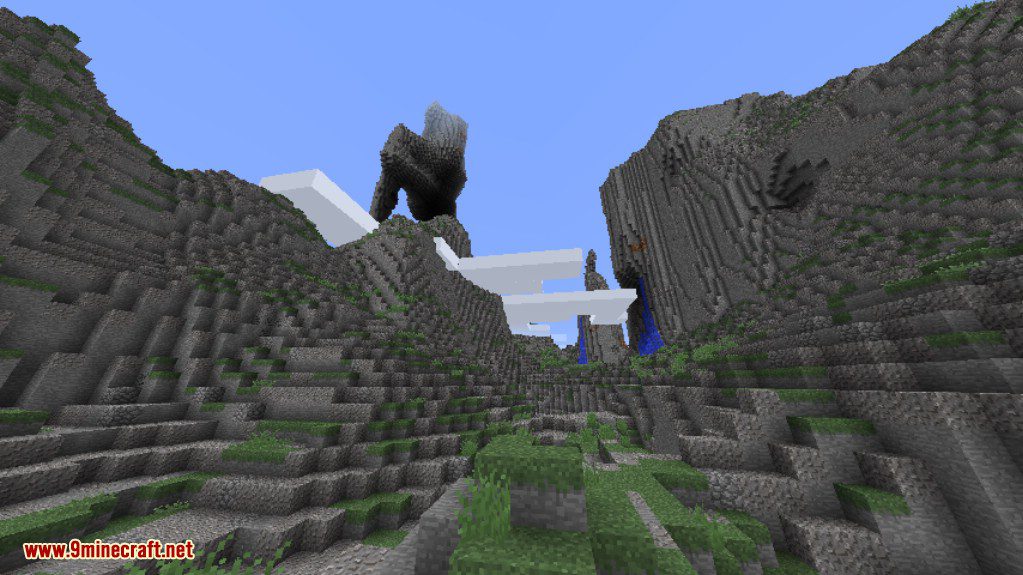
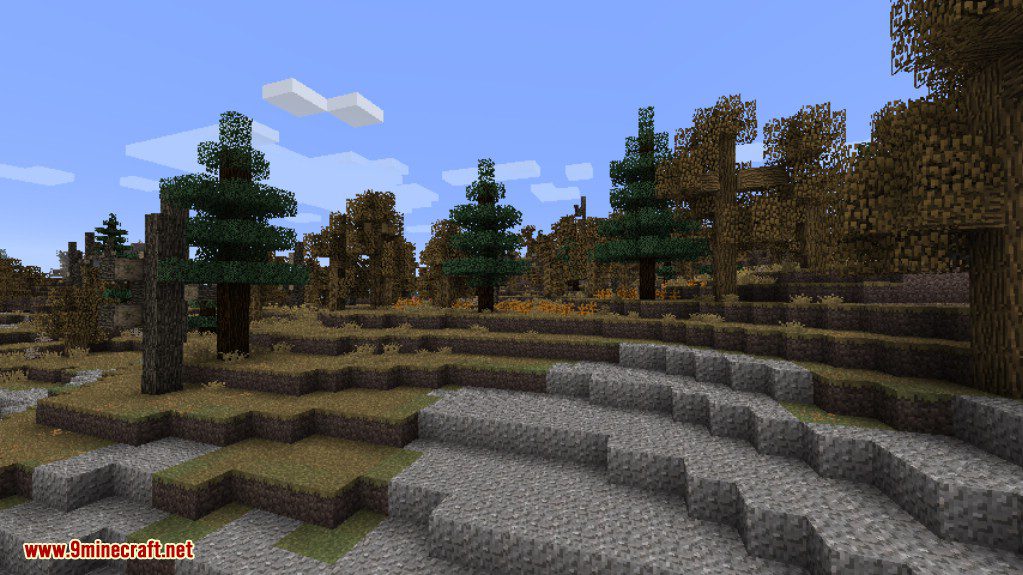
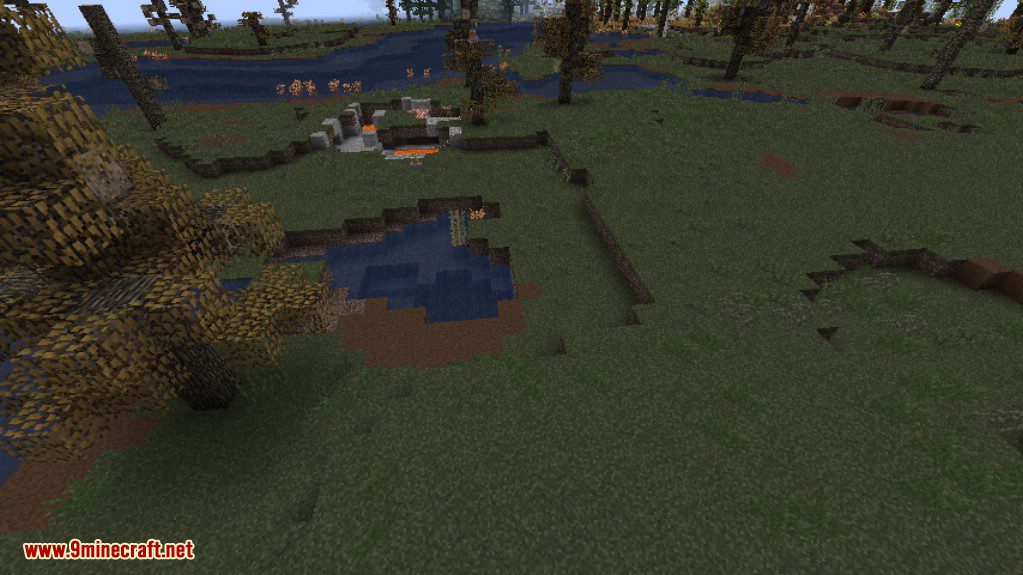
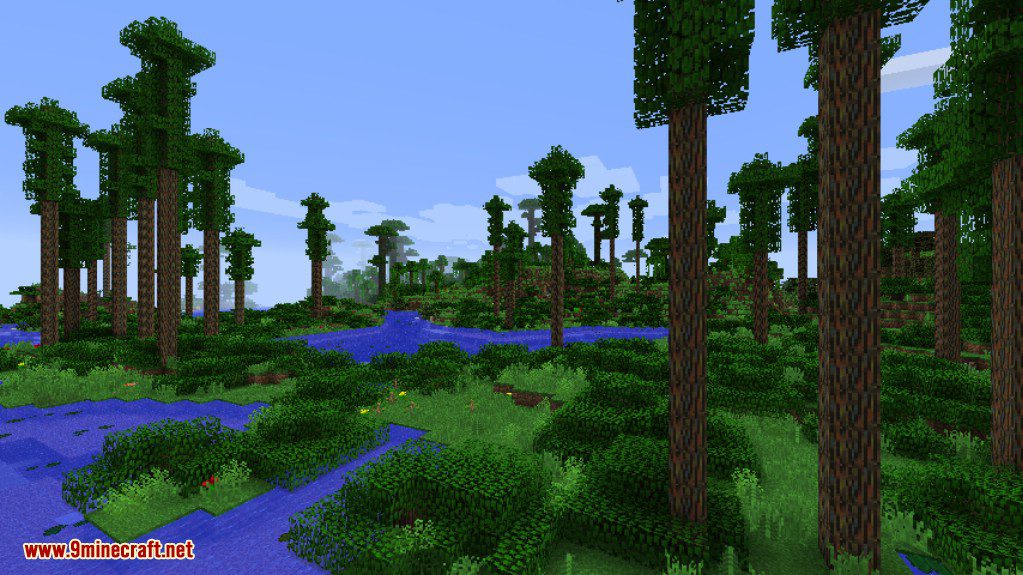
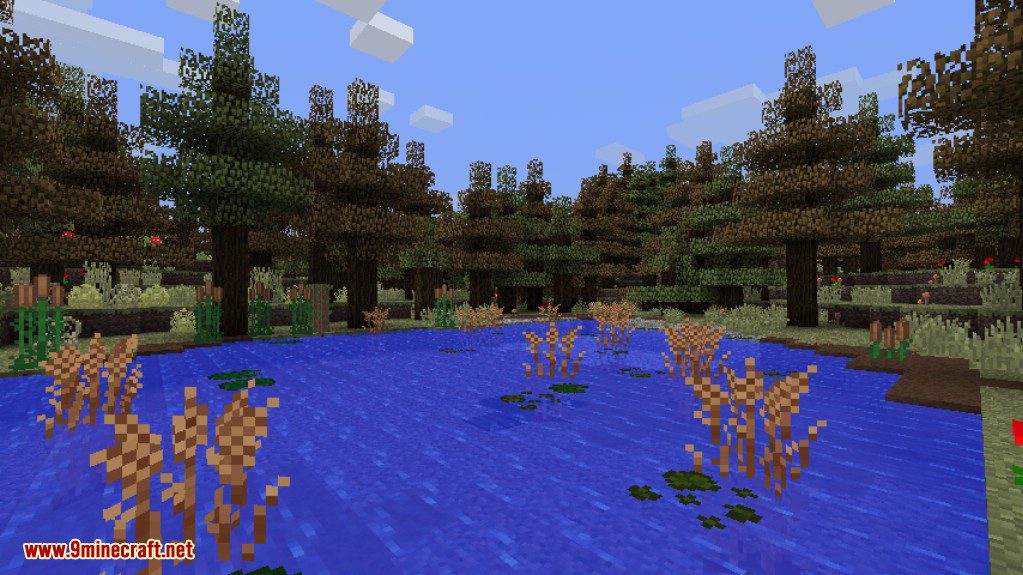
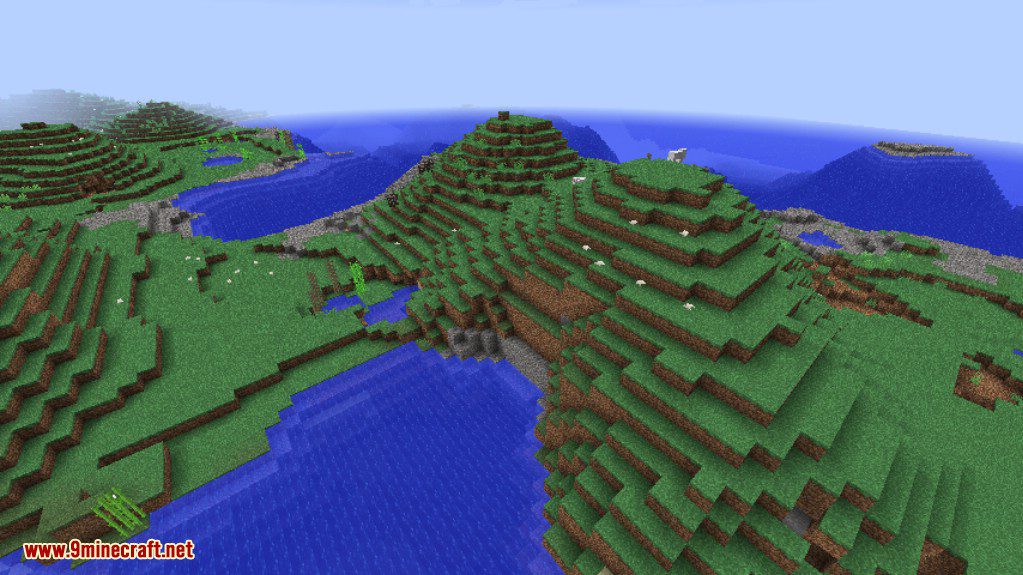
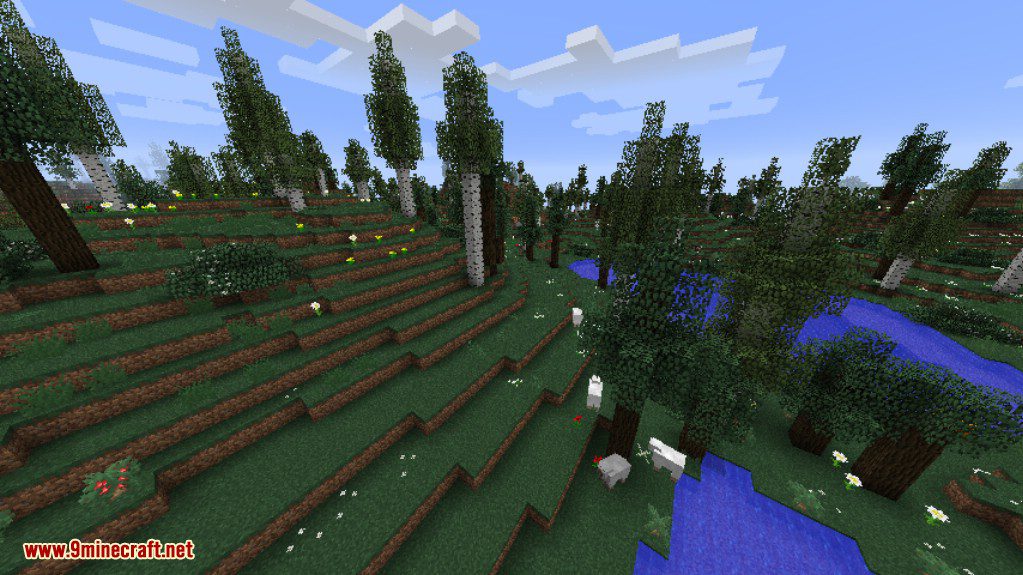
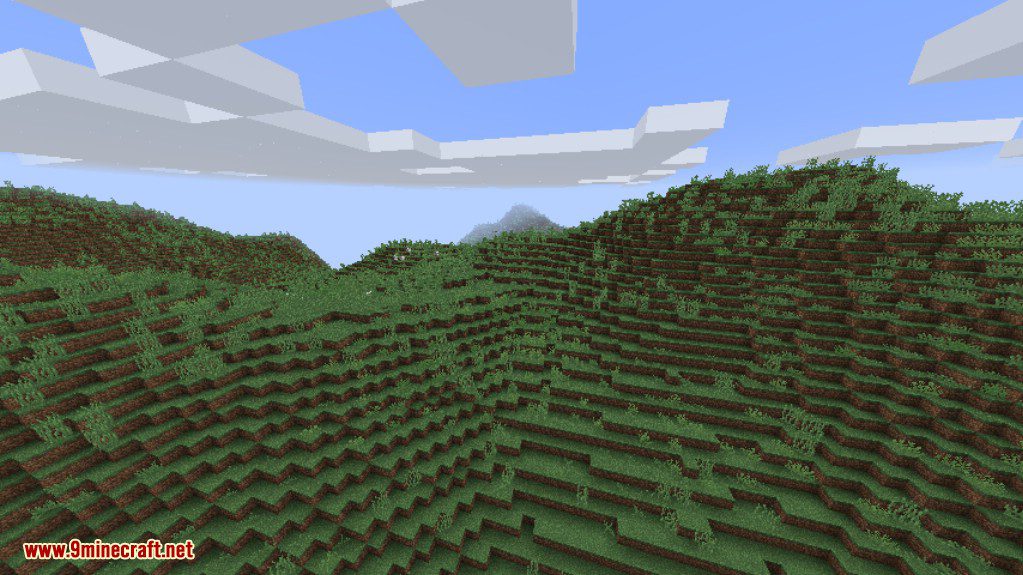
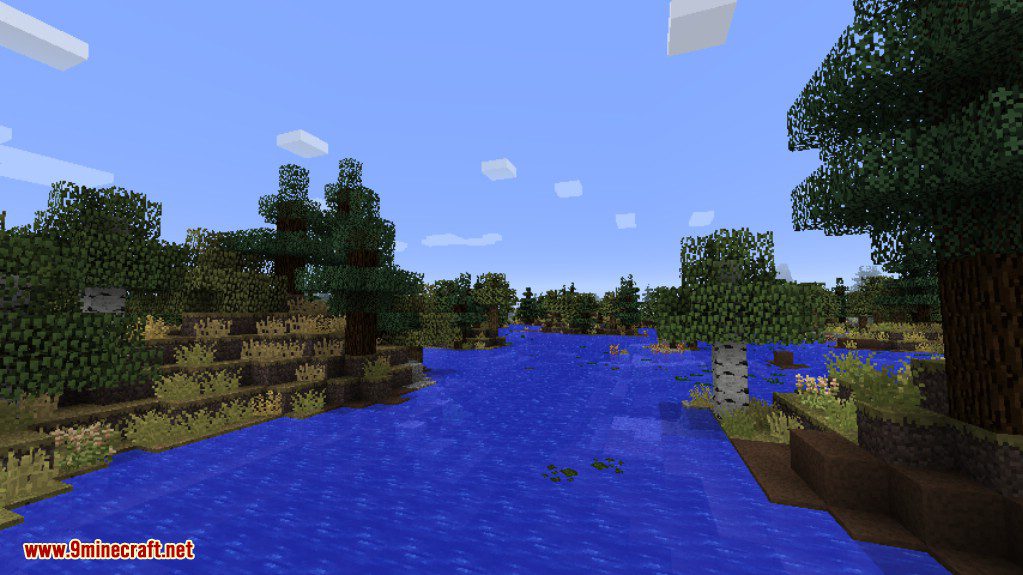
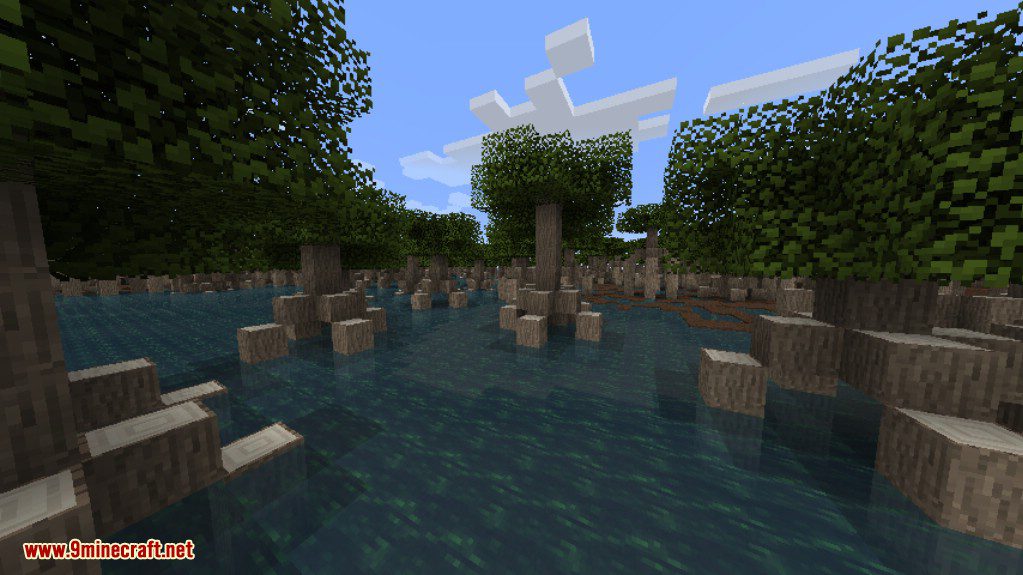
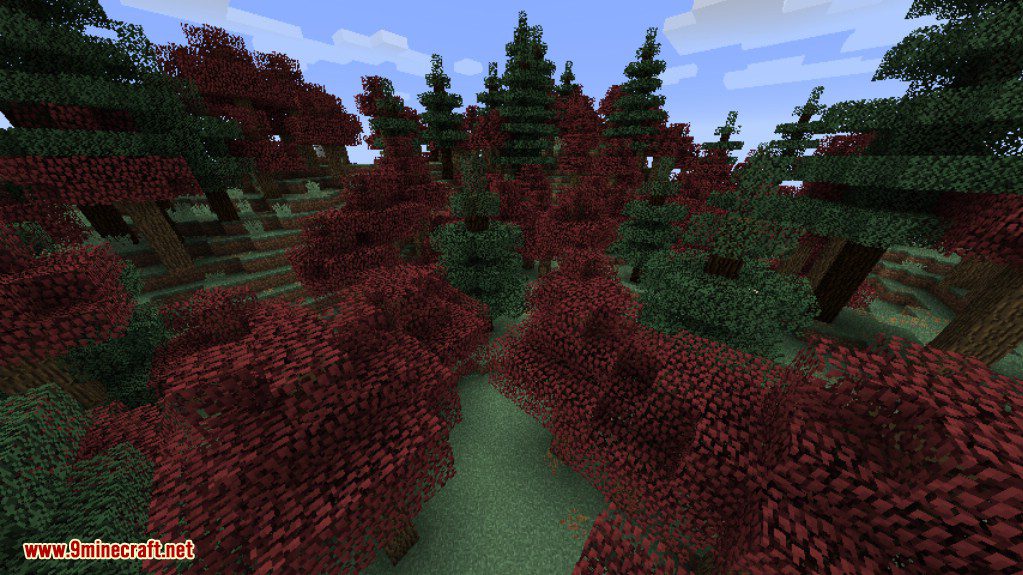
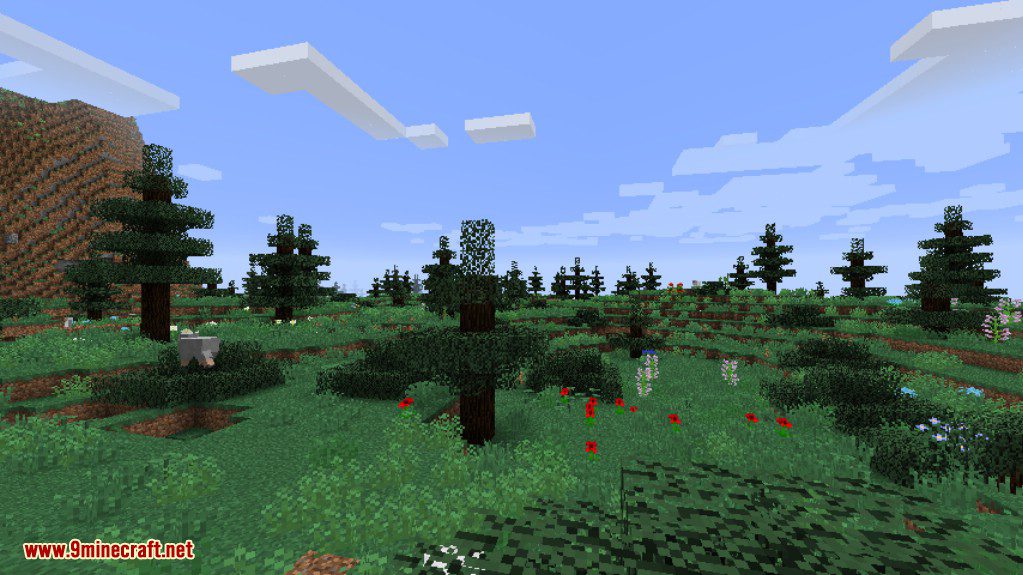
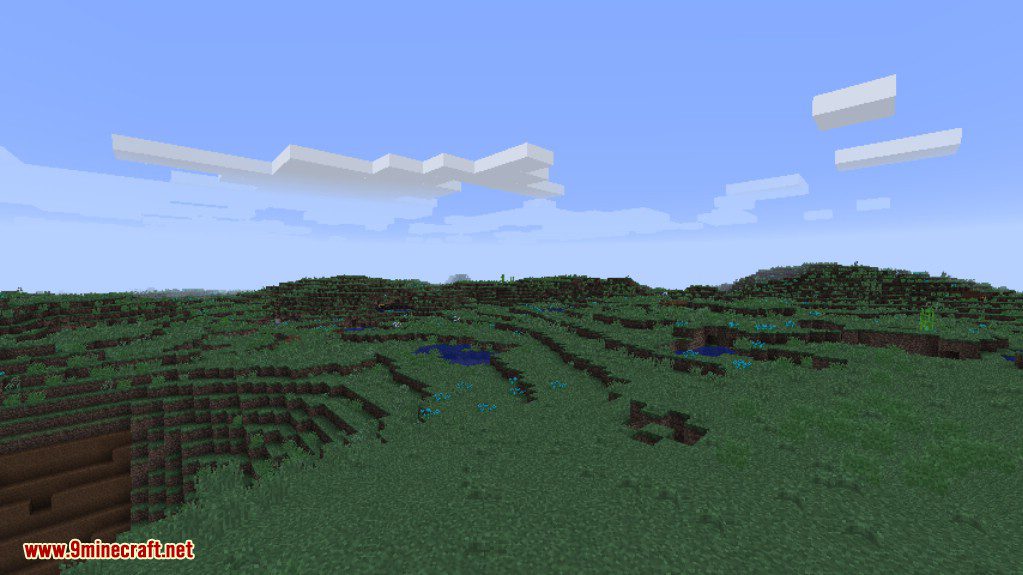
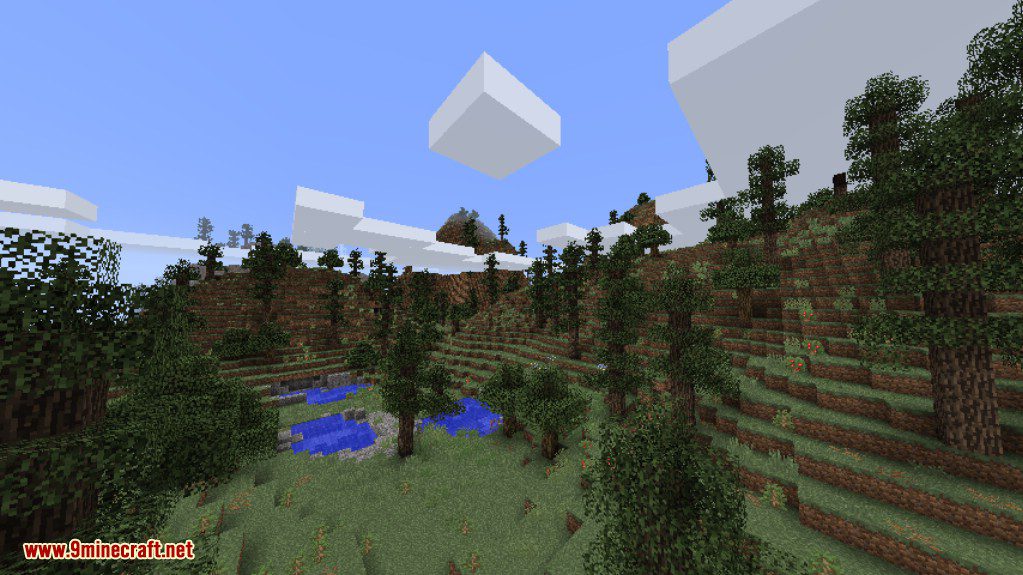
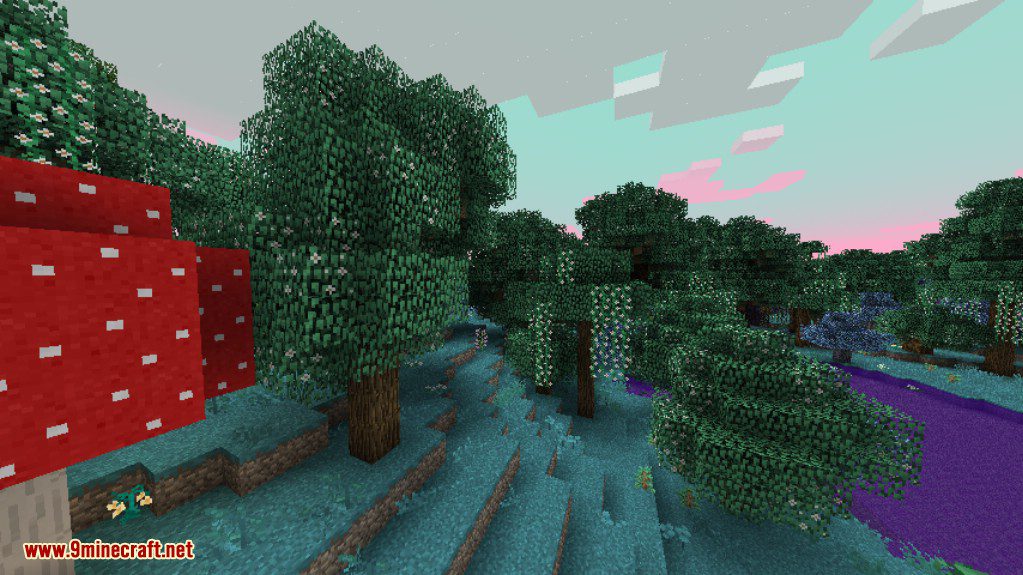
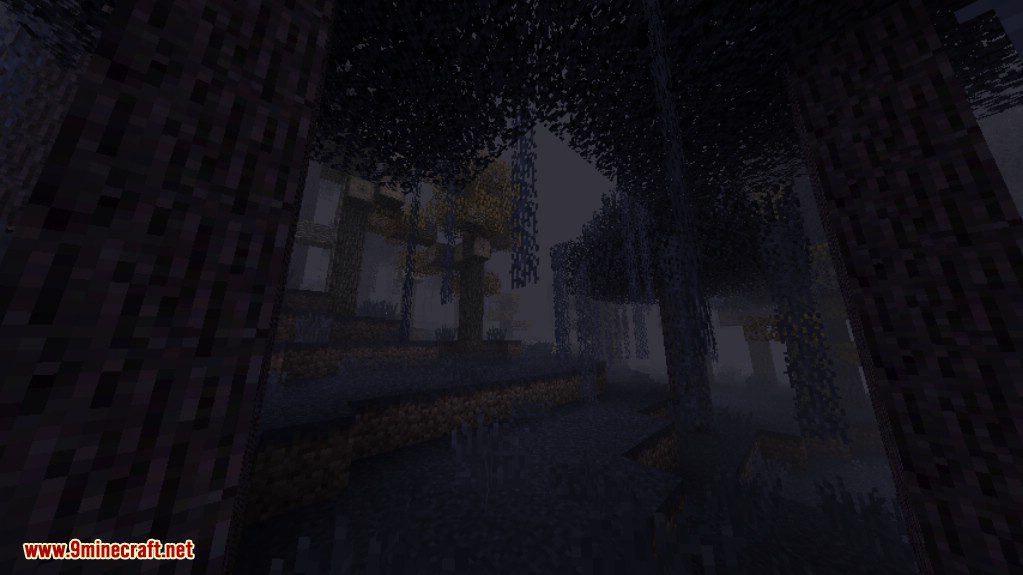
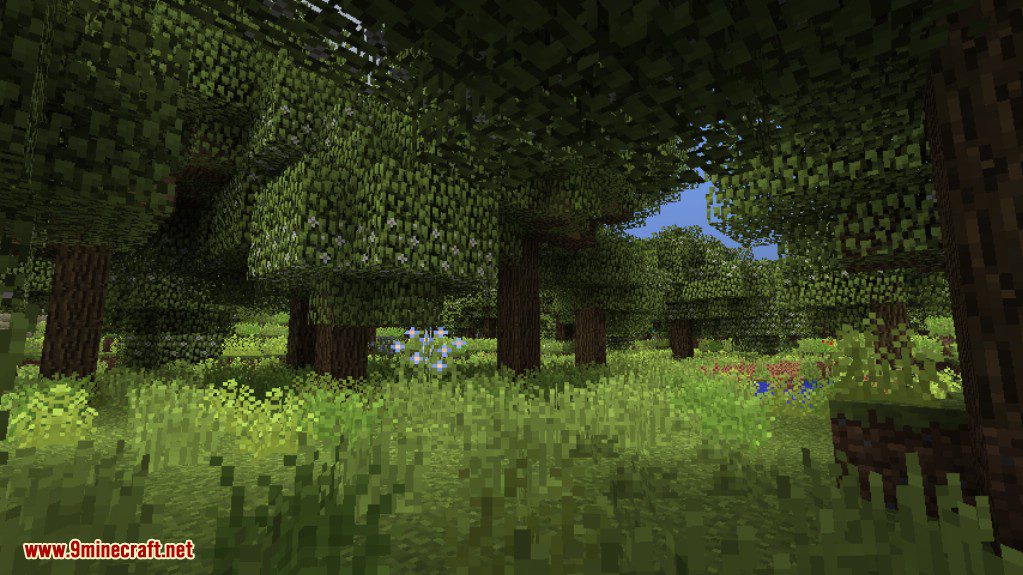
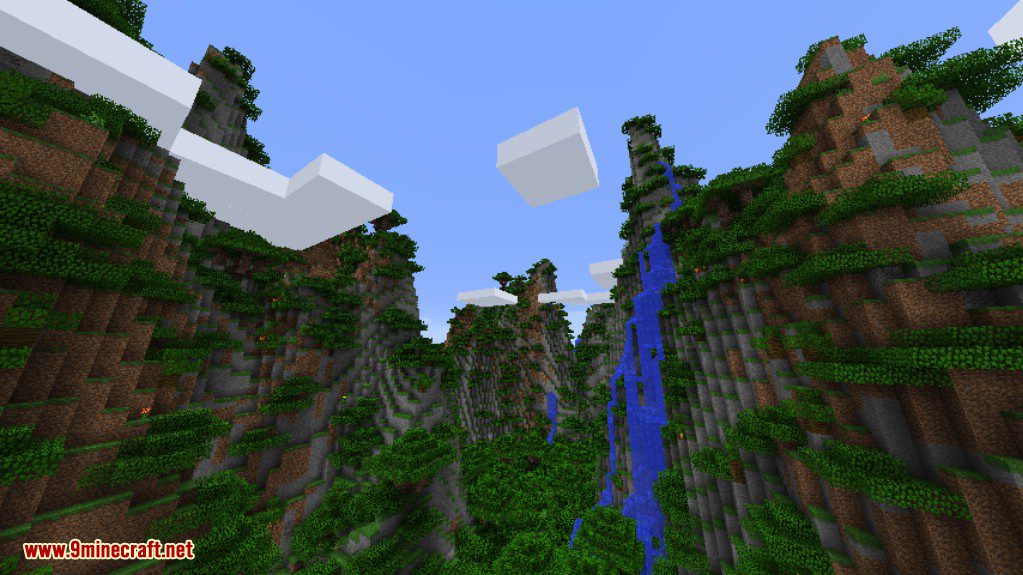
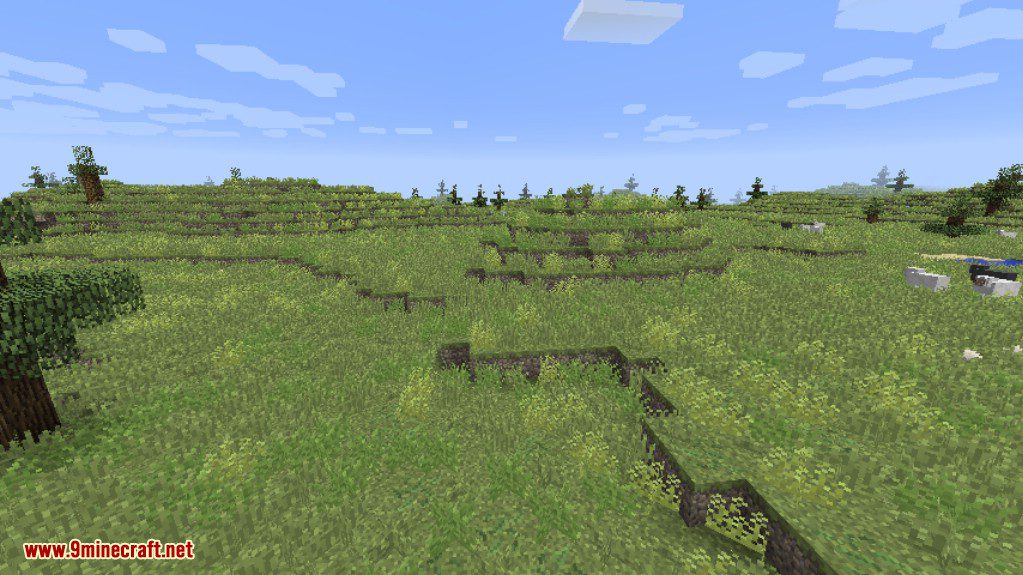
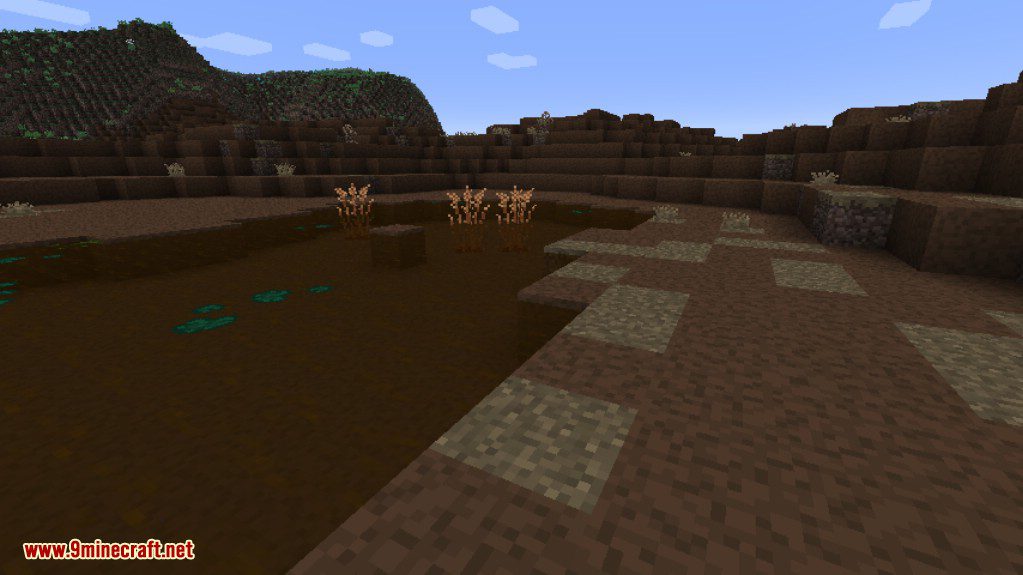
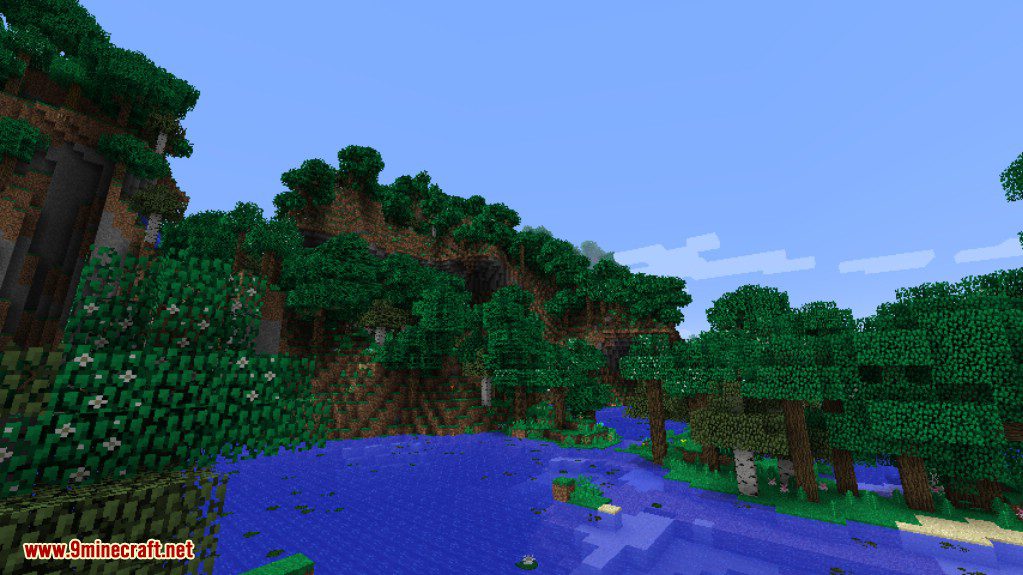
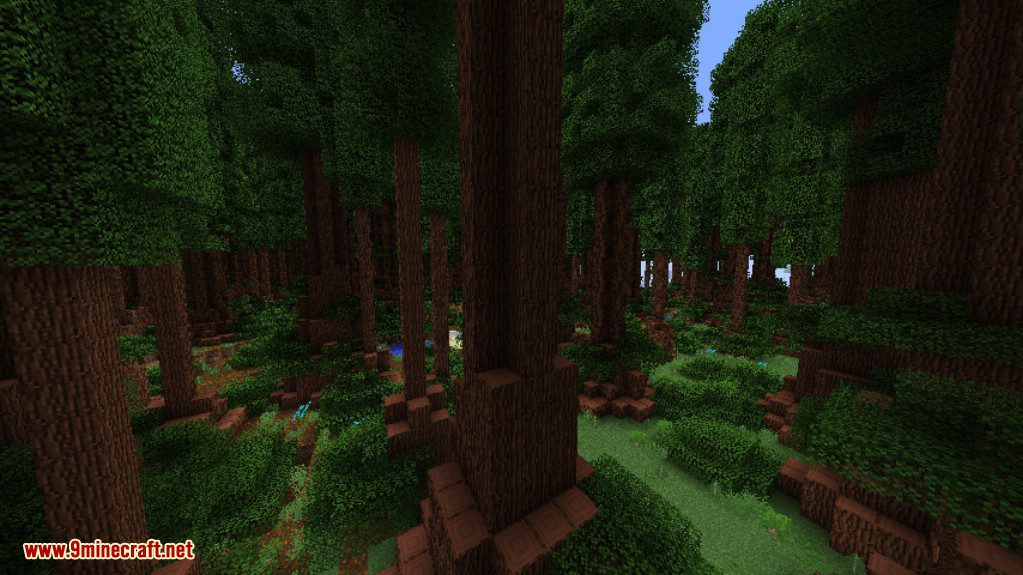
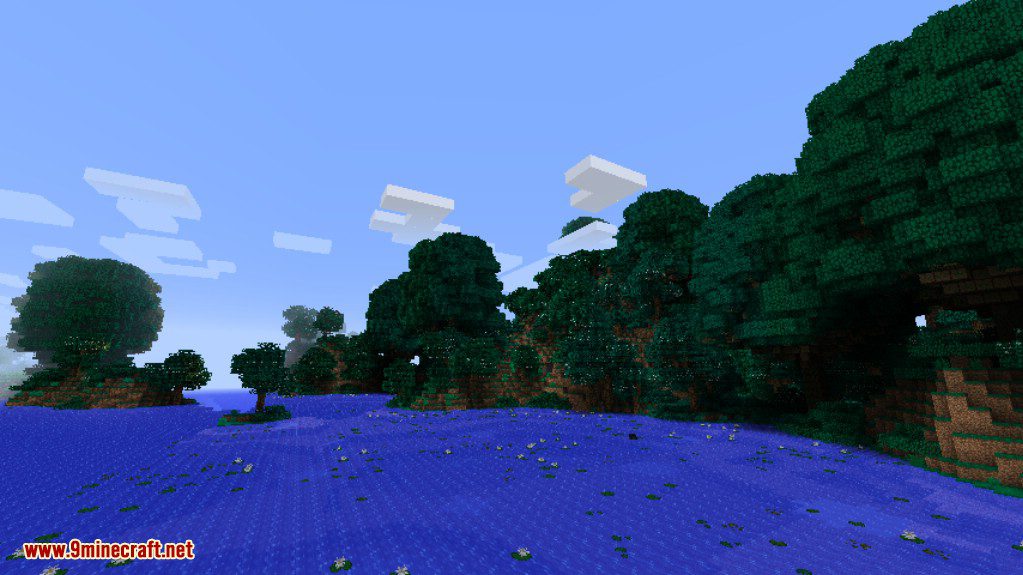
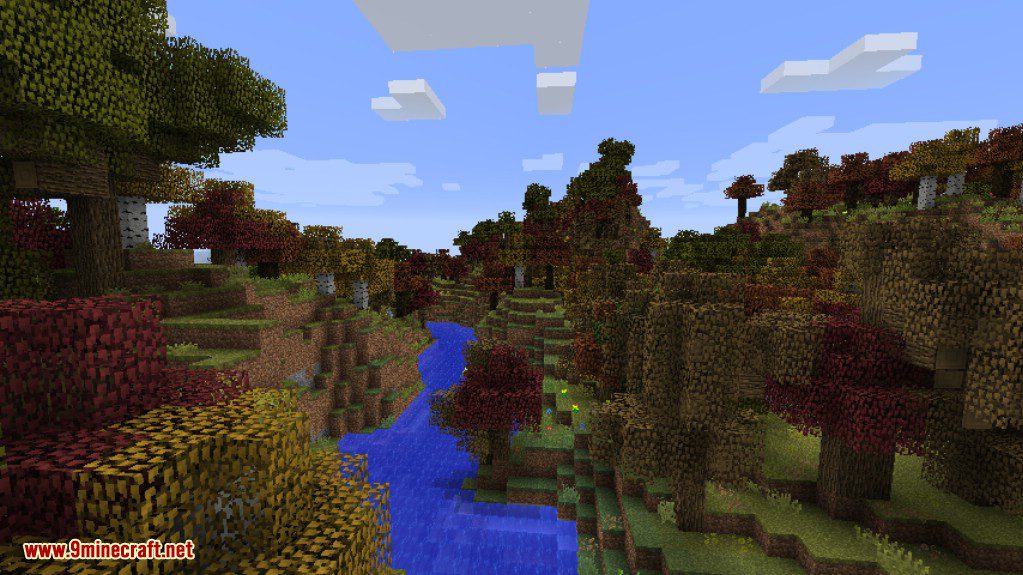
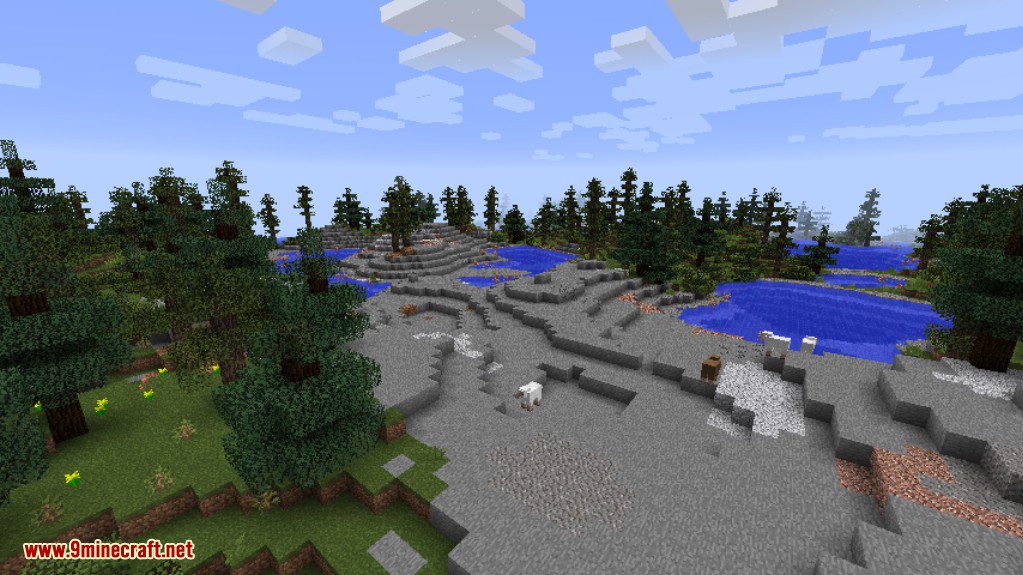
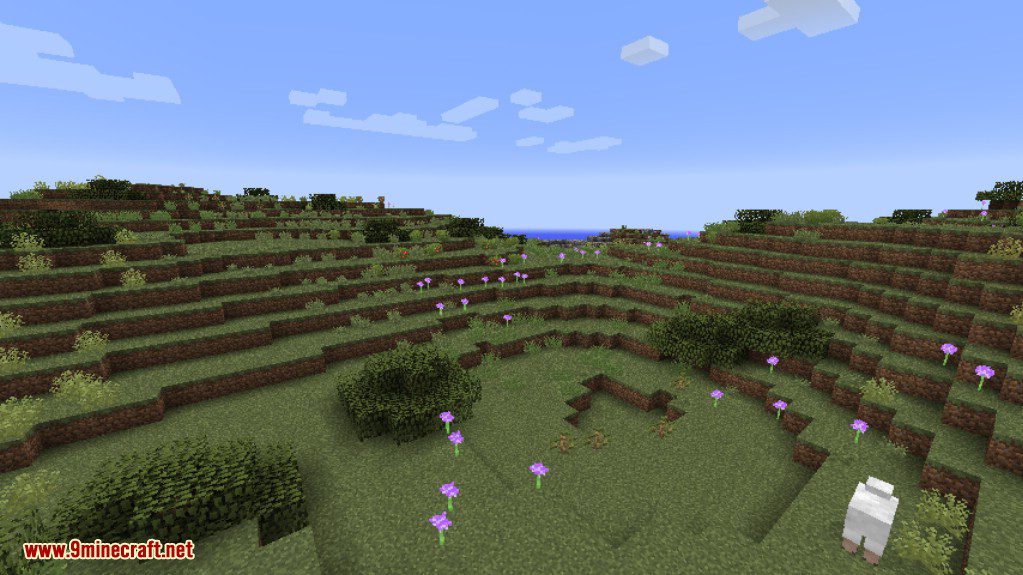
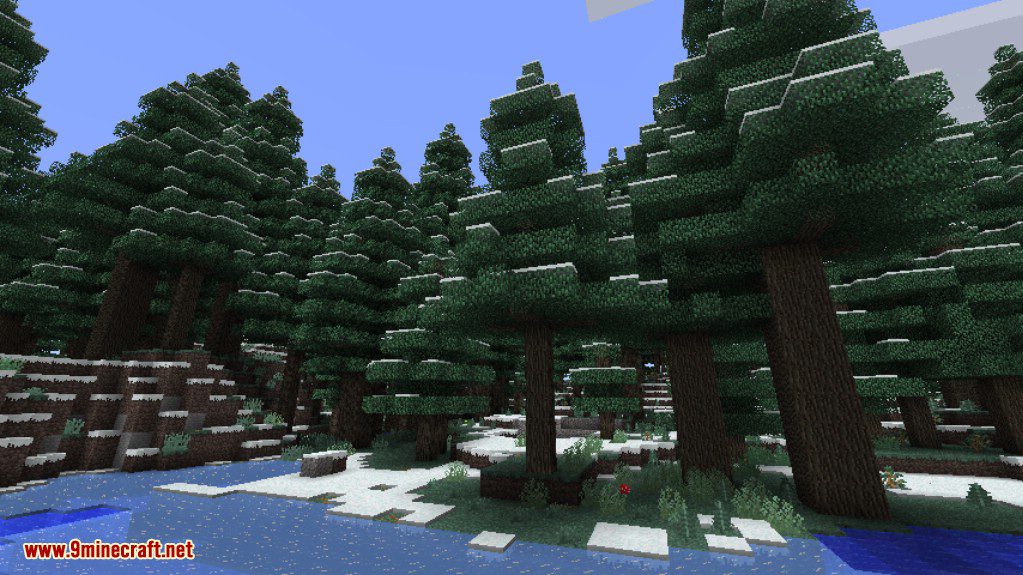
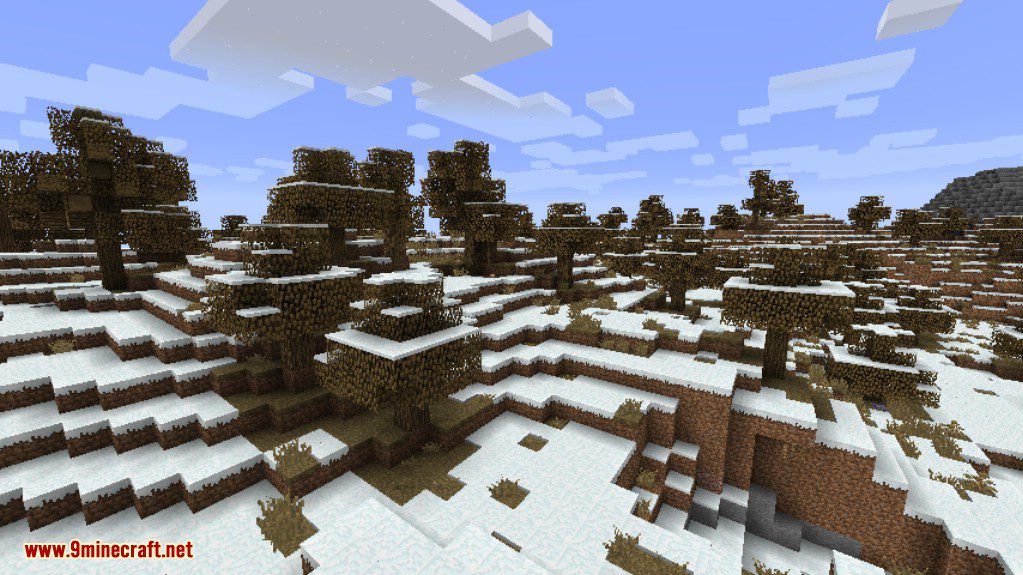
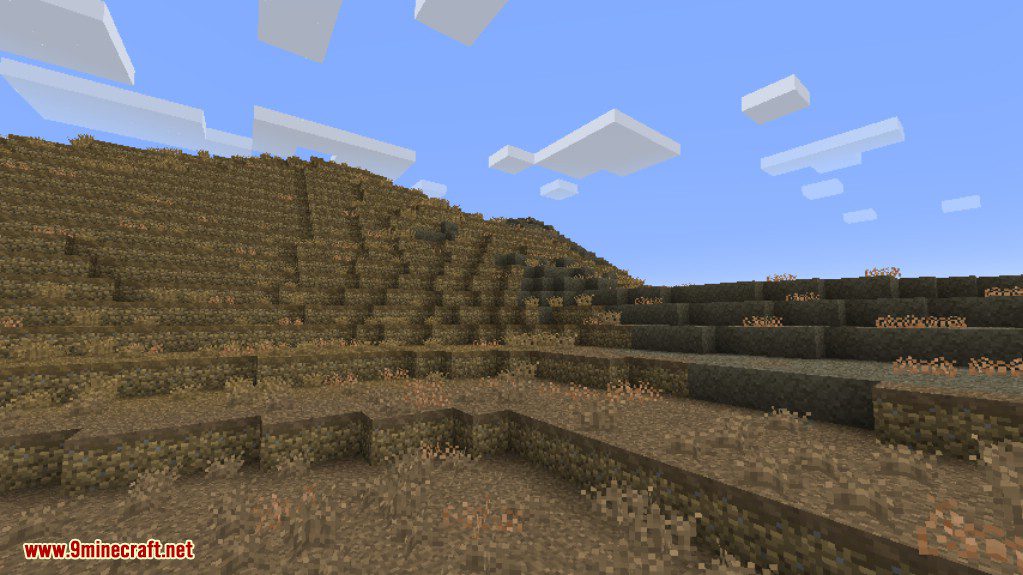
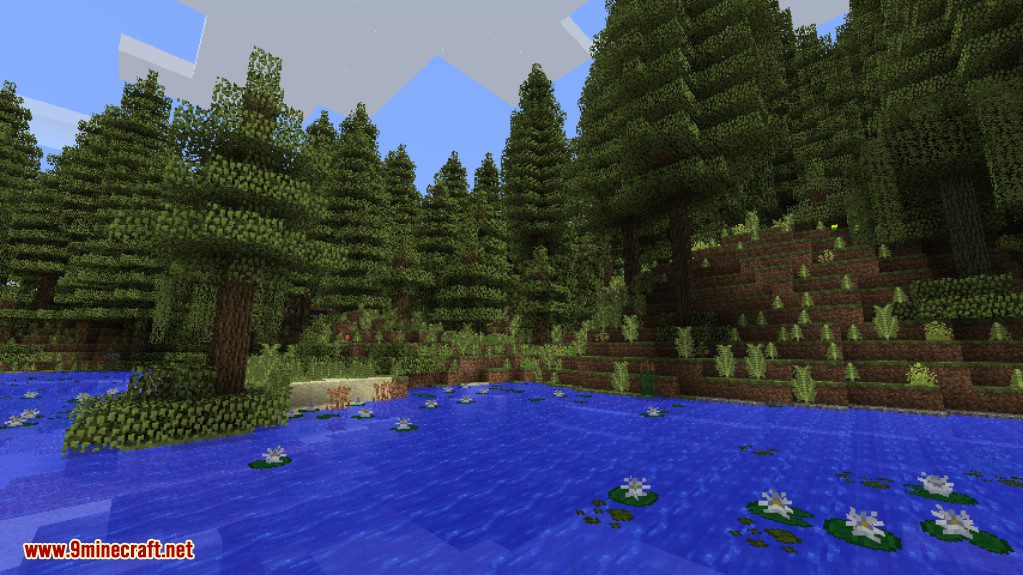
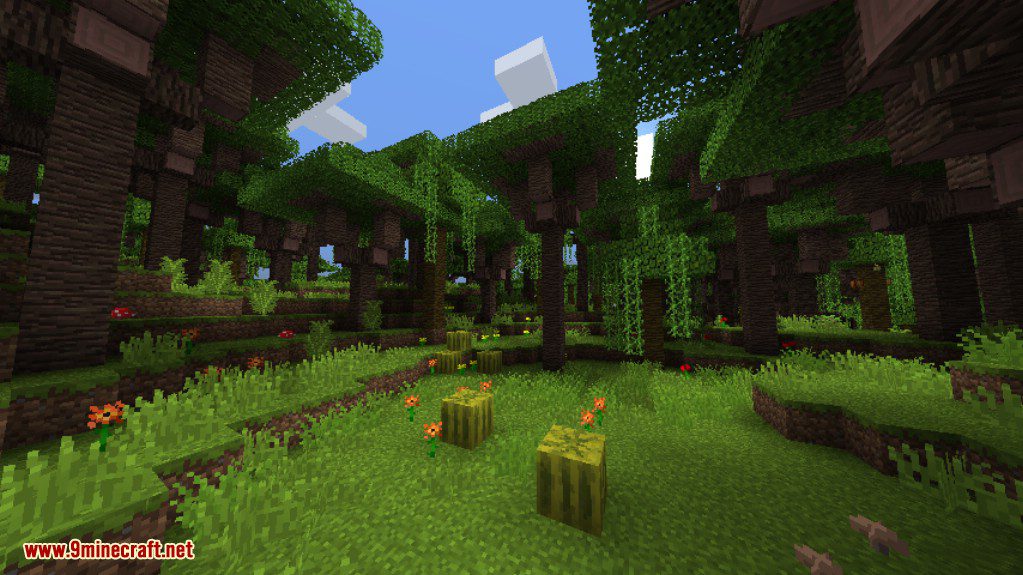
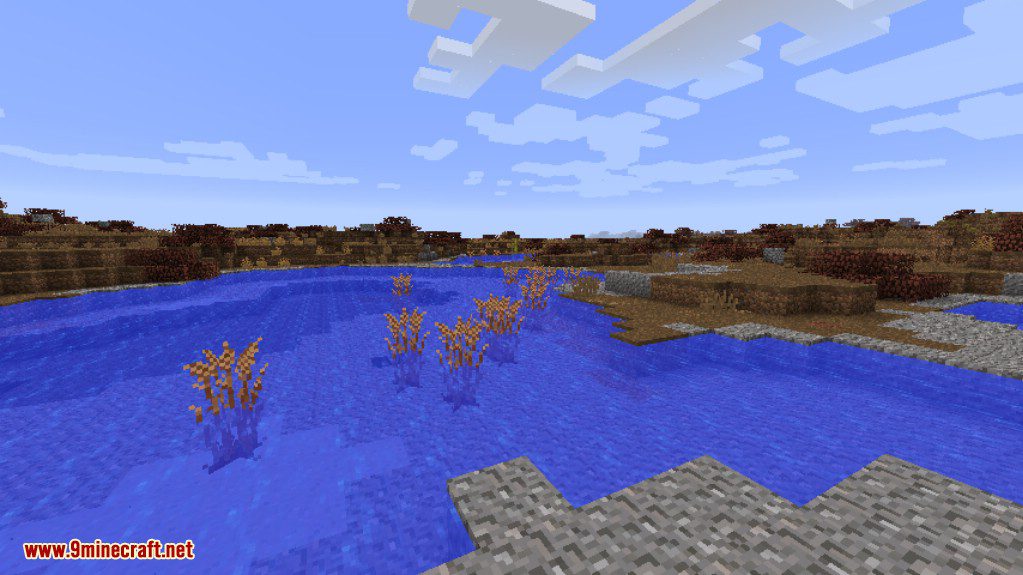
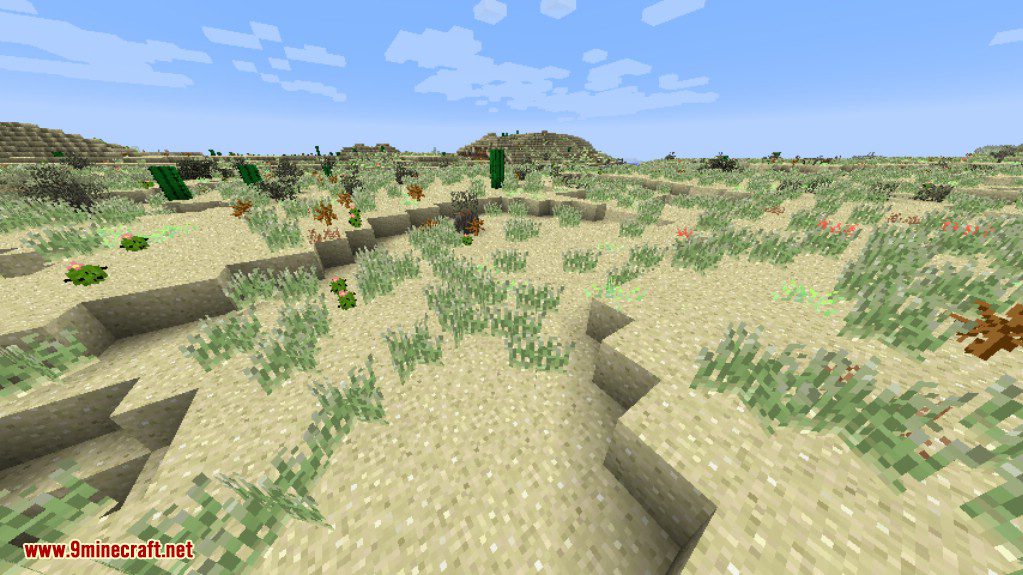
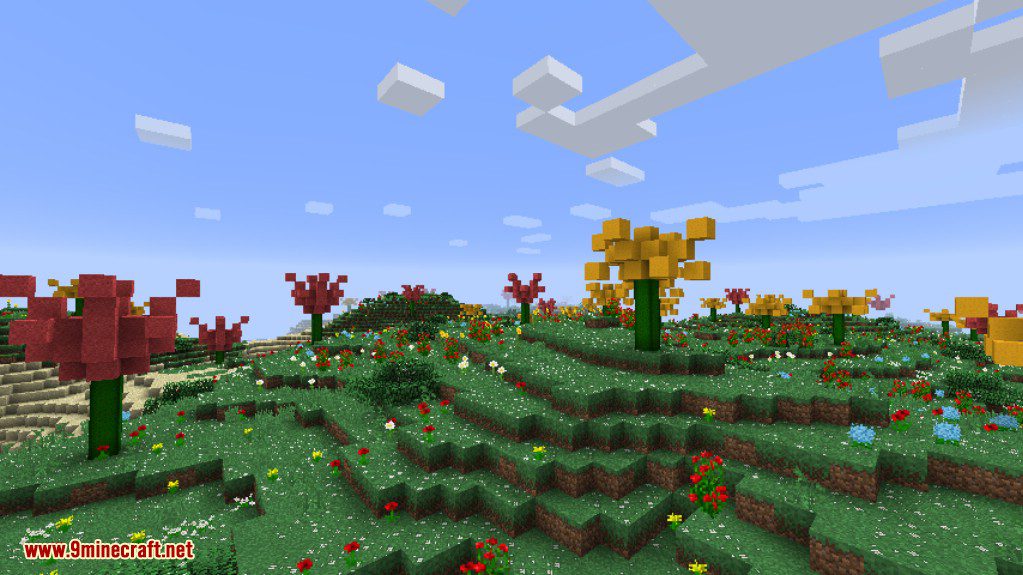
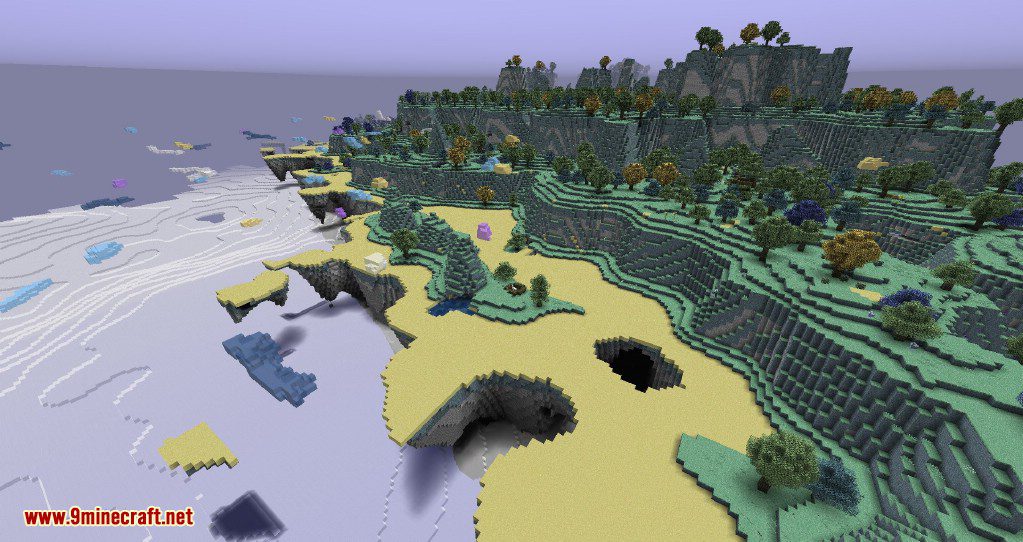
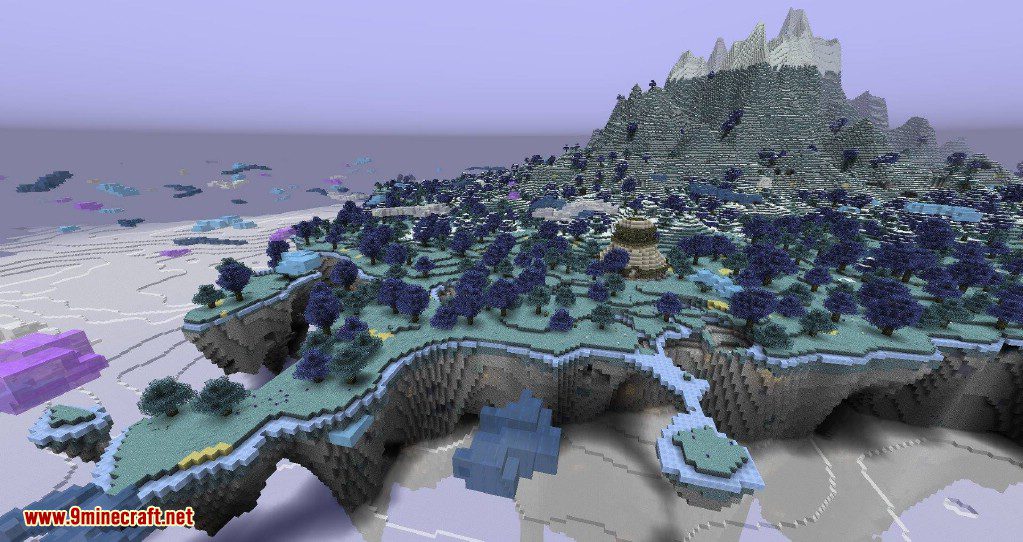
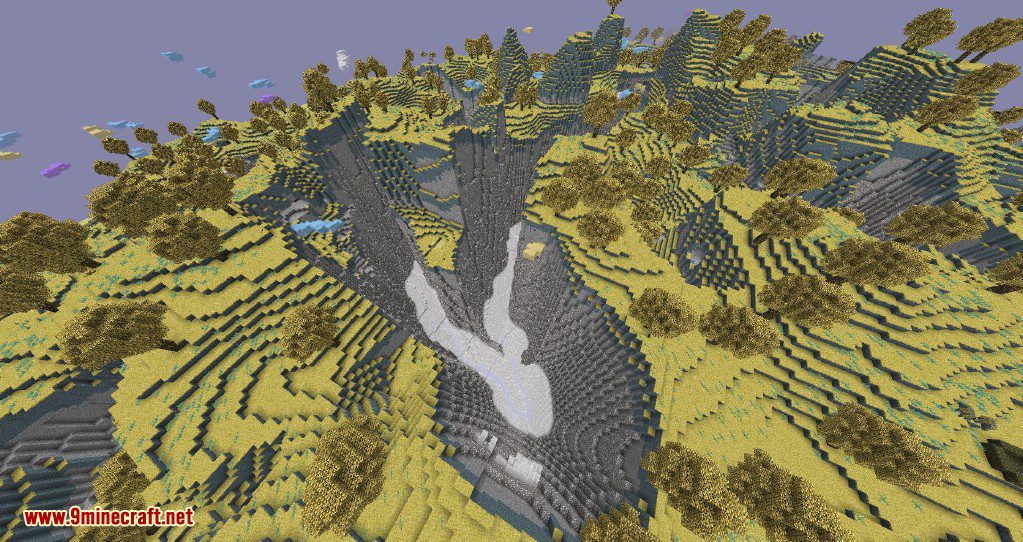
Atmospheric environments

Aether 2 Mod 2018 Screenshots 7

Aether 2 Mod 2018 Screenshots 8

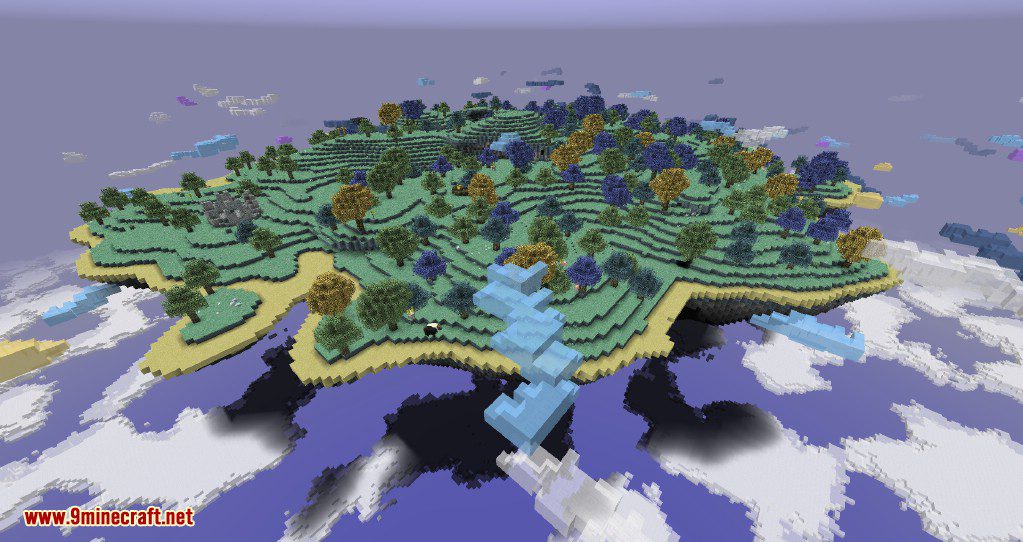
Revamped world generation that’s better than ever, producing actual islands! Trade secret stuff.

Aether 2 Mod 2018 Screenshots 12

Aether 2 Mod 2018 Screenshots 9

Aether 2 Mod 2018 Screenshots 10

Aether 2 Mod 2018 Screenshots 11

Aether 2 Mod 2018 Screenshots 13

Older Screenshots (For Minecraft 1.11.2-)

[[Visit blog to check out this spoiler]]

Aether 2 Mod Wiki Page:

Requires:

Minecraft Forge

Orbis API (Only for Minecraft 1.12.2)

Gilded Games Util (Only for Minecraft 1.7.10 – Download below)

How to install:

  1. Make sure you have already installed Minecraft Forge and required mods.
  2. Locate the minecraft application folder.
    • On windows open Run from the start menu, type %appdata% and click Run.
    • On mac open finder, hold down ALT and click Go then Library in the top menu bar. Open the folder Application Support and look for Minecraft.
  3. Place the mod you have just downloaded (.jar file) into the Mods folder.
  4. When you launch Minecraft and click the mods button you should now see the mod is installed.

Aether 2 Mod 1.12.2/1.11.2 Download Links:

Previous versions:

[[Visit blog to check out this spoiler]]

For Minecraft 1.5.2

Download from Server 1

For Minecraft 1.6.4

Manual Install: Download from Server 1 – Download from Server 2

Aether 2 Launcher (requires Java 7): Download from Server 1Download from Server 2Download from Server 3

The Threaded Lightning: Download from Server 1Download from Server 2Download from Server 3

For Minecraft 1.7.10

Manual Install: Download from Server 1 – Download from Server 2Download from Server 3

Gilded Games Util: Download from Server 1 – Download from Server 2Download from Server 3

Aether 2 Launcher: Download from Server 1 – Download from Server 2Download from Server 3

For Minecraft 1.10.2 (WIP – Beta)

Manual Install: Download from Server 1 – Download from Server 2Download from Server 3

For Minecraft 1.11.2 (WIP – Beta)

Manual Install: Download from Server 1 – Download from Server 2Download from Server 3

For Minecraft 1.12.2 (WIP – Beta)

Manual Install: Download from Server 1Download from Server 2Download from Server 3

The post Aether 2 Mod 1.12.2/1.11.2 (Highlands, Genesis of the Void) appeared first on 9Minecraft | Minecraft Mod.


Iron Chests Mod 1.13.2/1.12.2 (Better Than Vanilla Chests)

$
0
0

Iron Chests Mod 1.13.2/1.12.2 adds a variety of new chests to the game in addition to iron chests. All are better than vanilla chests in that they have more capacity and can be placed next to each other. Additionally, they remain as single chests when adjacent to each other, eliminating the necessary 1-block gap seen with double chests. Only obsidian chests have increased blast resistance.

Iron Chests Mod

Screenshots:

Iron Chests Mod Screenshots 1

Iron Chests Mod Screenshots 2

Iron Chests Mod Screenshots 3

Iron Chests Mod Screenshots 4

Iron Chests Mod Screenshots 5

Iron Chests Mod Screenshots 6

Iron Chests Mod Screenshots 7

Iron Chests Mod Screenshots 8

Iron Chests Mod Screenshots 9

Iron Chests Mod Screenshots 10

Iron Chests Mod Screenshots 11

Iron Chests Mod Screenshots 12

Iron Chests Mod Screenshots 13

Iron Chests Mod Screenshots 14

Crafting Recipes:

Iron Chests Mod Crafting Recipes 1

Iron Chests Mod Crafting Recipes 2

Iron Chests Mod Crafting Recipes 3

Iron Chests Mod Crafting Recipes 4

Iron Chests Mod Crafting Recipes 5

Iron Chests Mod Crafting Recipes 6

Iron Chests Mod Crafting Recipes 7

Iron Chests Mod Crafting Recipes 8

Requires:

Minecraft Forge

How to install:

  1. Make sure you have already installed Minecraft Forge.
  2. Locate the minecraft application folder.
    • On windows open Run from the start menu, type %appdata% and click Run.
    • On mac open finder, hold down ALT and click Go then Library in the top menu bar. Open the folder Application Support and look for Minecraft.
  3. Place the mod you have just downloaded (.jar file) into the Mods folder.
  4. When you launch Minecraft and click the mods button you should now see the mod is installed.

Iron Chests Mod 1.13.2/1.12.21.1 Download Links:

Older versions:

[[Visit blog to check out this spoiler]]

For Minecraft 1.5.2

Download from Server 1

For Minecraft 1.6.2

Download from Server 1

For Minecraft 1.6.4

Download from Server 1Download from Server 2

For Minecraft 1.7.2

Download from Server 1Download from Server 2

For Minecraft 1.7.10

Download from Server 1Download from Server 2Download from Server 3

For Minecraft 1.8.0

Download from Server 1Download from Server 2

For Minecraft 1.8.9

Download from Server 1Download from Server 2

For Minecraft 1.9.0

Download from Server 1Download from Server 2

For Minecraft 1.9.4

Download from Server 1Download from Server 2

For Minecraft 1.10.2

Download from Server 1Download from Server 2

For Minecraft 1.11

Download from Server 1Download from Server 2

For Minecraft 1.11.2

Download from Server 1Download from Server 2

For Minecraft 1.12.1/1.12

Download from Server 1Download from Server 2

For Minecraft 1.12.2

Download from Server 1Download from Server 2

For Minecraft 1.13.2

Download from Server 1Download from Server 2

The post Iron Chests Mod 1.13.2/1.12.2 (Better Than Vanilla Chests) appeared first on 9Minecraft | Minecraft Mod.

Pixelmon Mod 1.12.2/1.10.2 (Pokemon in Minecraft)

$
0
0

Pixelmon Mod 1.12.2/1.10.2 is the perfect mod for all Minecraft players that are fans of the popular game Pokémon. This mod adds nearly 510 of the cute critters to the game. It is fully configurable and has a lot of cool features like a functioning pokedex, a 3D pokeball and capture animation, a fossil machine for reviving fossils found around the world and much, much more! Pixelmon Mod also have a comprehensive attack system featuring over 500 attacks, including status effects and stats modifiers. While many mods which add content to the game are known to interfere with other mods functioning correctly, this mod makes no change to any base files, which means it works well with the vast majority of other mods and can be used right alongside some of the most popular Minecraft add-ons available today.

Pixelmon Mod

Pixelmon is a mod that returns to the fray with a large increase in the number of species of Pokemon that will be added to the generation of your worlds of Minecraft. Currently you will be able to find up to 510+ pokemons. Incredible. It is the perfect mod for Minecraft if players really want to change their gameplay experience. This is no resource pack offering a facelift and standard Minecraft besides: this is like a whole new game. There is a complete features list below following screenshots.

Features:

Pixelmon Mod Features

Screenshots:

Pixelmon Mod Screenshots New 1

Pixelmon Mod Screenshots New 2

Pixelmon Mod Screenshots New 3

Pixelmon Mod Screenshots New 4

Pixelmon Mod Screenshots New 5

Pixelmon Mod Screenshots New 6

Pixelmon Mod Screenshots New 7

Pixelmon Mod Screenshots New 8

Pixelmon Mod Screenshots New 9

Pixelmon Mod Screenshots New 10

Pixelmon Mod Screenshots New 11

Pixelmon Mod Screenshots New 12

Pixelmon Mod Screenshots New 13

Pixelmon Mod Screenshots New 14

Pixelmon Mod Screenshots New 15

Pixelmon Mod Screenshots New 16

Pixelmon Mod Screenshots New 17

Pixelmon Mod Screenshots New 18

Pixelmon Mod Screenshots New 19

Pixelmon Mod Screenshots New 20

Pixelmon Mod Screenshots New 21

Pixelmon Mod Screenshots New 22

Pixelmon Mod Screenshots New 23

Pixelmon Mod Screenshots New 24

Pixelmon Mod Screenshots New 25

Pixelmon Mod Screenshots New 26

Pixelmon Mod Screenshots New 27

Pixelmon Mod Screenshots New 28

Pixelmon Mod Screenshots New 29

Pixelmon Mod Screenshots New 30

Pixelmon Mod Screenshots New 31

Pixelmon Mod Screenshots New 32

Pixelmon Mod Screenshots New 33

Pixelmon Mod Screenshots New 34

Pixelmon Mod Screenshots New 35

Pixelmon Mod Screenshots New 36

Pixelmon Mod Screenshots New 37

Pixelmon Mod Screenshots New 38

Pixelmon Mod Screenshots New 39

Pixelmon Mod Screenshots New 40

Pixelmon Mod Screenshots New 41

Pixelmon Mod Screenshots New 42

Pixelmon Mod Screenshots New 43

Pixelmon Mod Screenshots New 44

Pixelmon Mod Screenshots New 45

Pixelmon Mod Screenshots New 46

Pixelmon Mod Screenshots New 47

Pixelmon Mod Screenshots New 48

Pixelmon Mod Screenshots New 49

Pixelmon Mod Screenshots New 50

Pixelmon Mod Screenshots New 51

Pixelmon Mod Screenshots New 52

Pixelmon Mod Screenshots New 53

Pixelmon Mod Screenshots New 54

Pixelmon Mod Screenshots New 55

Pixelmon Mod Screenshots New 56

Pixelmon Mod Screenshots New 57

Pixelmon Mod Screenshots New 58

Pixelmon Mod Screenshots New 59

Pixelmon Mod Screenshots New 60

Pixelmon Mod Screenshots New 61

Pixelmon Mod Screenshots New 62

Pixelmon Mod Screenshots New 63

Pixelmon Mod Screenshots New 64

Pixelmon Mod Screenshots New 65

Pixelmon Mod Screenshots New 66

Pixelmon Mod Screenshots New 67

Pixelmon Mod Screenshots New 68

Crafting Recipes:

[[Visit blog to check out this spoiler]]

Requires:

Minecraft Forge

How to install:

  1. Make sure you have already installed Minecraft Forge.
  2. Locate the minecraft application folder.
    • On windows open Run from the start menu, type %appdata% and click Run.
    • On mac open finder, hold down ALT and click Go then Library in the top menu bar. Open the folder Application Support and look for Minecraft.
  3. Place the mod you have just downloaded (.jar file) into the Mods folder.
  4. When you launch Minecraft and click the mods button you should now see the mod is installed.

Pixelmon Mod 1.12.2/1.10.2 Download Links:

Other versions:

[[Visit blog to check out this spoiler]]

For Minecraft 1.5.2

Download from Server 1Download from Server 2

For Minecraft 1.6.2

Download from Server 1Download from Server 2

For Minecraft 1.6.4

Download from Server 1Download from Server 2

For Minecraft 1.7.2

Download from Server 1Download from Server 2

For Minecraft 1.7.10

Download from Server 1Download from Server 2Download from Server 3

For Minecraft 1.8.9

Download from Server 1Download from Server 2

For Minecraft 1.10.2

v5.0.3: Download from Server 1Download from Server 2

v5.1.2: Download from Server 1Download from Server 2

For Minecraft 1.12.2

v6.1.0: Download from Server 1Download from Server 2Download from Server 3

v6.2.2: Download from Server 1Download from Server 2Download from Server 3

v6.3.1: Download from Server 1Download from Server 2Download from Server 3

v6.3.2: Download from Server 1Download from Server 2Download from Server 3

v6.3.4: Download from Server 1Download from Server 2Download from Server 3

v7.0.5: Download from Server 1Download from Server 2Download from Server 3

v7.0.6: Download from Server 1Download from Server 2Download from Server 3

The post Pixelmon Mod 1.12.2/1.10.2 (Pokemon in Minecraft) appeared first on 9Minecraft | Minecraft Mod.

Doggy Talents Mod 1.14.2/1.12.2 (Pet Doggy Training)

$
0
0

Doggy Talents Mod 1.14.2/1.12.2 adds a slew of new abilities for wolves/dogs in Minecraft. It gives you more training options for your pet and improves their abilities and traits. And it will even give your dog new markings when you level up.

Doggy Talents Mod

The mod adds a point system for training your wolves and increasing their stats by feeding them four different tiers of treats. You’ll get more points the more your pet levels up and you can spend them in the interface that pops up when you right-click the wolf with a stick.

Features:

  • 18 unique talents you can give your dog
  • Dog leveling system
  • Play fetch with your dog
  • Care for your dog with beds, food bowls etc
  • Track your dogs with radio collars on a radar
  • Upgraded AI from the wolf
  • New hunger system, don’t worry about your dog dying unnecessary
  • Much more, check out the mod yourself!
  • And many more breeds of dogs like Pomeranians, poodles, German shepards and many more.

Screenshots:

First You will need to tame a Vanilla wolf.

http://www.img.9minecraft.net/Mod/Doggy-Talents-Mod-1.png

Then right click on the wolf with a training treat. And he will become a dog.

http://www.img.9minecraft.net/Mod/Doggy-Talents-Mod-2.png

To make sure he is right click on him with s stick and it will come up with the Dogs Gui, where you can rename your dog and add talents to him.

http://www.img.9minecraft.net/Mod/Doggy-Talents-Mod-3.png

As you see now there are less talents (At the moment more coming soon) that the original mod. You can now rename him and a label will appearer on the dog.

To level up your dog simple right click agian with a training treat. For every level you dog goes up you dog gets 1 point to spend on talents.

http://www.img.9minecraft.net/Mod/Doggy-Talents-Mod-4.png

Once you dog reachs level 20 you will have to use Super treats then once it reachs level 40 you will have to use Master treats. This will take you dog to level 60. After that you can use Dire treats to up his dire level. Once his dire level reachs level 30 he will get more health and attack strenght and will have ender portal particles around him.

http://www.img.9minecraft.net/Mod/Doggy-Talents-Mod-5.png

Doggy Talents Mod Screenshots 1

Doggy Talents Mod Screenshots 2

Doggy Talents Mod Screenshots 3

Doggy Talents Mod Screenshots 4

Doggy Talents Mod Screenshots 5

Doggy Talents Mod Screenshots 6

Doggy Talents Mod Screenshots 7

Doggy Talents Mod Screenshots 8

Doggy Talents Mod Screenshots 9

Doggy Talents Mod Screenshots 10

Doggy Talents Mod Screenshots 11

Doggy Talents Mod Screenshots 12

Documentation:

How To Train Your Dog

[[Visit blog to check out this spoiler]]

Treats

If you want to level up the talents and AI of your trained wolf, you’ll need to make some treats.

[[Visit blog to check out this spoiler]]

Items and Equipment

These objects will assist with both the care of your dog and the immersion of the mod. Have fun!

[[Visit blog to check out this spoiler]]

Talents

When you feed your dog treats, they will level up and gain skill points, which you can use to give your dog useful skills! You can’t master all of the skills with one dog, though, so choose carefully! Training a skill to level 1 costs 1 skill point, training a skill to level 2 costs 2 skill points, etc.

[[Visit blog to check out this spoiler]]

Dog Modes

Your dog’s “mode” determines its behavior. It is located above the top right corner of the dog’s name box in the training GUI.

[[Visit blog to check out this spoiler]]

Requires:

Minecraft Forge

How to install:

  1. Make sure you have already installed Minecraft Forge.
  2. Locate the minecraft application folder.
    • On windows open Run from the start menu, type %appdata% and click Run.
    • On mac open finder, hold down ALT and click Go then Library in the top menu bar. Open the folder Application Support and look for Minecraft.
  3. Place the mod you have just downloaded (.jar file) into the Mods folder.
  4. When you launch Minecraft and click the mods button you should now see the mod is installed.

Doggy Talents Mod 1.14.2/1.12.2 Download Links:

Older versions:

[[Visit blog to check out this spoiler]]

For Minecraft 1.5.2

Download from Server 1

For Minecraft 1.6.2/1.6.4

Download from Server 1Download from Server 2

For Minecraft 1.7.2

Download from Server 1Download from Server 2

For Minecraft 1.7.10

Download from Server 1Download from Server 2

For Minecraft 1.8.9

Download from Server 1Download from Server 2

For Minecraft 1.9.4

Download from Server 1Download from Server 2

For Minecraft 1.10.2

Download from Server 1Download from Server 2

For Minecraft 1.11.2

Download from Server 1Download from Server 2

For Minecraft 1.12.1/1.12

Download from Server 1Download from Server 2

For Minecraft 1.12.2

Download from Server 1Download from Server 2

For Minecraft 1.13.2

Download from Server 1Download from Server 2

For Minecraft 1.14.2

Download from Server 1Download from Server 2

The post Doggy Talents Mod 1.14.2/1.12.2 (Pet Doggy Training) appeared first on 9Minecraft | Minecraft Mod.

GLSL Shaders Mod 1.14.2/1.12.2 (Change Appearance of Minecraft World)

$
0
0

GLSL Shaders Mod 1.14.2/1.12.2 adds shaders to Minecraft and add multiple draw buffers, shadow map, normal map, specular map. These things can be used to change appearance of Minecraft world. How it looks depends on selected shaderpack and some user settings.

GLSL Shaders Mod

There are very few mods that stand out from the other, however even the mods that do can be topped by even more extraordinary ones. Very few mods will continually be loathed forever by the entire user/player community of minecraft, and when this happens; the mod itself will continue to grow player, and feature wise. The GLSL Shaders mod for Minecraft it not only possibly one of the most unique, and extraordinary mods of all time; but it is also perhaps a very long awaited, fully developed, and well created mod in which implements spectacular shading and environmental animations to your game of Minecraft. The mod itself, developed by a very unique creator; has been developed to implement an original and beautiful looking shader into the game. The shader itself introduces a different type of lighting the game, initially enhancing the default brightness, before darkening the Shadows to create a wonderful effect.

The GLSL shaders mod is very GPU intensive, and requires a very decent computer to run it well. It is advised that the user be smart when choosing to install, and use this mod. A large amount of FPS (Frame-Rate per second) will be used in the entire process of using the mod.

Features:

  • Support connected resource (texture) packs.
  • Support multiple composite programs (compostire1, composite2, composite3).
  • Shader packs such Sonic Ether’s Unbelievable Shaders, CUDA Shaders, Waving Plants Shaders, RudoPlays Shaders, Chocapic13 Shaders, Bump Shadow waving are supported.
  • Minecraft Forge and OptiFine compatibility.
  • Easy installation without any hassle.
  • New variables sent from java code to shaders.
  • Shaders can select draw buffers to write to.
  • More depth buffers and shadow depth buffers.

Screenshots:

GLSL-Shaders-Mod-1.jpg
GLSL-Shaders-Mod-2.jpg

Notes:

  • This mod requires recent and fast graphic card with NVIDIA or AMD GPU.
  • Intel HD Graphics drivers *.3412 to *.3621 do not work and will crash.
  • Intel HD Graphics driver 15.33.29.64.3945+ can run without crash but it is still slow.
  • Graphics effects do not come out of nowhere. They require computing power of both CPU and GPU.
  • Some shaderpacks render around 10 times slower than vanilla Minecraft.
  • You can expect low frame rate if your computer cannot get more than 200 FPS from vanilla Minecraft.

Requires:

Minecraft Forge

How to install:

  1. Make sure you have already installed Minecraft Forge.
  2. Locate the minecraft application folder.
    • On windows open Run from the start menu, type %appdata% and click Run.
    • On mac open finder, hold down ALT and click Go then Library in the top menu bar. Open the folder Application Support and look for Minecraft.
  3. Place the mod you have just downloaded (.jar file) into the Mods folder.
  4. When you launch Minecraft and click the mods button you should now see the mod is installed.

GLSL Shaders Mod 1.14.2/1.12.2 Download Links:

Previous versions:

[[Visit blog to check out this spoiler]]

Shader Packs:

[[Visit blog to check out this spoiler]]

For Minecraft 1.5.2

[[Visit blog to check out this spoiler]]

For Minecraft 1.6.2

[[Visit blog to check out this spoiler]]

For Minecraft 1.6.4

Download from Server 1Download from Server 2

For Minecraft 1.7.2 (Compatible with AMD Catalyst 14.9, Optifine ultra edition only)

Download from Server 1Download from Server 2

For Minecraft 1.7.10 (Compatible with AMD Catalyst 14.9, Optifine ultra edition only)

Download from Server 1Download from Server 2

For Minecraft 1.8.0

Download from Server 1Download from Server 2

For Minecraft 1.8.9

Sp614x has merged Shaders Mod’s feature into OptiFine HD.

For Minecraft 1.9.0

Download from Server 1Download from Server 2

For Minecraft 1.9.4

Download from Server 1Download from Server 2

For Minecraft 1.10.2

Download from Server 1Download from Server 2

For Minecraft 1.11

Download from Server 1Download from Server 2

For Minecraft 1.11.2

Download from Server 1Download from Server 2

For Minecraft 1.12.2, 1.12.1, 1.12

GLSL Shaders Mod: Download from Server 1Download from Server 2

ASM Mod (Required): Download from Server 1Download from Server 2

For Minecraft 1.13.2

Sp614x has merged Shaders Mod’s feature into OptiFine HD.

For Minecraft 1.14.2

Sp614x has merged Shaders Mod’s feature into OptiFine HD.

Shaders Packs

http://www.9minecraft.net/tag/shaders-packs/

The post GLSL Shaders Mod 1.14.2/1.12.2 (Change Appearance of Minecraft World) appeared first on 9Minecraft | Minecraft Mod.

Trapcraft Mod 1.14.2/1.12.2 (Troll Your Friends)

$
0
0

Trapcraft Mod 1.14.2/1.12.2 adds a variety of tools for creating traps so that you can defend yourself without necessarily going into battle.

Trapcraft Mod

This mod adds in a bunch of very useful traps. It gives you the ability to easily trap and kill your enemies. Many of them are very simple, but some could easily be used to make a very complex (BUT EPIC!) mob trap.

Features:

The Dummy

Taunts all monsters within aggro radius and line of sight to attack it.
Has 20 health and drops the vanilla human head on death.

Note: Due to their insatiable hunger for human flesh, zombies are not tricked by the dummy.

Trapcraft-Mod-1.png

Trapcraft-Mod-2.png

Trapcraft Mod Features 1

Trapcraft Mod Features 2

Igniter

Lights on fire when powered. The distance the fire is placed can be upgraded using an Igniter range module.

http://www.img2.9minecraft.net/minecraft/img/Trapcraft-Mod-3.png

http://www.img2.9minecraft.net/minecraft/img/Trapcraft-Mod-4.jpg

Trapcraft Mod Features 3

Igniter range module

http://www.img2.9minecraft.net/minecraft/img/Trapcraft-Mod-5.png

Trapcraft Mod Features 4

To upgrade an igniter right click on an igniter and it will open this inerface…

http://www.img2.9minecraft.net/minecraft/img/Trapcraft-Mod-6.png

Trapcraft Mod Features 5

Then place the number of blocks you want the igniter to be able to reach in the slots to the right.

Bear Trap

Triggered upon contact with any non-player creature.
Triggered traps can be activated to reset them.
Holds the prey in place while they periodically bleed out.
Bears not included. Use at own risk.

http://www.img2.9minecraft.net/minecraft/img/Trapcraft-Mod-7.png
http://www.img2.9minecraft.net/minecraft/img/Trapcraft-Mod-8.jpg

Trapcraft Mod Features 6

Magnetic Chest

Pulls nearby items towards itself and automatically deposits any item that makes contact.
Useful for collecting loot from traps.

http://www.img2.9minecraft.net/minecraft/img/Trapcraft-Mod-9.png

http://www.img2.9minecraft.net/minecraft/img/Trapcraft-Mod-10.jpg

Trapcraft Mod Features 7

Fan

Unsuspecting prey don’t want to walk into your traps? Push them in.

Also can push items at speed and can push falling sand. Needs a redstone signal to work!

http://www.img2.9minecraft.net/minecraft/img/Trapcraft-Mod-11.png

http://www.img2.9minecraft.net/minecraft/img/Trapcraft-Mod-12.jpg

Trapcraft Mod Features 8

Spikes

Deal damage to any entity that comes in contact with it.
Does not affect items.

http://www.img2.9minecraft.net/minecraft/img/Trapcraft-Mod-13.jpg

http://www.img2.9minecraft.net/minecraft/img/Trapcraft-Mod-14.jpg

Trapcraft Mod Features 9

Grass Covering

Breaks when walked on.
Useful for covering pitfalls and spikes.
Blends to colour of grass on a per biome basis.

http://www.img2.9minecraft.net/minecraft/img/Trapcraft-Mod-15.png

http://www.img2.9minecraft.net/minecraft/img/Trapcraft-Mod-16.jpg

Trapcraft Mod Features 10

Requires:

Minecraft Forge

How to install:

  1. Make sure you have already installed Minecraft Forge.
  2. Locate the minecraft application folder.
    • On windows open Run from the start menu, type %appdata% and click Run.
    • On mac open finder, hold down ALT and click Go then Library in the top menu bar. Open the folder Application Support and look for Minecraft.
  3. Place the mod you have just downloaded (.jar file) into the Mods folder.
  4. When you launch Minecraft and click the mods button you should now see the mod is installed.

Trapcraft Mod 1.14.2/1.12.2 Download Links:

Previous versions:

[[Visit blog to check out this spoiler]]

For Minecraft 1.6.2

Download from Server 1Download from Server 2

For Minecraft 1.7.2

Download from Server 1Download from Server 2

For Minecraft 1.7.10

Download from Server 1Download from Server 2

For Minecraft 1.9.4

Download from Server 1Download from Server 2

For Minecraft 1.10.2

Download from Server 1Download from Server 2

For Minecraft 1.11.2

Download from Server 1Download from Server 2

For Minecraft 1.12

Download from Server 1Download from Server 2

For Minecraft 1.12.2

Download from Server 1Download from Server 2

For Minecraft 1.13.2

Download from Server 1Download from Server 2

For Minecraft 1.14.2

Download from Server 1Download from Server 2

The post Trapcraft Mod 1.14.2/1.12.2 (Troll Your Friends) appeared first on 9Minecraft | Minecraft Mod.

BuildCraft Mod 1.12.2/1.11.2 (Automation in Minecraft)

$
0
0

BuildCraft Mod 1.12.2/1.11.2 is a very big mod that allows for automation in Minecraft. It is a mod that extends Minecraft with a system of powered machines and tools. It adds many machines for automating tasks, and pipes for transportation of items, liquids, and energy.

BuildCraft Mod

The biggest additions of BuildCraft are Pipes and MJ (Minecraft Joules). Pipes are used to transport items, fluids, and mechanical energy between inventories/machines. There are many different types of pipes all with unique functions, including Wooden, Cobblestone, Stone, Sandstone, Iron, Gold, Diamond, Emerald and Obsidian. Pipes can be combined with Pipe Sealant to allow them to make Fluid Pipes that can transport liquids or with Redstone to make Kinesis Pipes to allow them to transport mechanical energy. MJ is used to power BuildCraft and BuildCraft-compatible machines. For example, Thermal Expansion’s machinery needs MJ.

Features:

Machines

In BuildCraft, there are a variety of machines that can be used to automate processes. They all require Redstone Flux (RF) energy to function, provided by one or more engines.

  • Quarry: This machine will mine an area down until it reaches lava or bedrock.
  • Mining Well: This machine will dig straight down until it reaches lava or bedrock. It is used in the making of a Pump.
  • Pump: This machine will pump liquids and transport them through waterproof pipes.
  • Autocrafting Table: This machine, when supplied a recipe and ingredients, will pump out crafted items. A nearby chest will have materials pulled out of it to be used.
  • Refinery: This machine, when powered by a stirling engine or better, will slowly convert oil into fuel, which is much more efficient for powering combustion engines than crude oil.
  • Tank: A simple stackable tank rather than a machine, it can store liquids, including lava, water, Oil , and fuel.

Engines

  • Engines are used to power the machines and builders. They can also be used to pull items out of inventories with a wooden pipe. Other mods included in FTB such as Forestry and Railcraft add more engines to the game, e.g. the electrical engine which uses IC2 power (EU), and produces MJ power. Engines turn on when they are powered by redstone, and slowly speed up as they heat up. If the engine gets too hot then it will explode. Redstone engines however cannot explode if they are connected to anything that accepts energy such as a wooden pipe.

Transport

  • Pipes are used to transport items, liquids and power between inventories. There are 8 different types of pipes all with unique functions, these are Wooden, Cobblestone, Stone, Sandstone, Iron, Gold, Diamond and Obsidian. Pipes can be combined with Pipe Waterproof to allow them to make Waterproof Pipes that can transport liquids or with redstone to make Conductive Pipes to allow them to transport energy.

Building

These will all allow for the automated building and, in some cases, destruction of blocks.

  • Filler: This machine does a variety of options depending on the pattern that is defined within the GUI.
  • Builder: This machine will build the anything defined by a blueprint provided it has access to the requisite resources, which it shows in its GUI.
  • Architect Table: An architect table is used to copy a volume of interest and ‘scan’ and save it to a blueprint for later use in a builder.
  • Blueprint: This is used in an architect table to save the scanned area for later use in a builder. It stores the actual block type.
  • Template: Similar to the blueprint, this stores a description of the blocks within an area allowing it to be recreated by a builder, however the template only stores the blocks location, not its type.
  • Land Mark: You can use these to select an area for the architect table, as well as the Quarry and Filler.

Gates

  • Gates are the BuildCraft way to make advanced detections and interactions possible. They are capable of many things, such as detecting engine heat, inventory, MJ energy storage, machine states, items flowing in pipes and redstone signals.

Gears

  • Gears are key components in BuildCraft, and are used to make everything from Engines to Quarries and Autocrafting Tables. They are available in 5 varieties which all build upon each other. Other mods add additional gears to the mod pack such as Forestry which adds tin, copper and bronze gears for its machines, while Thermal Expansion also adds Tin and Copper Gears as well as Invar gears, however none of these are used in BuildCraft machines.

Pipes

  • Wooden Pipes are used to suck items out of inventories (or tanks, engines..). They don’t connect to each other, and they will need a Redstone Engine or better, or an Autarchic Gate to function. Wooden Pipes come in a Standard, a Waterproof and a Conductive version. Wooden conductive pipes are what engines need to connect to in order to send power elsewhere.
  • Cobblestone Pipes are your most basic transport pipes. They do not connect to Stone Pipes, and they are a very cheap means of getting items (only items, not liquids or power) around. Stuff sent through cobblestone pipes will slow down, and will eventually stop flowing.
  • Stone Pipes are a little bit better than Cobblestone, and won’t connect with them. They can be made into Waterproof or Conductive pipe, but they won’t be as good as Gold versions. They will also experience drag and eventually slow things down if they go a distance in them, but it won’t be as bad as with Cobblestone Pipes.
  • Sandstone Pipes won’t connect to machines. This makes them very useful for running a pipe directly behind or underneath a machine that you do not want to connect to your pipe network.
  • Iron Pipes are the start of your logic system. They are one-way pipes – items can come in in any direction, but they can only leave in one direction. Whack it with a wrench to change which facing is the output. Very useful when you have multiple machines all outputting to the same place, or when you have a ‘serial’ setup.
  • Golden Pipes will accelerate things that go through it. Space them out to keep your stuff flowing faster. Golden Fluid Pipes can hold more mB of liquid than other pipes. Golden Conductive Pipes have the least amount of energy loss per square.
  • Diamond Pipes are the most advanced of all above ones. Right-clicking it will open a complicated interface, which can prove very useful in sorting lots of stuff in your network. Basically, you put something in your diamond pipe on a color line, and all of that kind of item goes through that direction. Colors are assigned by cardinal direction, and are not affected by facing or player interaction.
  • Quartz Pipes have a low drag so items won’t slow down as much as in other pipes. Quartz Pipe won’t connect to Cobblestone or Stone Pipes.
  • Emzuli Pipes are advance extraction pipes which need to be used in conjunction with logic gates to function. Only four items can be chosen in accordance with the four wire colours. Additionally this pipe can paint items for routing later.
  • Lazuli Pipes paint items as they pass through with a chosen colour. This colour can then be used to help with routing.
  • Daizuli Pipes will route all items of a given colour to a chosen location.

MJ (Minecraft Joules)

  • Redstone Engines produce the least amount of power. It is only good for powering pumps and wooden pipes. No, enough of them will not add up to a useful amount of power, it will just lag out your system trying.
  • Stirling Engines produce 1 MJ/t, and run on the stuff that you can use in furnaces too – Coal, Wood, Lava Buckets… It’s a reliable engine, and probably what you are going to start off with.
  • Combustion Engines produce a varying amount of MJ depending on the fuel they are supplied. They can also explode if they aren’t supplied with water. Combustion Engines have the highest theoretical MJ/t output of any engine other than Railcraft’s Steam Engines, with 6 MJ/t when running on Fuel.

Screenshots:

BuildCraft Mod Screenshots 1

BuildCraft Mod Screenshots 2

BuildCraft Mod Screenshots 3

BuildCraft Mod Screenshots 4

BuildCraft Mod Screenshots 5

BuildCraft Mod Screenshots 6

BuildCraft Mod Screenshots 7

BuildCraft Mod Screenshots 8

BuildCraft Mod Screenshots 9

BuildCraft Mod Screenshots 10

BuildCraft Mod Screenshots 11

BuildCraft Mod Screenshots 12

BuildCraft Mod Screenshots 13

BuildCraft Mod Screenshots 14

BuildCraft Mod Screenshots 15

BuildCraft Mod Screenshots 16

BuildCraft Mod Screenshots 17

BuildCraft Mod Screenshots 18

BuildCraft Mod Screenshots 19

Crafting Recipes:

BuildCraft Mod Crafting Recipes 1

BuildCraft Mod Crafting Recipes 2

BuildCraft Mod Crafting Recipes 3

BuildCraft Mod Crafting Recipes 4

BuildCraft Mod Crafting Recipes 5

BuildCraft Mod Crafting Recipes 6

Requires:

Minecraft Forge

How to install:

  1. Make sure you have already installed Minecraft Forge.
  2. Locate the minecraft application folder.
    • On windows open Run from the start menu, type %appdata% and click Run.
    • On mac open finder, hold down ALT and click Go then Library in the top menu bar. Open the folder Application Support and look for Minecraft.
  3. Place the mod you have just downloaded (.jar file) into the Mods folder.
  4. When you launch Minecraft and click the mods button you should now see the mod is installed.

BuildCraft Mod 1.12.2/1.11.2 Download Links:

Older versions:

[[Visit blog to check out this spoiler]]

For Minecraft 1.5.2

Download from Server 1Download from Server 2Download from Server 3Download from Server 4Download from Server 5Download from Server 6

For Minecraft 1.6.2

Download from Server 1Download from Server 2Download from Server 3Download from Server 4

For Minecraft 1.6.4

Download from Server 1Download from Server 2Download from Server 3Download from Server 4

For Minecraft 1.7.2

Baselined version: Download from Server 1Download from Server 2Download from Server 3

Stable version (v6.0.16): Download from Server 1Download from Server 2

For Minecraft 1.7.10

Download from Server 1Download from Server 2Download from Server 3

For Minecraft 1.8.9

Download from Server 1Download from Server 2Download from Server 3

For Minecraft 1.11.2

Download from Server 1Download from Server 2Download from Server 3

For Minecraft 1.12.2

Download from Server 1Download from Server 2Download from Server 3

The post BuildCraft Mod 1.12.2/1.11.2 (Automation in Minecraft) appeared first on 9Minecraft | Minecraft Mod.

Better Sprinting Mod 1.14.2/1.12.2 (Bind Sprint to A Key)

$
0
0

Better Sprinting Mod 1.14.2/1.12.2 allows you to bind sprinting to a key. The great thing about it is, that it’s compatible with most mods that change options, like Optifine! Only incompatibilities are with mods, that change behavior of player entity or Controls menu (adding new buttons using GameSettings will work, changing like, way Controls menu works/looks won’t – it’ll break saving settings).

Better Sprinting Mod

The sprinting system in Minecraft always felt unfinished and unrefined, but don’t worry – Better Sprinting is here to save it and add a bunch of extra glitter.

Features:

  • Sprint (hold) key which allows you to sprint
  • Sprint (toggle) key which when pressed, toggles between sprinting and walking
  • Sneak (toggle) key which when pressed, toggles sneaking
  • Sprint menu key to quickly access Better Sprinting settings ingame (default: O)
  • Option to turn on/off double tapping W
  • Flying boost when sprinting while flying in creative mode*
  • Option to enable or disable sprinting in all directions*
  • Option to disable mod’s functionalities (you can turn off the mod if a server doesn’t allow it)
  • Compatibility with many popular mods, such as Forge, Optifine and SPC
  • The mod can also be installed on a server, and the /bettersprinting admin command lets you enable special features or automatically disable the mod on client side when people join

Screenshots:

Better Sprinting Mod Screenshots 1

Better Sprinting Mod Screenshots 2

Requires:

Minecraft Forge

Player API (For Minecraft 1.7.10 and older)

How to install:

  1. Make sure you have already installed Minecraft Forge.
  2. Locate the minecraft application folder.
    • On windows open Run from the start menu, type %appdata% and click Run.
    • On mac open finder, hold down ALT and click Go then Library in the top menu bar. Open the folder Application Support and look for Minecraft.
  3. Place the mod you have just downloaded (.jar file) into the Mods folder.
  4. When you launch Minecraft and click the mods button you should now see the mod is installed.

Better Sprinting Mod 1.14.2/1.12.2 Download Links:

Older versions:

[[Visit blog to check out this spoiler]]

For Minecraft 1.5.2

Download from Server 1Download from Server 2

For Minecraft 1.6.2

Download from Server 1Download from Server 2

For Minecraft 1.6.4

Vanilla: Download from Server 1Download from Server 2

Forge: Download from Server 1Download from Server 2

For Minecraft 1.7.2

Vanilla: Download from Server 1Download from Server 2

Forge: Download from Server 1Download from Server 2

For Minecraft 1.7.10

Download from Server 1Download from Server 2

For Minecraft 1.8.0

Download from Server 1Download from Server 2

For Minecraft 1.8.9

Download from Server 1Download from Server 2

For Minecraft 1.9.0

Download from Server 1Download from Server 2

For Minecraft 1.9.4

Download from Server 1Download from Server 2

For Minecraft 1.10.2

Download from Server 1Download from Server 2

For Minecraft 1.11

Download from Server 1Download from Server 2

For Minecraft 1.11.2

Download from Server 1Download from Server 2

For Minecraft 1.12

Download from Server 1Download from Server 2

For Minecraft 1.12.1

Download from Server 1Download from Server 2

For Minecraft 1.12.2

Download from Server 1Download from Server 2

For Minecraft 1.13.2

Download from Server 1Download from Server 2

For Minecraft 1.14.2

Download from Server 1Download from Server 2

The post Better Sprinting Mod 1.14.2/1.12.2 (Bind Sprint to A Key) appeared first on 9Minecraft | Minecraft Mod.


WorldEdit Mod 1.14.2/1.12.2 (In-Game Voxel Map Editor)

$
0
0

WorldEdit Mod 1.14.2/1.12.2 is an easy-to-use in-game Minecraft map editor. Through a combination of commands and “brushes,” you can sculpt your world or simply perform numerous terraforming tasks.

WorldEdit Mod

Features:

  • Quickly create, replace or delete thousands of blocks in seconds
  • No longer waste time doing mundane activities like fix badly flowing water!
  • Quickly create basic shapes like spheres, cylinders, and so on
  • Copy areas, paste them, load them, and save them as .schematics
  • Do cool things like input mathematical expressions to generate terrain
  • Use “brush tools” to carve out mountains, ravines, and so on
  • Use your compass to quickly teleport to areas by left clicking or using /jumpto
  • Choose an area and have it instantly restored from backups
  • One of Minecraft’s oldest surviving projects (since Minecraft Alpha)!

WorldEdit works on either single player or on a server. While you may not often need a map editor, WorldEdit won’t extend your load times at all and has no impact on your game until you use it. It causes no mod conflicts and it will be there when you need it.

Screenshots:

WorldEdit-1.jpg
WorldEdit-2.jpg
WorldEdit-3.jpg
WorldEdit-4.jpg

WorldEdit Wiki Page:

http://wiki.sk89q.com/wiki/WorldEdit

Requires:

Minecraft Forge

How to install:

  1. Make sure you have already installed Minecraft Forge.
  2. Locate the minecraft application folder.
    • On windows open Run from the start menu, type %appdata% and click Run.
    • On mac open finder, hold down ALT and click Go then Library in the top menu bar. Open the folder Application Support and look for Minecraft.
  3. Place the mod you have just downloaded (.jar file) into the Mods folder.
  4. When you launch Minecraft and click the mods button you should now see the mod is installed.

WorldEdit Mod 1.14.2/1.12.2 Download Links:

Previous versions:

[[Visit blog to check out this spoiler]]

For Minecraft 1.7.10

Download from Server 1Download from Server 2

For Minecraft 1.8.0

Download from Server 1Download from Server 2

For Minecraft 1.8.9

Download from Server 1Download from Server 2

For Minecraft 1.9.0

Download from Server 1Download from Server 2

For Minecraft 1.9.4

Download from Server 1Download from Server 2

For Minecraft 1.10.2

Download from Server 1Download from Server 2

For Minecraft 1.11.2/1.11

Download from Server 1Download from Server 2

For Minecraft 1.12.1/1.12

Download from Server 1Download from Server 2

For Minecraft 1.12.2

Download from Server 1Download from Server 2

For Minecraft 1.13.2

Download from Server 1Download from Server 2

For Minecraft 1.14.2

Download from Server 1Download from Server 2

The post WorldEdit Mod 1.14.2/1.12.2 (In-Game Voxel Map Editor) appeared first on 9Minecraft | Minecraft Mod.

SimpleOres Mod 1.14.2/1.12.2 (New Alloy Ingots and Items)

$
0
0

SimpleOres Mod 1.14.2/1.12.2 is a relatively small mod in that it doesn’t completely overhaul the Minecraft experience, add any new realms, add any form of currency, add any mobs or NPC’s, or anything like that. It adds 5 new ores to the base game: Copper, Tin, Mythril, Adamantium and Onyx. All except Onyx can be found in the overworld, while Onyx can be found only in the Nether. Each ore has its own unique properties, armor and tool sets, and more.

SimpleOres Mod

This mod centers around being an “ore” mod, adding new metals to the game, with serious a strong focus on balance, which sets it apart from other ore mods.

Features:

Ores

[[Visit blog to check out this spoiler]]

Blocks

[[Visit blog to check out this spoiler]]

Items

[[Visit blog to check out this spoiler]]

Tools

[[Visit blog to check out this spoiler]]

Armor

[[Visit blog to check out this spoiler]]

Screenshots:

SimpleOres Mod Screenshots 1

SimpleOres Mod Screenshots 2

SimpleOres Mod Screenshots 3

SimpleOres Mod Screenshots 4

SimpleOres Mod Screenshots 5

SimpleOres Mod Screenshots 6

SimpleOres Mod Screenshots 7

SimpleOres Mod Screenshots 8

SimpleOres Mod Screenshots 9

SimpleOres Mod Screenshots 10

SimpleOres Mod Screenshots 11

SimpleOres Mod Screenshots 12

Crafting Recipes:

SimpleOres Mod Crafting Recipes 1

SimpleOres Mod Crafting Recipes 2

SimpleOres Mod Crafting Recipes 3

SimpleOres Mod Crafting Recipes 4

SimpleOres Mod Crafting Recipes 5

SimpleOres Mod Crafting Recipes 6

SimpleOres Mod Crafting Recipes 7

SimpleOres Mod Crafting Recipes 8

SimpleOres Mod Crafting Recipes 9

SimpleOres Mod Crafting Recipes 10

SimpleOres Mod Crafting Recipes 11

SimpleOres Mod Crafting Recipes 12

SimpleOres Mod Crafting Recipes 13

SimpleOres Mod Crafting Recipes 14

SimpleOres Mod Crafting Recipes 15

SimpleOres Mod Crafting Recipes 16

SimpleOres Mod Crafting Recipes 17

SimpleOres Mod Crafting Recipes 18

SimpleOres Mod Crafting Recipes 19

SimpleOres Mod Crafting Recipes 20

SimpleOres Mod Crafting Recipes 21

SimpleOres Mod Crafting Recipes 22

SimpleOres Mod Crafting Recipes 23

SimpleOres Mod Crafting Recipes 24

SimpleOres Mod Crafting Recipes 25

SimpleOres Mod Crafting Recipes 26

SimpleOres Mod Crafting Recipes 28

SimpleOres Mod Crafting Recipes 29

SimpleOres Mod Crafting Recipes 30

SimpleOres Mod Crafting Recipes 31

SimpleOres Mod Crafting Recipes 32

SimpleOres Mod Crafting Recipes 33

SimpleOres Mod Crafting Recipes 34

SimpleOres Mod Crafting Recipes 35

SimpleOres Mod Crafting Recipes 36

SimpleOres Mod Crafting Recipes 37

SimpleOres Mod Crafting Recipes 38

SimpleOres Mod Crafting Recipes 39

Requires:

Minecraft Forge

SimpleCore API

How to install:

  1. Make sure you have already installed Minecraft Forge and SimpleCore API.
  2. Locate the minecraft application folder.
    • On windows open Run from the start menu, type %appdata% and click Run.
    • On mac open finder, hold down ALT and click Go then Library in the top menu bar. Open the folder Application Support and look for Minecraft.
  3. Place the mod you have just downloaded (.jar file) into the Mods folder.
  4. When you launch Minecraft and click the mods button you should now see the mod is installed.

SimpleOres Mod 1.14.2/1.12.2 Download Links:

Older versions:

[[Visit blog to check out this spoiler]]

For Minecraft 1.7.10

Download from Server 1Download from Server 2

For Minecraft 1.8.0

Download from Server 1Download from Server 2

For Minecraft 1.8.9

Download from Server 1Download from Server 2

For Minecraft 1.9.4

Download from Server 1Download from Server 2

For Minecraft 1.10.2

Download from Server 1Download from Server 2

For Minecraft 1.11.2

Download from Server 1Download from Server 2

For Minecraft 1.12.2, 1.12.1, 1.12

Download from Server 1Download from Server 2

For Minecraft 1.14.2

Download from Server 1Download from Server 2

The post SimpleOres Mod 1.14.2/1.12.2 (New Alloy Ingots and Items) appeared first on 9Minecraft | Minecraft Mod.

Lycanite’s Mobs Mod 1.14.2/1.12.2 (Inferno Creatures)

$
0
0

Lycanite’s Mobs Mod 1.14.2/1.12.2 adds many new mobs to specific biomes, dimensions and more. These mobs range from peaceful Makas, farmable mammal-like reptiles with massive sails (watch out for the alphas) to horrific Grues that are made of the very darkness itself! Expect to see angry elementals such as Cinders spawning from large fires or Spriggans from tall grass and crops!

Lycanite’s Mobs Mod

You can tame your very own Warg mount and bind it to you with a Soulstone allowing you to summon and dismiss it at will as well as have it respawn after death! Or perhaps you’d be more interested in created a Summoning Staff or Summoning Pedestal and a Soulgazer, to add each creature you encounter to your Beastiary and then summon it as part of a temporary minion horde, either on the field of battle or at your base to stay guard while you are away or resting!

This mod also adds optional special events which can be turned on via the config or using the command /lm mobevent enable, these events will start at random intervals (highly configurable) and will spawn waves of mobs! Also don’t forget about Rahovart, the first boss added to this mod!

This mod takes inspiration from many other games and mythologies as well as entirely unique creatures and is currently well known for it’s Doom (by ID Software) inspired Demon Mobs for the Nether!

Screenshots:

Lycanite’s Mobs Mod Screenshots 1

Lycanite’s Mobs Mod Screenshots 2

Lycanite’s Mobs Mod Screenshots 3

Lycanite’s Mobs Mod Screenshots 4

Lycanite’s Mobs Mod Screenshots 5

Lycanite’s Mobs Mod Screenshots 6

Lycanite’s Mobs Mod Screenshots 7

Lycanite’s Mobs Mod Screenshots 8

Lycanite’s Mobs Mod Screenshots 9

Lycanite’s Mobs Mod Screenshots 10

Lycanite’s Mobs Mod Screenshots 11

Lycanite’s Mobs Mod Screenshots 12

Lycanite’s Mobs Mod Screenshots 13

Lycanite’s Mobs Mod Screenshots 14

Lycanite’s Mobs Mod Screenshots 15

Lycanite’s Mobs Mod Screenshots 16

Lycanite’s Mobs Mod Screenshots 17

Lycanite’s Mobs Mod Screenshots 18

Lycanite’s Mobs Mod Screenshots 19

Lycanite’s Mobs Mod Screenshots 20

Lycanite’s Mobs Mod Screenshots 21

Lycanite’s Mobs Mod Screenshots 22

Lycanite’s Mobs Mod Screenshots 23

Lycanite’s Mobs Mod Screenshots 24

Lycanite’s Mobs Mod Screenshots 25

Lycanite’s Mobs Mod Screenshots 26

Lycanite’s Mobs Mod Screenshots 27

Lycanite’s Mobs Mod Screenshots 28

Lycanite’s Mobs Mod Screenshots 29

Lycanite’s Mobs Mod Screenshots 30

Lycanite’s Mobs Mod Screenshots 31

Lycanite’s Mobs Mod Screenshots 32

Lycanite’s Mobs Mod Screenshots 33

Lycanite’s Mobs Mod Screenshots 34

Lycanite’s Mobs Mod Screenshots 35

Lycanite’s Mobs Mod Screenshots 36

Lycanite’s Mobs Mod Screenshots 37

Lycanite’s Mobs Mod Screenshots 38

Lycanite’s Mobs Mod Screenshots 39

Lycanite’s Mobs Mod Screenshots 40

Lycanite’s Mobs Mod Screenshots 41

Requires:

Minecraft Forge

How to install:

  1. Make sure you have already installed Minecraft Forge.
  2. Locate the minecraft application folder.
    • On windows open Run from the start menu, type %appdata% and click Run.
    • On mac open finder, hold down ALT and click Go then Library in the top menu bar. Open the folder Application Support and look for Minecraft.
  3. Place the mod you have just downloaded (.jar file) into the Mods folder.
  4. When you launch Minecraft and click the mods button you should now see the mod is installed.

Lycanite’s Mobs Mod 1.14.2/1.12.2 Download Links:

For Minecraft 1.6.2

Download from Server 1Download from Server 2Download from Server 3

For Minecraft 1.6.4

Download from Server 1Download from Server 2Download from Server 3Download from Server 4

For Minecraft 1.7.2

Download from Server 1Download from Server 2Download from Server 3

For Minecraft 1.7.10

Download from Server 1Download from Server 2Download from Server 3

For Minecraft 1.9.0

Download from Server 1Download from Server 2

For Minecraft 1.9.4

Download from Server 1Download from Server 2

For Minecraft 1.10.2

Download from Server 1Download from Server 2

For Minecraft 1.11.2

Download from Server 1Download from Server 2

For Minecraft 1.12.1/1.12

Download from Server 1Download from Server 2

For Minecraft 1.12.2

Download from Server 1Download from Server 2

For Minecraft 1.14.2

Download from Server 1Download from Server 2

The post Lycanite’s Mobs Mod 1.14.2/1.12.2 (Inferno Creatures) appeared first on 9Minecraft | Minecraft Mod.

Biomes O’ Plenty Mod 1.14.3/1.12.2 (Ton of New Biomes)

$
0
0

Biomes O’ Plenty Mod 1.14.3/1.12.2 adds in a ton of new biomes (over 90 biomes) that generate in your Minecraft world and Nether. This mod is an expansive biome mod for Minecraft that adds a slew of new, unique biomes. To go along with the new biomes, it adds new plants, flowers, trees, building blocks, mobs, ores, and much more.

Biomes O’ Plenty Mod

Features:

  • Small Biomes: Basically the opposite of the Large Biomes world type.
  • No Parasite: Doesn’t generate the Parasitic Heap biome, for those who don’t want it.
  • Realistic: Only generates realistic biomes.
  • Fantasy: Only generates fantasy biomes.
  • Missing Biomes: Vanilla biomes + 5 biomes that were in previous versions of Minecraft, and 2 meant to represent the taiga and swamp from Beta 1.8: Rainforest, Savanna, Seasonal Forest, Shrubland, Tundra, Boreal Forest, and Lush Swamp.
  • Seasonal: Will be changed for the current real-life season.
  • Holiday: Will be changed for the current United States holiday season (Halloween, Christmas, etc.).

Screenshots:

Alps

Biomes O’ Plenty Mod Screenshots 1

Bamboo Forest

Biomes O’ Plenty Mod Screenshots 2

Bayou

Biomes O’ Plenty Mod Screenshots 3

Bog

Biomes O’ Plenty Mod Screenshots 4

Boreal Forest

Biomes O’ Plenty Mod Screenshots 5

Brushland

Biomes O’ Plenty Mod Screenshots 6

Chaparral

Biomes O’ Plenty Mod Screenshots 7

Cherry Blossom Grove

Biomes O’ Plenty Mod Screenshots 8

Cold Desert

Biomes O’ Plenty Mod Screenshots 9

Coniferous Forest

Biomes O’ Plenty Mod Screenshots 10

Crag

Biomes O’ Plenty Mod Screenshots 11

Dead Forest

Biomes O’ Plenty Mod Screenshots 12

Dead Swamp

Biomes O’ Plenty Mod Screenshots 13

Eucalyptus Forest

Biomes O’ Plenty Mod Screenshots 14

Fen

Biomes O’ Plenty Mod Screenshots 15

Flower Field

Biomes O’ Plenty Mod Screenshots 16

Grassland

Biomes O’ Plenty Mod Screenshots 17

Grove

Biomes O’ Plenty Mod Screenshots 18

Highland

Biomes O’ Plenty Mod Screenshots 19

Land of Lakes

Biomes O’ Plenty Mod Screenshots 20

Lavender Fields

Biomes O’ Plenty Mod Screenshots 21

Lush Desert

Biomes O’ Plenty Mod Screenshots 22

Lush Swamp

Biomes O’ Plenty Mod Screenshots 23

Mangrove

Biomes O’ Plenty Mod Screenshots 24

Maple Woods

Biomes O’ Plenty Mod Screenshots 25

Marsh

Biomes O’ Plenty Mod Screenshots 26

Meadow

Biomes O’ Plenty Mod Screenshots 27

Moor

Biomes O’ Plenty Mod Screenshots 28

Mountain

Biomes O’ Plenty Mod Screenshots 29

Mystic Grove

Biomes O’ Plenty Mod Screenshots 30

Ominous Woods

Biomes O’ Plenty Mod Screenshots 31

Orchard

Biomes O’ Plenty Mod Screenshots 32

Outback

Biomes O’ Plenty Mod Screenshots 33

Overgrown Cliffs

Biomes O’ Plenty Mod Screenshots 34

Prairie

Biomes O’ Plenty Mod Screenshots 35

Quagmire

Biomes O’ Plenty Mod Screenshots 36

Rainforest

Biomes O’ Plenty Mod Screenshots 37

Redwood Forest

Biomes O’ Plenty Mod Screenshots 38

Sacred Springs

Biomes O’ Plenty Mod Screenshots 39

Seasonal Forest

Biomes O’ Plenty Mod Screenshots 40

Shield

Biomes O’ Plenty Mod Screenshots 41

Shrubland

Biomes O’ Plenty Mod Screenshots 42

Snowy Coniferous Forest

Biomes O’ Plenty Mod Screenshots 43

Snowy Forest

Biomes O’ Plenty Mod Screenshots 44

Steppe

Biomes O’ Plenty Mod Screenshots 45

Temperate Rainforest

Biomes O’ Plenty Mod Screenshots 46

Tropical Rainforest

Biomes O’ Plenty Mod Screenshots 47

Tundra

Biomes O’ Plenty Mod Screenshots 48

Wasteland

Biomes O’ Plenty Mod Screenshots 49

Wetland

Biomes O’ Plenty Mod Screenshots 50

Woodland

Biomes O’ Plenty Mod Screenshots 51

Xeric Shrubland

Biomes O’ Plenty Mod Screenshots 52

Flower Island

Biomes O’ Plenty Mod Screenshots 53

Origin Island

Biomes O’ Plenty Mod Screenshots 54

Volcanic Island

Biomes O’ Plenty Mod Screenshots 56

Coral Reef

Biomes O’ Plenty Mod Screenshots 57

Kelp Forest

Biomes O’ Plenty Mod Screenshots 58

Glacier

Biomes O’ Plenty Mod Screenshots 59

Oasis

Biomes O’ Plenty Mod Screenshots 60

Corrupted Sands

Biomes O’ Plenty Mod Screenshots 61

Fungi Forest

Biomes O’ Plenty Mod Screenshots 62

Phantasmagoric Inferno

Biomes O’ Plenty Mod Screenshots 63

Polar Chasm

Biomes O’ Plenty Mod Screenshots 64

Undergarden

Biomes O’ Plenty Mod Screenshots 65

Visceral Heap

Biomes O’ Plenty Mod Screenshots 66

Gem Distribution:

Gem Distribution 1

Gem Distribution 2

Requires:

Minecraft Forge

How to install:

  1. Make sure you have already installed Minecraft Forge.
  2. Locate the minecraft application folder.
    • On windows open Run from the start menu, type %appdata% and click Run.
    • On mac open finder, hold down ALT and click Go then Library in the top menu bar. Open the folder Application Support and look for Minecraft.
  3. Place the mod you have just downloaded (.jar file) into the Mods folder.
  4. When you launch Minecraft and click the mods button you should now see the mod is installed.

Biomes O’ Plenty Mod 1.14.3/1.12.2 Download Links:

Older versions:

[[Visit blog to check out this spoiler]]

For Minecraft 1.7.10

Download from Server 1Download from Server 2

For Minecraft 1.8.0

Download from Server 1Download from Server 2

For Minecraft 1.8.9

Download from Server 1Download from Server 2

For Minecraft 1.9.0

Download from Server 1Download from Server 2

For Minecraft 1.9.4

Download from Server 1Download from Server 2

For Minecraft 1.10.2

Download from Server 1Download from Server 2

For Minecraft 1.11.2

Download from Server 1Download from Server 2

For Minecraft 1.12.1/1.12

Download from Server 1Download from Server 2

For Minecraft 1.12.2

Download from Server 1Download from Server 2

For Minecraft 1.13.2

Download from Server 1Download from Server 2

For Minecraft 1.14.3

Download from Server 1Download from Server 2

The post Biomes O’ Plenty Mod 1.14.3/1.12.2 (Ton of New Biomes) appeared first on 9Minecraft | Minecraft Mod.

Autofish Mod 1.14.3/1.12.2 (Recaster, MultiRod)

$
0
0

Autofish Mod 1.14.3/1.12.2 will automatically reel in and recast your fishing rod when you catch a fish. You can disable it using it’s GUI, which opens using a configurable key. Just cast the fishing rod one time into the water and let the mod do the rest.

Autofish Mod

This mod automates the fishing process in minecraft, so you can go afk and it will fish for you.

Screenshots:

Autofish Mod Screenshots 1

Autofish Mod Screenshots 2

Autofish Mod Screenshots 3

Autofish Mod Screenshots 4

How to use:

  • Configurable key (V by default) to open a GUI for changing individual settings.
  • Very simple to use, just cast the fishing rod into the water once, and it will automatically reel in at the correct time and recast after a couple second wait.
  • Enable Autofish: Toggles the entire mod on or off.
  • Enable MultiRod: After using up a rod, it will try to auto switch to the next one in your hotbar if it exists, so you can fish for extended periods of time with multiple rods. (Switches to the first rod in your hotbar after each reel)
  • Stop fishing before rods break: Ignores fishing rods once they are almost broken. This is useful if you have an enchanted fishing rod and you don’t want it to break.

Requires:

LiteLoader

How to install:

  1. Make sure you have already installed LiteLoader.
  2. Locate the minecraft application folder.
    • On windows open Run from the start menu, type %appdata% and click Run.
    • On mac open finder, hold down ALT and click Go then Library in the top menu bar. Open the folder Application Support and look for Minecraft.
  3. Place the mod you have just downloaded (.litemod file) into the Mods folder.
  4. When you launch Minecraft and click the mods button you should now see the mod is installed.

Autofish Mod 1.14.3/1.12.2 Download Links:

For Minecraft 1.5.2

Download from Server 1

For Minecraft 1.6.4

Download from Server 1

For Minecraft 1.7.2

Download from Server 1Download from Server 2

For Minecraft 1.7.10

Download from Server 1Download from Server 2

For Minecraft 1.9.4

Download from Server 1

For Minecraft 1.10.2

Download from Server 1Download from Server 2

For Minecraft 1.11.2

Download from Server 1Download from Server 2

For Minecraft 1.12.2

Download from Server 1Download from Server 2

For Minecraft 1.13.2

Rift Modloader version:Download from Server 1Download from Server 2

For Minecraft 1.14.3/1.14.2

Fabric version: Download from Server 1Download from Server 2

The post Autofish Mod 1.14.3/1.12.2 (Recaster, MultiRod) appeared first on 9Minecraft | Minecraft Mod.

Antique Atlas Mod 1.14.3/1.12.2 (Fancy Interactive Map)

$
0
0

Antique Atlas Mod 1.14.3/1.12.2 adds item Antique Atlas to Minecraft. Antique Atlas is a book that acts like a map featuring infinite scrolling, zoom and custom labeled markers. The map is generated around the player by calculating the average biome in each 16×16 chunk. It’s like a fancy antique-looking map, which saves all visited locations so you can browse them. Maps are generated around the player based on chunk-average biome. Navigate the map by dragging it with the mouse, clicking arrow buttons or pressing arrow keys on the keyboard. Use the +/- keys or mouse wheel to zoom in and out.

Antique Atlas Mod

Screenshots:

http://www.img2.9minecraft.net/Mod/Antique-Atlas-Mod-1.jpg

http://www.img2.9minecraft.net/Mod/Antique-Atlas-Mod-2.jpg

Marker with a label

Antique-Atlas-Mod-3.jpg

Exported tiny map with a village

Antique-Atlas-Mod-4.png

Zoomed in, note the scale bar

Antique-Atlas-Mod-5.jpg

Exported map image:

Antique-Atlas-Mod-6.jpg

Antique Atlas Mod Screenshots 1

Antique Atlas Mod Screenshots 2

Antique Atlas Mod Screenshots 3

Antique Atlas Mod Screenshots 4

Antique Atlas Mod Screenshots 5

Antique Atlas Mod Screenshots 6

Crafting Recipes:

Antique Atlas Mod Crafting Recipes 1

Requires:

Minecraft Forge

Fabric Modloader

Fabric API

How to install:

  1. Make sure you have already installed Minecraft Forge.
  2. Locate the minecraft application folder.
    • On windows open Run from the start menu, type %appdata% and click Run.
    • On mac open finder, hold down ALT and click Go then Library in the top menu bar. Open the folder Application Support and look for Minecraft.
  3. Place the mod you have just downloaded (.jar file) into the Mods folder.
  4. When you launch Minecraft and click the mods button you should now see the mod is installed.

Antique Atlas Mod 1.14.3/1.12.2 Download Links:

For Minecraft 1.5.2

Download from Server 1Download from Server 2

For Minecraft 1.6.4

Download from Server 1Download from Server 2

For Minecraft 1.7.2

Download from Server 1Download from Server 2

For Minecraft 1.7.10

Download from Server 1Download from Server 2

For Minecraft 1.8.0

Download from Server 1Download from Server 2

For Minecraft 1.8.9

Download from Server 1Download from Server 2

For Minecraft 1.10.2/1.9.4

Download from Server 1Download from Server 2

For Minecraft 1.11.2

Download from Server 1Download from Server 2

For Minecraft 1.12

Download from Server 1Download from Server 2

For Minecraft 1.12.2

Download from Server 1Download from Server 2

For Minecraft 1.14.3/1.14.2

Fabric version: Download from Server 1Download from Server 2

The post Antique Atlas Mod 1.14.3/1.12.2 (Fancy Interactive Map) appeared first on 9Minecraft | Minecraft Mod.

MrCrayfish’s Furniture Mod 1.14.3/1.12.2 (Best Furniture Mod)

$
0
0

MrCrayfish’s Furniture Mod 1.14.3/1.12.2 adds in a huge amount of furniture into Minecraft. It includes various items like, couches, chairs, TVs, ovens, computers, and much more. The cool thing about this mod is that most of the blocks have very useful features to them and are not just for decoration.

MrCrayfish’s Furniture Mod

List of Furnitures:

  • Bedside Cabinet
  • Wooden Table
  • Wooden Chair
  • Cabinet
  • Wooden Coffee Table
  • Fridge
  • Freezer
  • Couches (White, Green, Brown, Red and Black)
  • Blinds
  • Curtains
  • Carpet (White, Green, Brown, Red and Black)
  • Lamp
  • Stone Chair
  • Stone Table
  • Stone Coffee Table
  • Oven
  • Oven Range Hood
  • Hedge (Oak, Pine, Birch and Jungle)
  • Bird Bath
  • Stone Path
  • Picket Fence
  • Water Tap
  • Mail Box
  • TV
  • Computer
  • Printer (Includes Ink Cartridge)
  • Fire Alarm
  • Stereo
  • Electric Fence
  • Ceiling Light
  • Christmas Tree
  • Presents
  • Toilet
  • Shower
  • Shower Head
  • Basin
  • Bin
  • Bath
  • Wall Cabinet
  • Shower Head
  • And much more

Screenshots:

MrCrayfishs-Furniture-Mod-1.jpg

MrCrayfishs-Furniture-Mod-2.png

MrCrayfish’s Furniture Mod Screenshots 1

MrCrayfish’s Furniture Mod Screenshots 2

MrCrayfish’s Furniture Mod Screenshots 3

MrCrayfish’s Furniture Mod Screenshots 4

MrCrayfish’s Furniture Mod Screenshots 5

MrCrayfish’s Furniture Mod Screenshots 6

MrCrayfish’s Furniture Mod Screenshots 7

MrCrayfish’s Furniture Mod Screenshots 8

MrCrayfish’s Furniture Mod Screenshots 9

MrCrayfish’s Furniture Mod Screenshots 10

MrCrayfish’s Furniture Mod Screenshots 11

MrCrayfish’s Furniture Mod Screenshots 12

MrCrayfish’s Furniture Mod Screenshots 13

MrCrayfish’s Furniture Mod Screenshots 14

MrCrayfish’s Furniture Mod Screenshots 15

MrCrayfishs-Furniture-Mod-3.jpg

Mod Showcases:

Requires:

Minecraft Forge

Rift Mod Loader (Only for Minecraft 1.13)

How to install:

  1. Make sure you have already installed Minecraft Forge.
  2. Locate the minecraft application folder.
    • On windows open Run from the start menu, type %appdata% and click Run.
    • On mac open finder, hold down ALT and click Go then Library in the top menu bar. Open the folder Application Support and look for Minecraft.
  3. Place the mod you have just downloaded (.jar file) into the Mods folder.
  4. When you launch Minecraft and click the mods button you should now see the mod is installed.

MrCrayfish’s Furniture Mod 1.14.3/1.12.2 Download Links:

Older versions:

[[Visit blog to check out this spoiler]]

For Minecraft 1.5.2

Download from Server 1Download from Server 2

For Minecraft 1.6.2

Download from Server 1Download from Server 2

For Minecraft 1.6.4

Download from Server 1Download from Server 2Download from Server 3

For Minecraft 1.7.2

Download from Server 1Download from Server 2Download from Server 3

For Minecraft 1.7.10

Download from Server 1Download from Server 2Download from Server 3

For Minecraft 1.8.9

Download from Server 1Download from Server 2Download from Server 3

For Minecraft 1.9.4

Download from Server 1Download from Server 2

For Minecraft 1.10.2

Download from Server 1Download from Server 2Download from Server 3

For Minecraft 1.11.2

Download from Server 1Download from Server 2Download from Server 3

For Minecraft 1.12.1/1.12

Download from Server 1Download from Server 2Download from Server 3

For Minecraft 1.12.2

Download from Server 1Download from Server 2Download from Server 3

For Minecraft 1.13

Rift Modloader version: Download from Server 1Download from Server 2

For Minecraft 1.14.3

Download from Server 1Download from Server 2 –  Download from Server 3

The post MrCrayfish’s Furniture Mod 1.14.3/1.12.2 (Best Furniture Mod) appeared first on 9Minecraft | Minecraft Mod.


iChun’s Hats Mod 1.12.2/1.10.2 (Dozens of Wearable Cosmetic Hats)

$
0
0

iChun’s Hats Mod 1.12.2/1.10.2 adds dozens of wearable cosmetic hats the player can acquire. Hats will randomly spawn on mobs, both passive and hostile. When a mob wearing a hat is killed by the player, the hat will be added to the player’s hat collection. Hats can be worn and customize from the hat menu.

iChun’s Hats Mod

The mod is designed to run on servers with and without it installed. If a server does not have it installed, all clients that have it installed will show all players and some animals with random hats on. On servers with the mod installed, players will be able to show off their own hat choice.

To obtain a hat, the user must slay an animal that is wearing a hat. The slayer will be given the hat, and it can be equipped in the Hat GUI. The Hat GUI’s keybind can be changed in the Controls option in the Minecraft pause screen. The Hat GUI shows the player all of their collected hats and allows them to color and equip them. The colorizer window allows the player to change the amount of red, blue, and green in the hat. If all three values are set to 0, the hat will appear as normal.

If the user installed a custom hat from and joins a server with the mod installed without the custom hat, the client will send the hat to the server. The server will then send it to all players in the range of that player, so they can view and use the hat. As this may be considered a security risk, it can be disabled.

Features:

iChuns-Hats-Mod

This mod comes pre-packaged with 78+ hats which will automatically get installed when the mod is run for the first time

http://www.img2.9minecraft.net/Mod/iChuns-Hats-Mod-1.png

How do you choose a hat? Simple! Hit H on your keyboard whilst in-game and a Hat Selector GUI will pop up. This GUI shows you all your currently installed hats and lets you choose one to wear.

http://www.img2.9minecraft.net/Mod/iChuns-Hats-Mod-2.png

There’s also a colourizer option, allowing you to apply Minecraft’s colourizer on hats you wear. When you’ve decided on a hat, hit done and your hat will be displayed for everyone (on the modded server) to see.

http://www.img2.9minecraft.net/Mod/iChuns-Hats-Mod-3.png

Screenshots:

iChun’s Hats Mod Screenshots 1

iChun’s Hats Mod Screenshots 2

iChun’s Hats Mod Screenshots 3

iChun’s Hats Mod Screenshots 4

iChun’s Hats Mod Screenshots 5

iChun’s Hats Mod Screenshots 6

iChun’s Hats Mod Screenshots 7

iChun’s Hats Mod Screenshots 8

iChun’s Hats Mod Screenshots 9

iChun’s Hats Mod Screenshots 10

iChun’s Hats Mod Screenshots 11

iChun’s Hats Mod Screenshots 12

iChun’s Hats Mod Screenshots 13

iChun’s Hats Mod Screenshots 14

iChun’s Hats Mod Screenshots 15

iChun’s Hats Mod Screenshots 16

iChun’s Hats Mod Screenshots 17

iChun’s Hats Mod Screenshots 18

iChun’s Hats Mod Screenshots 19

iChun’s Hats Mod Screenshots 20

iChun’s Hats Mod Screenshots 21

Requires:

Minecraft Forge

iChun Util Mod

How to install:

  1. Make sure you have already installed Minecraft Forge and iChun Util Mod.
  2. Locate the minecraft application folder.
    • On windows open Run from the start menu, type %appdata% and click Run.
    • On mac open finder, hold down ALT and click Go then Library in the top menu bar. Open the folder Application Support and look for Minecraft.
  3. Place the mod you have just downloaded (.jar file) into the Mods folder.
  4. When you launch Minecraft and click the mods button you should now see the mod is installed.

iChun’s Hats Mod 1.12.2/1.10.2 Download Links:

Older versions:

[[Visit blog to check out this spoiler]]

For Minecraft 1.5.2

Download from Server 1Download from Server 2

For Minecraft 1.6.2

Download from Server 1Download from Server 2

For Minecraft 1.6.4

Download from Server 1Download from Server 2

For Minecraft 1.7.2

Download from Server 1Download from Server 2

For Minecraft 1.7.10

Download from Server 1Download from Server 2

For Minecraft 1.10.2

Download from Server 1Download from Server 2

For Minecraft 1.12.2, 1.12.1, 1.12

Download from Server 1Download from Server 2

The post iChun’s Hats Mod 1.12.2/1.10.2 (Dozens of Wearable Cosmetic Hats) appeared first on 9Minecraft | Minecraft Mod.

Finder Compass Mod 1.14.3/1.12.2 (Diamond Radar)

$
0
0

Finder Compass Mod 1.14.3/1.12.2 take your standard compass into your hand and USE it to swap between Settings. Each setting can feature different needles, pointing at awesome things like diamonds, Strongholds, the nearest Mob Spawner … If the server you are on has it enabled, it might be an Item you have to craft first. The recipe is a compass in middle, with diamonds at the sides (left, right, top, bottom).

Finder Compass Mod

Screenshots:

Finder Compass Mod for Minecraft 01

Working Man’s Mineables Mode

Finder Compass Mod for Minecraft 02

Finder Compass Mod for Minecraft 03

Adventuring Mode

Finder Compass Mod for Minecraft 04

Finder Compass Mod for Minecraft 05

Finder Compass Mod for Minecraft 06

Shiny Stones Mode

Finder Compass Mod for Minecraft 07

Requires:

Minecraft Forge

How to install:

  1. Make sure you have already installed Minecraft Forge.
  2. Locate the minecraft application folder.
    • On windows open Run from the start menu, type %appdata% and click Run.
    • On mac open finder, hold down ALT and click Go then Library in the top menu bar. Open the folder Application Support and look for Minecraft.
  3. Place the mod you have just downloaded (.jar file) into the Mods folder.
  4. When you launch Minecraft and click the mods button you should now see the mod is installed.

Finder Compass Mod 1.14.3/1.12.2 Download Links:

Older versions:

[[Visit blog to check out this spoiler]]

For Minecraft 1.10.2

Download from Server 1Download from Server 2

For Minecraft 1.11.2

Download from Server 1Download from Server 2

For Minecraft 1.12.2

Download from Server 1Download from Server 2

For Minecraft 1.13.2

Download from Server 1Download from Server 2

For Minecraft 1.14.3

Download from Server 1Download from Server 2

The post Finder Compass Mod 1.14.3/1.12.2 (Diamond Radar) appeared first on 9Minecraft | Minecraft Mod.

Ruins Mod 1.14.3/1.12.2 (Structure Spawning System)

$
0
0

Ruins Mod 1.14.3/1.12.2 spawns Structures in your Minecraft worlds upon generation, similar to Villages or Strongholds. Every Structure is defines by a template and configured to spawn under specific conditions, and all of that can be changed by you. There is a lot of Structures already included, and there’s bound to be more added. You can export great structures you made using MCEdit and convert them to Ruins template format using the included schematic converter.

Ruins Mod

Features:

  • This mod adds a huge sense of adventure to Minecraft by putting in tons of randomly generated structures like houses, temples, and even castles in the sky.
  • The sheer amount of ruins available with this mod is incredible and will never leave you bored. Every structure is detailed and has many different elements for you to explore.
  • Some ruins can be dangerous or seemingly random…handle wisely!

Screenshots:

Ruins-Mod-1.jpg

Ruins-Mod-2.jpg

Ruins-Mod-3.jpg

Ruins-Mod-4.jpg

Ruins-Mod-5.jpg

Ruins-Mod-6.jpg

Ruins-Mod-7.jpg

Ruins Mod Screenshots 1

Ruins Mod Screenshots 2

Ruins Mod Screenshots 3

Ruins Mod Screenshots 4

Ruins Mod Screenshots 5

Ruins Mod Screenshots 6

Ruins Mod Screenshots 7

Ruins Mod Screenshots 8

Ruins Mod Screenshots 9

Ruins Mod Screenshots 10

Ruins Mod Screenshots 11

Requires:

Minecraft Forge

How to install:

  1. Make sure you have already installed Minecraft Forge.
  2. Locate the minecraft application folder.
    • On windows open Run from the start menu, type %appdata% and click Run.
    • On mac open finder, hold down ALT and click Go then Library in the top menu bar. Open the folder Application Support and look for Minecraft.
  3. Place the mod you have just downloaded (.jar file) into the Mods folder.
  4. When you launch Minecraft and click the mods button you should now see the mod is installed.

Ruins Mod 1.14.3/1.12.2 Download Links:

Older versions:

[[Visit blog to check out this spoiler]]

For Minecraft 1.5.2

Download from Server 1Download from Server 2Download from Server 3

For Minecraft 1.6.4

Download from Server 1Download from Server 2

For Minecraft 1.7.2

Download from Server 1Download from Server 2

For Minecraft 1.7.10

Download from Server 1Download from Server 2

For Minecraft 1.9.0

Download from Server 1Download from Server 2

For Minecraft 1.9.4

Download from Server 1Download from Server 2

For Minecraft 1.10.2

Download from Server 1Download from Server 2

For Minecraft 1.11

Download from Server 1Download from Server 2

For Minecraft 1.11.2

Download from Server 1Download from Server 2

For Minecraft 1.12

Download from Server 1Download from Server 2

For Minecraft 1.12.1

Download from Server 1Download from Server 2

For Minecraft 1.12.2

Download from Server 1Download from Server 2

For Minecraft 1.13.2

Download from Server 1Download from Server 2

For Minecraft 1.14.3

Download from Server 1Download from Server 2

The post Ruins Mod 1.14.3/1.12.2 (Structure Spawning System) appeared first on 9Minecraft | Minecraft Mod.

Infernal Mobs Mod 1.14.3/1.12.2 (Rare Powerful Mobs)

$
0
0

Infernal Mobs Mod 1.14.3/1.12.2 adds rare special mobs with special abilities and/or buffs; these mobs are often much more difficult to kill than your average monster. Some abilities can make fighting the affected mobs tedious or even dangerous when added together, such as Bulwark and Regen or Wither and Vengeance. Infernal mobs drop 4 times the experience and a random enchanted item (mod items included).

Infernal Mobs Mod

There are three kinds of infernal mobs:

  • Rare – 2-4 effects, 2-4 times the base HP
  • Ultra – 7 effects, 7 times the base HP
  • Infernal – 10-11 effects, 10-11 times base HP.

This mod makes Minecraft much more difficult while adding nice rewards. Mobs now have a rare chance of having special effects and increased hit points. It is very rewarding because they have a high chance of dropping diamond equipment.

Features:

Possible Special Abilities:

  • 1UP – Mobs heals fully, once, upon getting low
  • Alchemist – Throws random potions at the player, may throw a positive potion effect (i.e. Water Breathing or Swiftness)
  • Berserk – Mob deals double damage, but hurts itself upon attacking you
  • Blastoff – Tosses Players into the air
  • Bulwark – Mob has 50% damage resistance
  • Cloaking – Invisibility Potion effect on Mob
  • Darkness – Blindness Potion effect on Player, can set time to night
  • Ender – Can teleport to dodge attacks, reflecting damage on the Player
  • Exhaust – Exhaust Potion effect on Player
  • Fiery – Sets the Player on Fire, immune to fire-damage
  • Ghastly – Shoots Ghast Fireballs
  • Gravity – Knocks back or pulls Players
  • Lifesteal – Heals from attacking
  • Ninja – Can teleport to dodge attacks, reflecting damage on the Player, 4 second resistance buff after teleport
  • Poisonous – Poisons Player
  • Quicksand – Slowness effect on Player
  • Regen – Heals 2 Health per second
  • Rust – Causes high amounts of wear on the player’s weapon when hit and on the player’s armor when the mob hits the player
  • Sapper – Hunger Potion effect on Player
  • Sprint – High movement speed bursts
  • Sticky – Has a chance to cause the player to drop the item they attacked the mob with (including ranged weapon), however, this ability has a cooldown
  • Storm – Calls down Lightning
  • Twin – Comes Back at full health after dying
  • Undying – Has a chance to respawn with full health.
  • Vengeance – Reflects a portion of all damage done. Reflected damage will apply other on-damage abilities like blastoff and wither.
  • Weakness – Weakness Potion effect on Player
  • Webber – Spawns Webs at the Players legs, immobilizing the player
  • Wither – Applies the Wither effect to the Player

Bosses:

Bosses can become immensely powerful through the Infernal Mobs mod. Vanilla boss and most bosses added by Hexxit mods are liable to become supercharged. Bosses will gain and use abilities, although they will spawn at their base HP. However, these bosses will regenerate to their multiplied HP if they have 1UP, Regen, or any other kind of healing. Wither HP will hard cap at 300, but Pirate Bosses, Spider Bosses, Necromancers, etc. can become extremely durable.

Making any hostile mob Infernal:

Find and open your .technic folder (in roaming), open the hexxit folder, open the config folder, open the InfernalMobs cfg file with notepad and from there it is self-explanatory.

Replacing the original numbers into higher numbers would up the spawn rates of those with effects.

Loot:

Unlike vanilla mobs, Infernal Mobs will drop mid-high level loot. List of possible loot (not complete yet):

  • Diamonds and Diamond Tools/Armors/Weapons
  • Meteorite Tools/Armors/Weapons
  • Ender Giant Swords
  • Shields/Gilded
  • Livingmetal tools/Weapons
  • Hexical Diamond
  • Glowing bread
  • Bane of Pigs (Very unlikely, and only by infernal ones, no other)
  • Enchanted Book
  • Normal staffs

Note: The loot dropped may be enchantable, and if the loot dropped is enchanted, it usually is enchanted with high level enchantments (i.e. Sharpness III). You can add/remove what is dropped by Infernal mobs by doing the same processes as making a mob infernal but instead change the item ID’s to the items wanted.

Trivia:

  • Soul Shard spawners and vanilla spawners can spawn Infernal mobs.
  • Any mob has the possibility of spawning as an infernal mob, including bosses and even small slimes spawned from larger ones.
  • If an infernal mob is healed (potion of instant health etc.), its HP will become the mob’s original max HP. This happens because infernal mobs have bonus HP rather than increased max HP, so if the mob is healed in any way it will ‘update’ and return to the max HP.
  • Any mob’s ability from this mod is disabled in the Rift Dimension.
  • Infernal mobs can spawn from spawn eggs.
  • Encountering infernal mobs early in a playthrough can be dangerous, as their increased life and special traits can make them exceedingly difficult to defeat, depending on the mob. However, such a feat can be very rewarding, as the valuable items gained can give the player an edge early in the game.
  • Infernal mobs with the ‘Alchemist’ modifier often throw splash potions of water breathing at the player.  While dangerous, this can also be very useful in flooded areas or areas with large bodies of water.
  • Sometimes, as the infernal mobs “spawn”, the spawner from the battle towers can make a lot of them, and the fact that they relate between levels, this could make a battle tower almost impossible.
  • If killed by an environmental feature such as Fall Damage, they won’t drop any rare drop.
  • Baby slimes are an extremely good mob to have Infernal effects, as they will be still easy to kill, given that one punch will kill them normally.

Screenshots:

A powerful ‘Infernal’ mob.

Infernal Mobs Mod Screenshots 1

An ultra zombie, 7x the hp of a normal zombie (140, normal is 20.)

Infernal Mobs Mod Screenshots 2

Infernal battle tower golem

Infernal Mobs Mod Screenshots 3

An Ultra Nitro Creeper in the Nether.

Infernal Mobs Mod Screenshots 4

An Exterminator Prototype affected by Infernal Mobs.

Infernal Mobs Mod Screenshots 5

Infernal Mobs Mod Screenshots 6

Infernal Mobs Mod Screenshots 7

Infernal Battle Tower Golem.

Infernal Mobs Mod Screenshots 8

An Ultra zombie.

Infernal Mobs Mod Screenshots 9

Infernal Mobs Mod Screenshots 10

Infernal Mobs Mod Screenshots 11

Infernal Mobs Mod Screenshots 12

Infernal Mobs Mod Screenshots 13

Infernal Mobs Mod Screenshots 14

Infernal Mobs Mod Screenshots 15

Infernal Mobs Mod Screenshots 16

Infernal Mobs Mod Screenshots 17

Infernal Mobs Mod Screenshots 18

Infernal Mobs Mod Screenshots 19

Infernal Mobs Mod Screenshots 20

Infernal Mobs Mod Screenshots 21

Infernal Mobs Mod Screenshots 22

Requires:

Minecraft Forge

How to install:

  1. Make sure you have already installed Minecraft Forge.
  2. Locate the minecraft application folder.
    • On windows open Run from the start menu, type %appdata% and click Run.
    • On mac open finder, hold down ALT and click Go then Library in the top menu bar. Open the folder Application Support and look for Minecraft.
  3. Place the mod you have just downloaded (.jar file) into the Mods folder.
  4. When you launch Minecraft and click the mods button you should now see the mod is installed.

Infernal Mobs Mod 1.14.3/1.12.2 Download Links:

Older versions:

[[Visit blog to check out this spoiler]]

For Minecraft 1.5.2

Download from Server 1Download from Server 2Download from Server 3

For Minecraft 1.6.4

Download from Server 1Download from Server 2

For Minecraft 1.7.2

Download from Server 1Download from Server 2

For Minecraft 1.7.10

Download from Server 1Download from Server 2

For Minecraft 1.8.0

Download from Server 1Download from Server 2

For Minecraft 1.9.0

Download from Server 1Download from Server 2

For Minecraft 1.9.4

Download from Server 1Download from Server 2

For Minecraft 1.10.2

Download from Server 1Download from Server 2

For Minecraft 1.11

Download from Server 1Download from Server 2

For Minecraft 1.11.2

Download from Server 1Download from Server 2

For Minecraft 1.12

Download from Server 1Download from Server 2

For Minecraft 1.12.1

Download from Server 1Download from Server 2

For Minecraft 1.12.2

Download from Server 1Download from Server 2

For Minecraft 1.13.2

Download from Server 1Download from Server 2

For Minecraft 1.14.3

Download from Server 1Download from Server 2

The post Infernal Mobs Mod 1.14.3/1.12.2 (Rare Powerful Mobs) appeared first on 9Minecraft | Minecraft Mod.

Clay Soldiers Mod 1.12.2/1.10.2 (It’s Hard To Be a God)

$
0
0

Clay Soldiers Mod 1.12.2/1.10.2 adds little colored steves that you can make from clay and soul sand. One soul sand on top of one clay block in a crafting grid will give you four of these little guys. There are a bunch of ways to upgrade them using sticks, leather, gold nuggets, iron blocks, bowls, etc. Create your own miniature army out of clay and stage the most epic battles imaginable in a space small enough to be your backyard. Using a variety of weapons and armor, the soldiers will fight to the death to achieve the goal of being the last color team left alive in a battle. The weapons and armor have to be provided by the player to the soldiers.

Clay Soldiers Mod

This mod adds wars in Minecraft as well as toy animals that aid the Soldiers in battle. This Minecraft mod also lets you arm your soldiers with a ton of different weapons with different abilities and even adds in clay structures.

Screenshots:

Clay Soldiers Mod Screenshots 1

Clay Soldiers Mod Screenshots 2

Clay Soldiers Mod Screenshots 3

Clay Soldiers Mod Screenshots 4

Clay Soldiers Mod Screenshots 5

Clay Soldiers Mod Screenshots 6

Clay Soldiers Mod Screenshots 7

Clay Soldiers Mod Screenshots 8

Clay Soldiers Mod Screenshots 9

Clay Soldiers Mod Screenshots 10

Clay Soldiers Mod Screenshots 11

Clay Soldiers Mod Screenshots 12

Clay Soldiers Mod Screenshots 13

Clay Soldiers Mod Screenshots 14

Clay Soldiers Mod Screenshots 15

Clay Soldiers Mod Screenshots 16

Clay Soldiers Mod Screenshots 17

Clay Soldiers Mod Screenshots 18

Clay Soldiers Mod Screenshots 19

Clay Soldiers Mod Screenshots 20

Clay Soldiers Mod Screenshots 21

Clay Soldiers Mod Screenshots 22

Clay Soldiers Mod Screenshots 23

Clay Soldiers Mod Screenshots 24

Clay Soldiers Mod Screenshots 25

Clay Soldiers Mod Screenshots 26

Clay Soldiers Mod Screenshots 27

Clay Soldiers Mod Screenshots 28

Clay Soldiers Mod Screenshots 29

Clay Soldiers Mod Screenshots 30

Clay Soldiers Mod Screenshots 31

Clay Soldiers Mod Screenshots 32

Clay Soldiers Mod Screenshots 33

Clay Soldiers Mod Screenshots 34

Clay Soldiers Mod Screenshots 35

Crafting Recipes:

Clay Soldiers

A clay soldier is an item you can hold in your hand. It is crafted using a clay block (for substance) and soulsand (for sustaining intelligent life). Once you have a nice little pile in your hands (up to 16), right-click to place them all at once or sneak-right-click to place only one.

They will quickly spread out and begin to roam the landscape. The soldiers walk slow and don’t jump very high, but they have enough arm strength to climb up a single block. Unfortunately, since they lack a decent skeletal support structure (or even skin, for that matter), their delicate figures can be horribly mutilated by even the weakest of blows. A player can cripple a clay soldier in just a single punch.

So naturally, they aren’t hostile towards anything bigger than themselves. But what in the world are they qualified to fight against? Other clay soldiers, of course! There are a whole lot of different teams you can craft your pale gray soldiers into: All 16 dyes (light gray count as regular soldiers for that matter) and even melon/pumpkin flavored! If you place two (or more) different teams and they can see each other, they immediately begin to fight.

You’re probably thinking: “Well, that’s neat and all, but is there anything to spice up the fights?” The answer is: Of course! Clay Soldiers can ride a plethora of different mounts and can hold a huge array of upgrades, on which you’ll find out shortly.

Clay Soldiers Mod Crafting Recipes 1

Clay Soldiers Mod Crafting Recipes 2

Clay Soldiers Mod Crafting Recipes 3

Choose from a variety of equipment, arm your soldiers to the teeth and have a showdown to see which type of assistance is more beneficial to their survival! All you need to do is drop the desired item on the ground for them to pick up. You can even drop a stack of said item and they’ll evenly split it up amongst themselves:

Upgrade Items

Primary items:

  • Stick, 20 uses, increases melee damage by 2-3 points
  • Arrow, 20 uses, increases melee damage by 4-5 points, drops feather, counts as stick upgraded with flint
  • Blaze Rod, 20 uses, increases melee damage by 1-2 points, causes burn time on target
  • Bone, 30 uses, increases melee damage by 3-4, increases melee range slightly, can not be equipped while riding mount, can not ride mount while equipped
  • Shear Blade, 25 uses, increases melee damage by 1-2 points, by 3-4 damage on first hit while stealthed, can be held in either hand
  • Glistering Melon, 25 uses, heals any ally below 25% hp by 15 points, soldier doesn’t attack enemies while equipped with this

Secondary items:

      • Gravel, 15 uses, thrown for 2-3 points damage
      • Snowball, 5-20 uses, thrown for 0 damage, slows target on hit

info: uses depend on the item given! snowball gives 5; snow layer gives 10; snow block gives 20

      • Fire Charge, 15 uses, thrown for 1-2 damage, causes burn time on hit
      • Bowl, 20 uses, reduces incoming physical damage by half (when used with leather, only receives 25% of original damage)

info: no longer entirely blocks ranged attacks, only reduces damage from them

      • Shear Blade, 25 uses, increases melee damage by 1-2 points, by 3-4 damage on first hit while stealthed, can be held in either hand
      • Emerald, 5-45 uses, deals 3-4 direct unavoidable damage at medium range, plus two with sugarcane boost, doubles if target is wet

info: uses depend on the item given! emerald item gives 5 uses; emerald block gives 45 uses

  • Nether Quartz, 4 uses, deals heavy knockback to all targets nearby if soldier takes too many hits

Core upgrades:

  • IronIngot, Makes soldier vastly resistant to knockback, increases knockback dealt to others, both effects neutralized vs another iron ingot user
  • Brick, Makes soldier extremely slow and less willing to move, will use ranged attacks if available before melee
  • String, Makes soldier resist all damage from one explosion
  • Cactus, 75% chance to negate burn time, halves total burn time otherwise
  • Nether Brick, Gives burn time to any soldier that attacks nether brick user with unarmed attacks

Behavior upgrades:

  • Wheat, Makes soldier never attack, even if hit first
  • Nether Wart, Makes soldier attack its allies
  • Fermented Spider Eye, Makes soldier not attack, unless attacked first

Misc. upgrades:

  • Leather, 20 uses, reduces incoming physical damage by half (when used with bowl, only receives 25% of original damage)
  • Food, 4 uses, heals soldier when below 25%, healed XP is hungerPoints * 0.5
  • Gold Nugget, gives soldier a crown, all of team follows the king
  • Glowstone, makes soldier glow, block gives to infinite soldiers
  • Gunpowder, 1 use, soldier explodes on death (incompatible with magmacream/firework star)
  • MagmaCream, 1 use, places a 2 second time bomb on the soldier which deals the final attack if killed by melee hit (incompatible with gunpowder/fireworkstar)
  • Sugar, makes soldier move faster (incompatible with diamond upgrades)
  • Clay, 4 uses, revives fallen soldiers of own color
  • GhastTear, 2 uses, revives brick dolls to own color
  • RedstoneDust, 4 uses, causes target to entirely stop attacking for 3 seconds, applied by all thrown and melee attacks, block gives to infinite soldiers
  • Slimeball, 5 uses, causes target to entirely stop moving for 3 seconds, applied by all thrown and melee attacks
  • Feather, soldier can not attack while falling, soldier’s fall is slowed greatly and takes no damage on landing, no effect with iron ingot or while mounted
  • GlassBottle/Pane/Block, doubles vision range, soldier can see stealthed enemies, bottles and panes give 1, block as infinite supply
  • Paper/Book, gives a plain cape, dyed paper and books give colored capes, book gives to infinite soldiers
  • Diamond, gives super crown and cape, doubles number of uses for all limited use items, grants sugar speed boost, multiplies hp by 10, incompatible with diamond block
  • Diamond Block, gives super crown and cape, multiplies limited use item uses by five, grants sugar speed boost, multiplies hp by 80, incompatible with diamond
  • EnderPearl, soldier zombifies, gains +5 hp, heals fully when deals last hit to a target, targets slain become zombies, dies after 10 minutes of no fighting
  • BlazePowder, 1 use, instantly kills target with fire, turning it into brick doll
  • RedMushroom, 1 use, applies poison to target
  • BrownMushroom, 2 uses, heals soldier for 10 hp when below 25%
  • LillyPad, soldier has pants and will float on water, no effect when used with iron ingot
  • Egg, soldier is ghostly and can not be detected by enemies not wearing glass goggles, doubles damage output of shears, will be detected when others wearing glasses
  • WheatSeed, soldier can NOT be infected by any zombification
  • WoodButton, increases melee damage by 1 when no weapon is equipped, incompatible with stone button
  • StoneButton, increases melee damage by 2 when no weapon is equipped, incompatible with wood button
  • MobHead, gives the soldier a mask to wear
  • FireworkStar, 1 use, soldier explodes on death in a firework effect, incompatible with gunpowder/magmacream

Clay Disruptor

Before we’ll talk about the mounts, lets firstly talk about how to clean up a mess! Your soldiers run away and you don’t want to chase them around, killing every single one of them? Or you’re just tired of the current fight and want to restart the match with different upgrades? Then we have the right device for you! Upon usage it will kill every soldier (and mounts, too) in a 32 block radius, clean and tidy! There’s also a hardened version, which gives the double amount of uses.

For the creative crafters: When you use it while sneaking, you can delete every clay soldier / mount item laying on the floor, too!

Clay Soldiers Mod Crafting Recipes 4

Clay Soldiers Mod Crafting Recipes 5

Horses and Pegasi

Indeed you can craft a trusty steed for them to sit on! Simple soulsand and a material, which is usable to craft a horse for your personal armies to ride and enjoy. Horses have no team allegiance, so any soldier can ride any horse. Depending on the used material, a horse will have either more health or more speed. In 50% of cases a soldier with a horse gets hit, the horse will take the damage instead of the rider. Be careful not to burn the horses, though!
But normal horses may be not enough for you. So why not try pegasi? Those elegant flying creatures will hover above the ground and share the same material treats as horses.

Clay Soldiers Mod Crafting Recipes 6

Clay Soldiers Mod Crafting Recipes 7

Turtles

These adorable little things come in different flavors, which are all capable of holding your armies above water. Also, if they get damaged, they’ll reflect a small potion of the damage back to the attacker! Other than that, each type has it’s own speed and health values, just like horses do.

Clay Soldiers Mod Crafting Recipes 8

Bunnies

Bunnies come in ALL the wool colors and, different from their horse/pegasus/turtle counterpart, have the same speed and amount of health. They will hop as high as the player can, even when ridden, which is amazing considering their size! Oh, and they constantly jump around when a soldier hops on them, making it difficult for the enemies to hit them properly.

Clay Soldiers Mod Crafting Recipes 9

Geckos

Those spider-like creatures can be crafted from any type of (vanilla) sapling, so there are the richest mount regarding type variety! You ask “Why spider-like?” Well, because they can climb up to 3 block-high walls! Despite having so much different types (36), or even because of that, they are all the same regarding speed/health, just like bunnies.

Clay Soldiers Mod Crafting Recipes 10

Clay Nexus

The day of extended, never ending battles is upon us! This is the greatest piece of clay-technology we’ve ever made. This device, when activated, will call upon the spirits of fallen soldiers of the many battles past to return to the frey in an attempt to redeem themselves in combat once more! It can also provide a spirit-mount for the spawned soldier. Both won’t drop any item upon death, neither themselves nor their upgrades! Enemy soldiers will attempt to deactivate the nexus, but only when they have no target to attack anymore. Did we tell you that it can throw anything the soldiers can throw? No? Well, now you know.

Clay Soldiers Mod Crafting Recipes 11

Clay-Statistics Display

You’ve always wanted to know how many soldiers are on the battlefield and predict who will win? We’ve heard your calls and crafted this next wonder in clay-technology! Just by holding it, you can see which team with how many members is on the battlefield. It even goes as far and counts the number of mounts.
This is a non-finished feature for now! Stuff can change, you have been warned!

Clay Soldiers Mod Crafting Recipes 12

Shear blades

This is explained in the upgrades section, so we’ll just give you the crafting recipes here:

Clay Soldiers Mod Crafting Recipes 13

Clay Soldiers Mod Crafting Recipes 14

Clay Huts

For all those adventurers out there, we’ve asked the all-mighty ChunkGenerator to add those to his generation features, and he finally heard us! When generating new chunks of land (either by generating a new world or by exploring new areas), you may encounter one of these buildings, filled with peaceful clay soldiers and a chest filled with clay-related stuff in them. But be careful, since there is a chance of encountering a zombified hut whose inhabitants are out to kill you!

Mod Showcases:

Requires:

Minecraft Forge

SanAndreasP’s Manager Pack (For Minecraft 1.7.10)

SanLib (For Minecraft 1.10.2)

How to install:

  1. Make sure you have already installed Minecraft Forge and required mod.
  2. Locate the minecraft application folder.
    • On windows open Run from the start menu, type %appdata% and click Run.
    • On mac open finder, hold down ALT and click Go then Library in the top menu bar. Open the folder Application Support and look for Minecraft.
  3. Place the mod you have just downloaded (.jar file) into the Mods folder.
  4. When you launch Minecraft and click the mods button you should now see the mod is installed.

Clay Soldiers Mod 1.12.2/1.10.2 Download Links:

Older versions:

[[Visit blog to check out this spoiler]]

For Minecraft 1.5.2

Download from Server 1Download from Server 2

For Minecraft 1.7.10

Download from Server 1Download from Server 2Download from Server 3

For Minecraft 1.10.2

Download from Server 1Download from Server 2Download from Server 3

For Minecraft 1.12.1/1.12

Download from Server 1Download from Server 2Download from Server 3

For Minecraft 1.12.2

Download from Server 1Download from Server 2Download from Server 3

The post Clay Soldiers Mod 1.12.2/1.10.2 (It’s Hard To Be a God) appeared first on 9Minecraft | Minecraft Mod.

Viewing all 2832 articles
Browse latest View live


<script src="https://jsc.adskeeper.com/r/s/rssing.com.1596347.js" async> </script>